★ Beat print – get early access to the news by signing up to the Shooting Times newsletter here ★


How to get rid of moles
Moles ruining your lawn? Here's how to get rid of moles by trapping.
 Moles are amazing creatures, but sometimes they are in the wrong place at the worng time.
Usd 8 may 19 moles
Moles are amazing creatures, but sometimes they are in the wrong place at the worng time.
Usd 8 may 19 moles
Gardeners and landowners have been trying to get rid of moles for centuries. Apart from ruining the look of a cricket pitch or cherished lawn, molehills can be dangerous. A horse can stumble on one and dismount a rider.
The skills and knowledge of professional mole trappers are still used throughout the land and a good rural pest controller will have effective ways of dealing with moles.
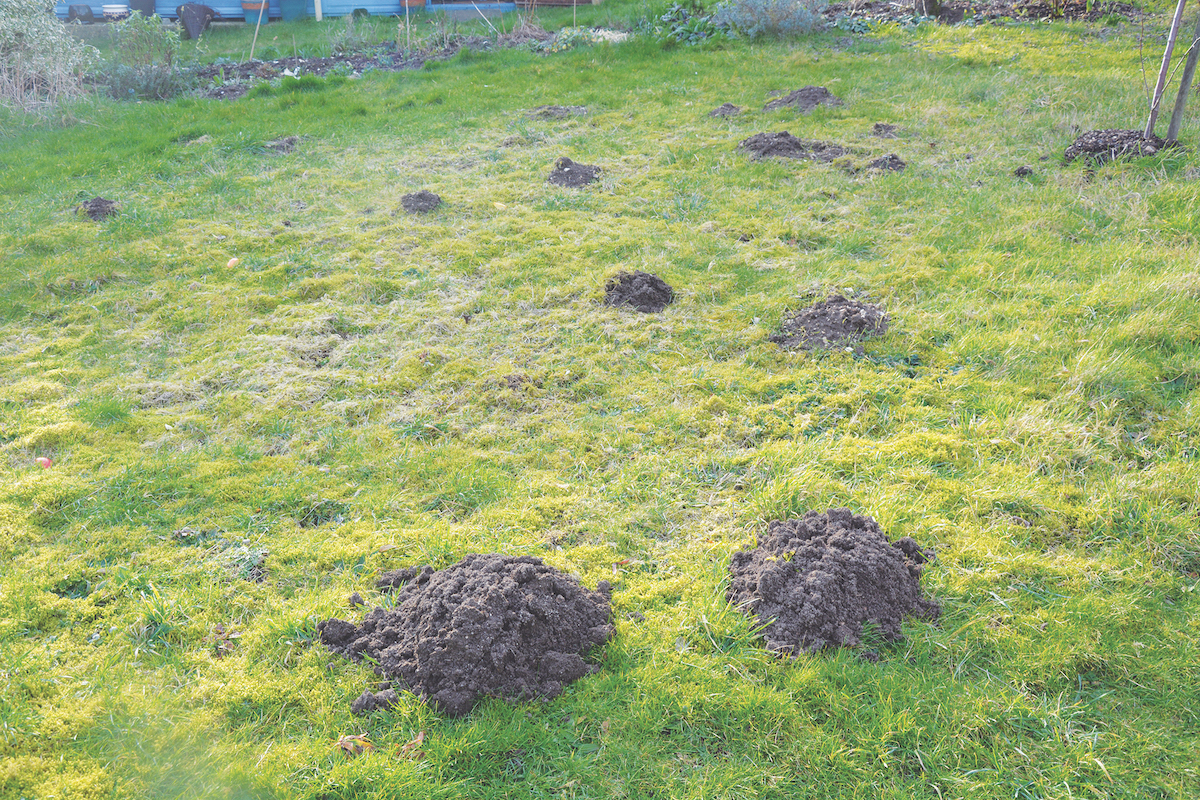
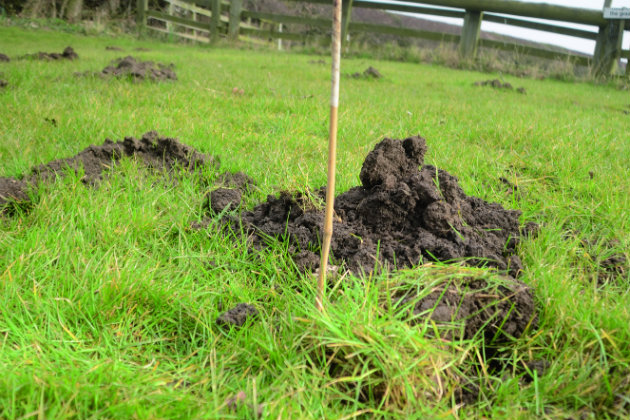
Molehills can spring up virtually overnight
Get rid of moles yourself
But what if you want to DIY the task?
Here I will show you how to use traps for moles in a quick and efficient way and show you how to increase your catching rate. I’ve listed a couple of traps I would recommend trying. Of course, using traps is a non-toxic way of controlling moles without resorting to poison and a good trap set properly gives a humane kill.
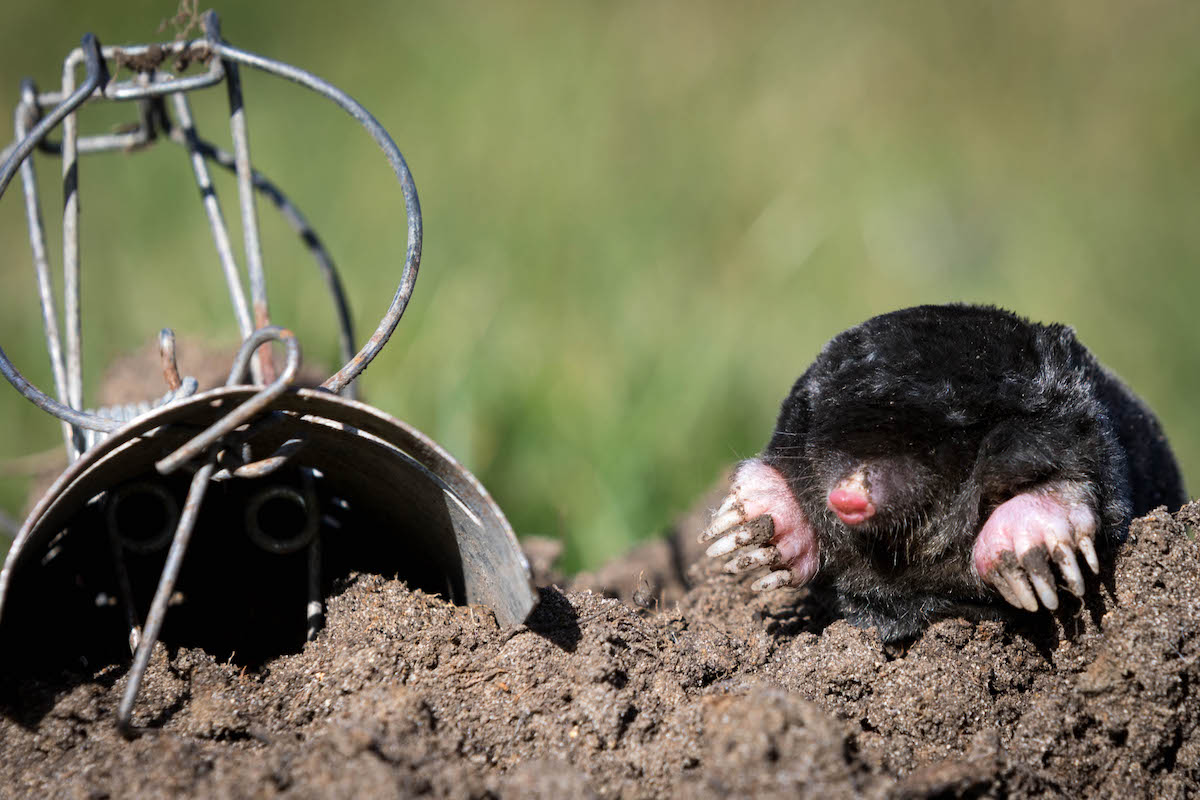
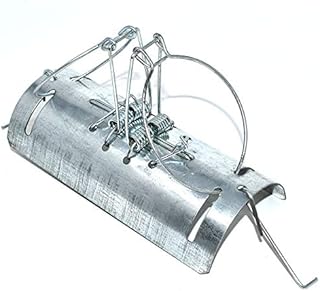
The half-barrelled Duffus trap is easy to set and can catch two moles at a time
Using traps to get rid of moles
There are two main types of mole trap.
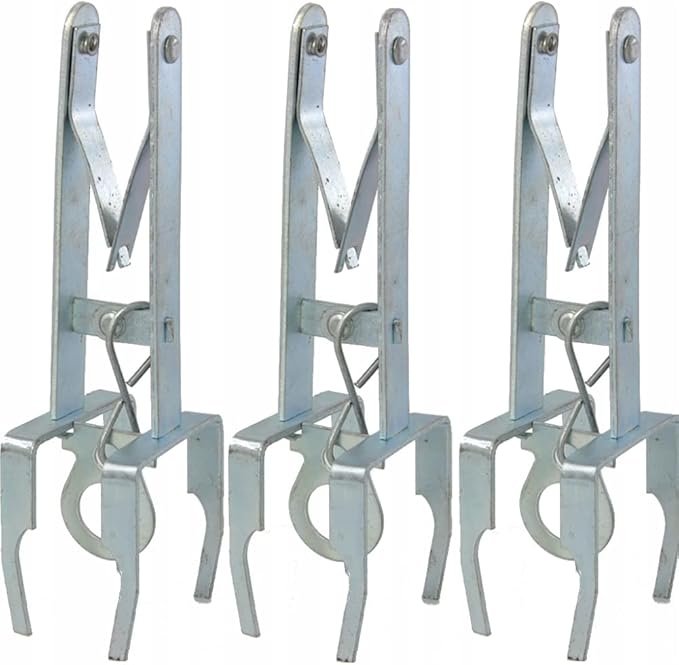
1. Scissor trap
This has has two spring-set scissor arms at each end of the trap, which the mole crosses only to be faced by a metal plate. On touching the plate the trap is sprung and the scissor arms close. The scissor trap is highly effective at catching moles but only catches one at a time. It is also visible to passers-by as it sits on the ground, which could provoke negative comments.
Grabacz Scissor Claw Mole Vole Trap Premium Quality (3)
+ Easy to set
+ Robust
+ Quick and humane
– Dead mole is above ground and can be seen by passers-by
BUY NOW
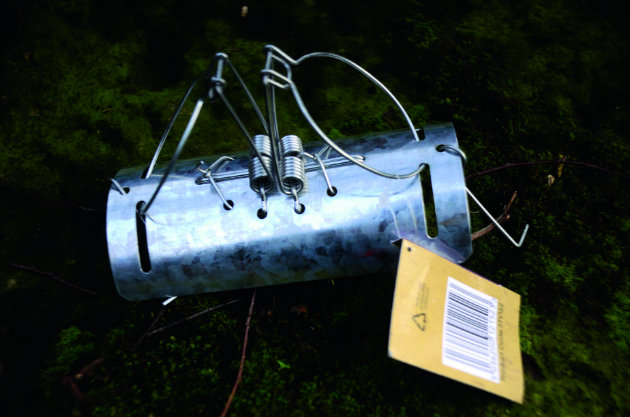
2. Duffus trap
This is my preference because it is easy to set up, it will catch two moles at a time and is barely noticeable to the general public or thieves.
5 x Ground Tunnel Barrel Duffus Mole Traps Fast Control Heavy Duty Metal
+ Ideal for shallow or deep runs, or where discretion is needed.
+ Strong spring action
+ Rust-free durability
+ Chemical free and non toxic
BUY NOW
“Seasoning” your trap
New traps need to smell as though they belong in the local habitat so need to be “seasoned”. Mole trappers have their own techniques they swear by, from planting them in the compost heap for two weeks to layering them in tea bags for two days. My technique is to place them in leaf litter for four days. This will get rid of any non-natural smells and means you don’t have to spend time burying and digging up traps. Don’t have a shower before trapping or splash on the aftershave because non-natural smells will scare anything off your traps.
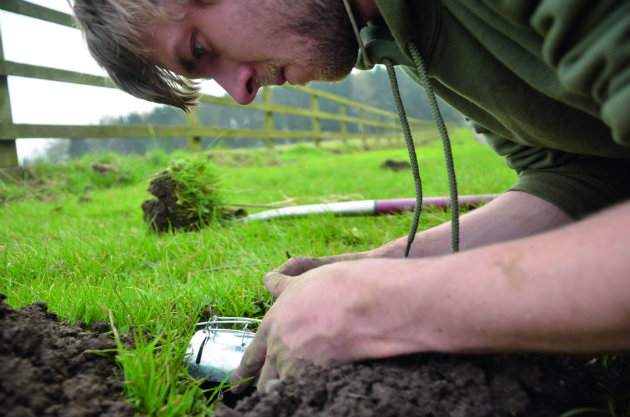
Andy sets his traps near to the first molehill that runs into the field
How to set a mole trap
- Firstly you need to understand how a mole works its tunnels. If you are trapping moles near or close to hedgerows and dry-stone walls, you will see there is a series of side runs going back to the hedgerow or wall and there will be a main run in the field. I get my best results from setting my traps near to the first molehill that runs in to the field. This is because the mole will rest up under these obstacles and come out to feed every four to six hours. The mole has to travel out of these tunnels to get to the main feeding tunnel system.
- The next job is to find these tunnels using a probe. I use a very simple 2ft long 5mm steel rod with red electrical tape on one end, and I find the tunnels by pushing it into the ground between hills. You are feeling for a continuous pressure, then a break in the pressure when you are pushing the probe in. This is how you know you’ve found the tunnel system. These tunnels can be anything from 2 to 18in deep, depending on the soil type. I have known systems on heavy gravel soil to be 2in deep and only 6ft away; in light sandy soil to be 12in deep.
- Once you have located the tunnel system you should dig down and uncover the system. Be as careful as possible because you don’t want to drop any loose soil back down the tunnel. Loose soil in the tunnel will result in failed sprung traps. This is due to the mole pushing loose soil on to the trigger point which will spring the trap before the mole has entered the trap.
- I use an Eezyspring pigeon decoy stick to clean any unwanted soil from back down the tunnels, but any flat piece of steel roughly 2cm tall and 10cm long will do the trick. One end of the stick needs to be bent in to a ‘U’ shape to help hook the loose soil out from back down the system.
- When digging the hole to put the trap in, I tend to use a trowel on lighter soil and a spade on tougher ground. My spade is a border spade and in width is 2in shorter than the trap, meaning the trap is a tight fit in the hole and only needs a light amount of padding in.
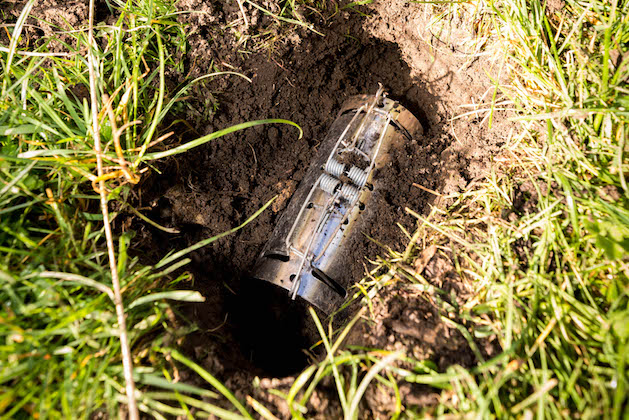
- Once the trap is in the hole it is a good idea to make sure the trapping loop is just slightly pushing into the ground so that the mole does not feel it when it walks over it.
- Once I have the trap in the correct position I will start to fill around the trap sides making sure not to drop any soil into the tunnel system. I try to use soil clumps around the sides and good sprinkling of light molehill soil on top of the trap. You don’t want to leave any light gaps, nor do you want the mole to sense a difference in air pressure from the lack of soil above. Ensure that you don’t place too much soil on the moving actions of the trap because it will hinder its effectiveness. Once I have the trap set and covered up I will place a marker. I tend not to use a marker on heavily populated areas, instead opting for a map record.
Use a marker once a trap has been set and covered up
Setting a mole trap
How often should I check a mole trap?
I check all my traps every day and follow a simple three-stage plan.
- If a trap catches after day one I reset it and leave the traps that haven’t caught anything running
- Day two: if any traps have not caught anything I move those to a new area
- If I do not catch any further moles from a run after three days I will then remove that trap.

Listening for moles
Summary
I get rid of moles through trapping throughout the year and it can be difficult when you start out. However hopefully by passing on my experiences you will gain some valuable insight into mole catching best practice. Remember, to try and try again. If things don’t go to plan first time, think about what you have done and what you could try that’s different. Look at where the moles are active, the position of walls and hedgerows. Read the steps above – are you doing everything suggested? Learn from your mistakes, as there is nothing more satisfying than mastering a process.
Read how deep is the average rabbit burrow?
More on moles
- Moles are not nocturnal
- They work in four hour shifts, between digging and sleeping
- Whilst molehills are unsightly, they do aerate the soil
- A freshly dug molehill is useful for potting up plants
- Moles can dig up to 4m an hour
This article was originally published in 2016 and has been updated.
We are supported by our audience. When you purchase through links on our site, we may earn an affiliate commission. Learn more
Related Articles

News
Woodpigeon quarry status under review
Why woodpigeons could have an open season and continue to be on General Licences for year-round shooting and other control methods.
By BASC

News
Restore Britain opposes Labour shotgun licensing plans
Restore Britain, led by farmer Rupert Lowe MP, opposes plans to align shotgun certificates with Section 1 firearms licensing rules.
By Hollis Butler
Get the latest news delivered direct to your door
Subscribe to Shooting Times & Country
Discover the ultimate companion for fieldsports enthusiasts with Shooting Times & Country Magazine, the UK’s leading weekly publication that has been at the forefront of shooting culture since 1882. Subscribers gain access to expert tips, comprehensive gear reviews, seasonal advice and a vibrant community of like-minded shooters.
Save on shop price when you subscribe with weekly issues featuring in-depth articles on gundog training, exclusive member offers and access to the digital back issue library. A Shooting Times & Country subscription is more than a magazine, don’t just read about the countryside; immerse yourself in its most authoritative and engaging publication.

