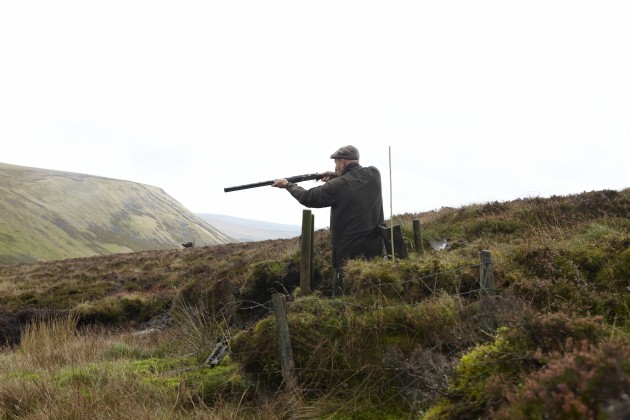
How to shoot grouse
What is it like to face a covey from the butt? Regular driven grouse shooter Tom Payne shares his perspective on the pinnacle of sporting shooting
I’m fascinated with wild game and especially grouse. I was lucky to spend my teen years on holiday in Scotland learning and helping the grouse keepers for a few weeks every summer. I could take you to the exact butt where I shot my first grouse at 14. Not only does the bird fascinate me but so does the knowledge of the keepers, owners, moor managers and experts that work tirelessly on the conservation of moorland, the husbandry and management of grouse. Without this knowledge no one would have the privilege of shooting the bird.
A lesson in shooting grouse
I describe grouse shooting as controlled, instinctive shooting. You must be very controlled and positive. You cannot treat grouse like pheasants and partridges. If you let the bird get on top of you, you will be beaten all day and tie yourself in knots.
It is important that you work on knowing your distances — a moor can be a difficult place to get your bearings. Your first shot should be taken at about 45 yards to give yourself a chance of taking two out of a covey. However, make your first shot the focus point or you will miss with both if you go in thinking that you’re going to shoot two before you haven’t shot the first. It takes a lot of practice to get your timing and confidence to shoot two birds consistently out of a covey.

Once you have picked your bird, that’s the one you shoot. Don’t change your mind at the last minute.
Your bird selection is key — once you have picked your bird, that’s the one you shoot. Don’t change your mind at the last minute. I tend to focus on birds in the middle of the covey as my gun will be moving forward for the second bird at the front. It sounds simple but the excitement of a big pack coming straight at you can be overwhelming.
Keep completely focused on what is going on and take into account the geography of the moor in front and behind. If you understand the ground it will help you read the birds over the ground. Make sure that when you see coveys moving that you stay alert and address the birds properly on their approach. By this I mean making sure your muzzles are just below your eyesight in the direction of the approaching covey. This will help you mount your gun on to your chosen bird correctly in a smooth movement to make your shot. Watch the bird die through your gun; this, in turn, will mean you will finish your shot off properly. Connection between yourself, your gun and the bird is key. Trust your ability when shooting grouse; if you hold on for a split second the bird will beat you.
Practice is key. It is important that you put the work in before you head to the moor. Find an experienced gameshooting instructor who shoots grouse who will be able to put you through your paces and answer any questions that you may have.
Walked-up grouse
Walked-up grouse, whether over pointers or spaniels working in front, is brilliant fun. However, walking-up grouse is a very different form of shooting and provides its own challenges.
Safety is the main priority when walking in a line for a walked-up day. Normally, the keeper running the day will take the middle and make sure that the line is kept as a line, with beat keepers, for example, keeping an eye on the flanks.

The first time on the moor can be daunting
Most experienced teams of walked-up guns will walk with their guns closed and pointing towards the sky. You must go steady when walking – it is not a race — and make sure that your gun is open at any obstacle or on poor to uneven ground. This may mean you could be opening and closing your gun all day, but far better that than the alternative.
Walked-up grouse is challenging. With pointers that work well you get some warning, but over spaniels anything could happen. Practise all different shots and angles, not just going away, at a shooting school. It is amazing how many crossers, and birds going back over the line there can be. Another point on safety: never swing back through your walked- up line. and keep fit!
Shooting safely
Grouse shooting is specialised and not like any other form of driven shooting. Even for the most experienced game Shot the first time on the moor can be daunting. Safety is the priority. When you get into your butt, make sure anything that could make your shooting situation unsafe is placed well out of the way. This includes bags, gunslips and dogs.
Position your butt sticks to create your safe angles of fire. They are provided to stop you swinging through the line, so take the time to place them correctly.
Make yourself fully aware of where any flankers are, especially if you are in the two butts at either end. I always take a walking stick with me and use it as an extra stick placed where a flanker may be.
Keep a close eye on them during the drive as they can work close into the line as they try to turn grouse over the butts. Make sure you acknowledge your flankers so that they know you know they are there. Do the same for pickers-up. they will be behind you, but it is courteous to let them know you are aware of where they are.
At all times make sure that there is absolutely no chance of taking a dangerous or risky shot and continually check and make yourself aware of your safe angles of fire throughout the drive.
When shooting birds going back, make sure you remove your gun from your shoulder, hold your muzzles towards the sky and then turn to shoot at birds going back. Do not get over-excited and come down on to your chosen bird too early; if there is a shooting accident this is normally the cause. When shooting birds going back, stay within your butt sticks. So often you see Guns getting too excited and walking to the back of the butt, which is a dangerous position for all involved.
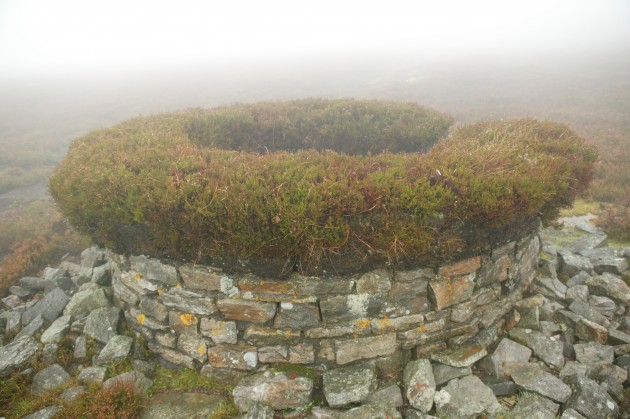
When you get into your butt, make sure anything that could make your shooting situation unsafe is placed well out of the way.
When the drive is coming to an end you will hear constant loud horn blasts from the keepers in the beating line. This signals that there is to be no shooting out front; only shooting out of the back door is permitted. Stay within your sticks and if you feel that beaters are too close before the horn, only shoot birds going behind. When you hear the horn, acknowledge your neighbouring butts by raising your gun so that everyone knows the horn has gone. Moors can be windy and the horn may not be heard by the line.
If you are a novice grouse Shot, concentrate on the birds out front and don’t worry too much about those behind. You will be able to practise those birds when the horn goes. By splitting the drive in two, you will stay focused. I would recommend single gunning on your first outing. There is a lot going on and having to worry about changing to another gun only adds to the mix. Build yourself into the day. On nearly all of the drives, the Guns will be in butts. Don’t start shooting until you know everyone is accounted for and safely in butts.
For those lucky to be heading to the moors, shoot straight, have fun but, most of all, be safe!
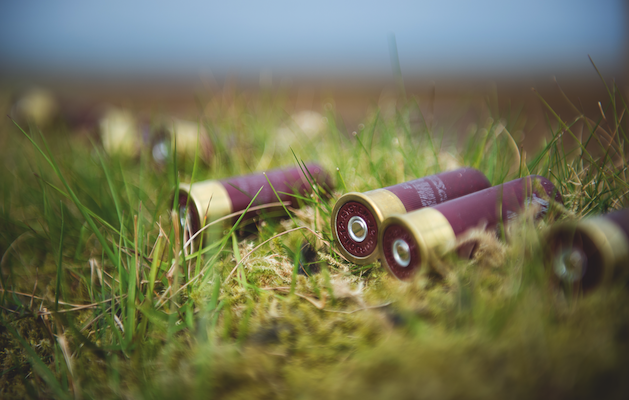
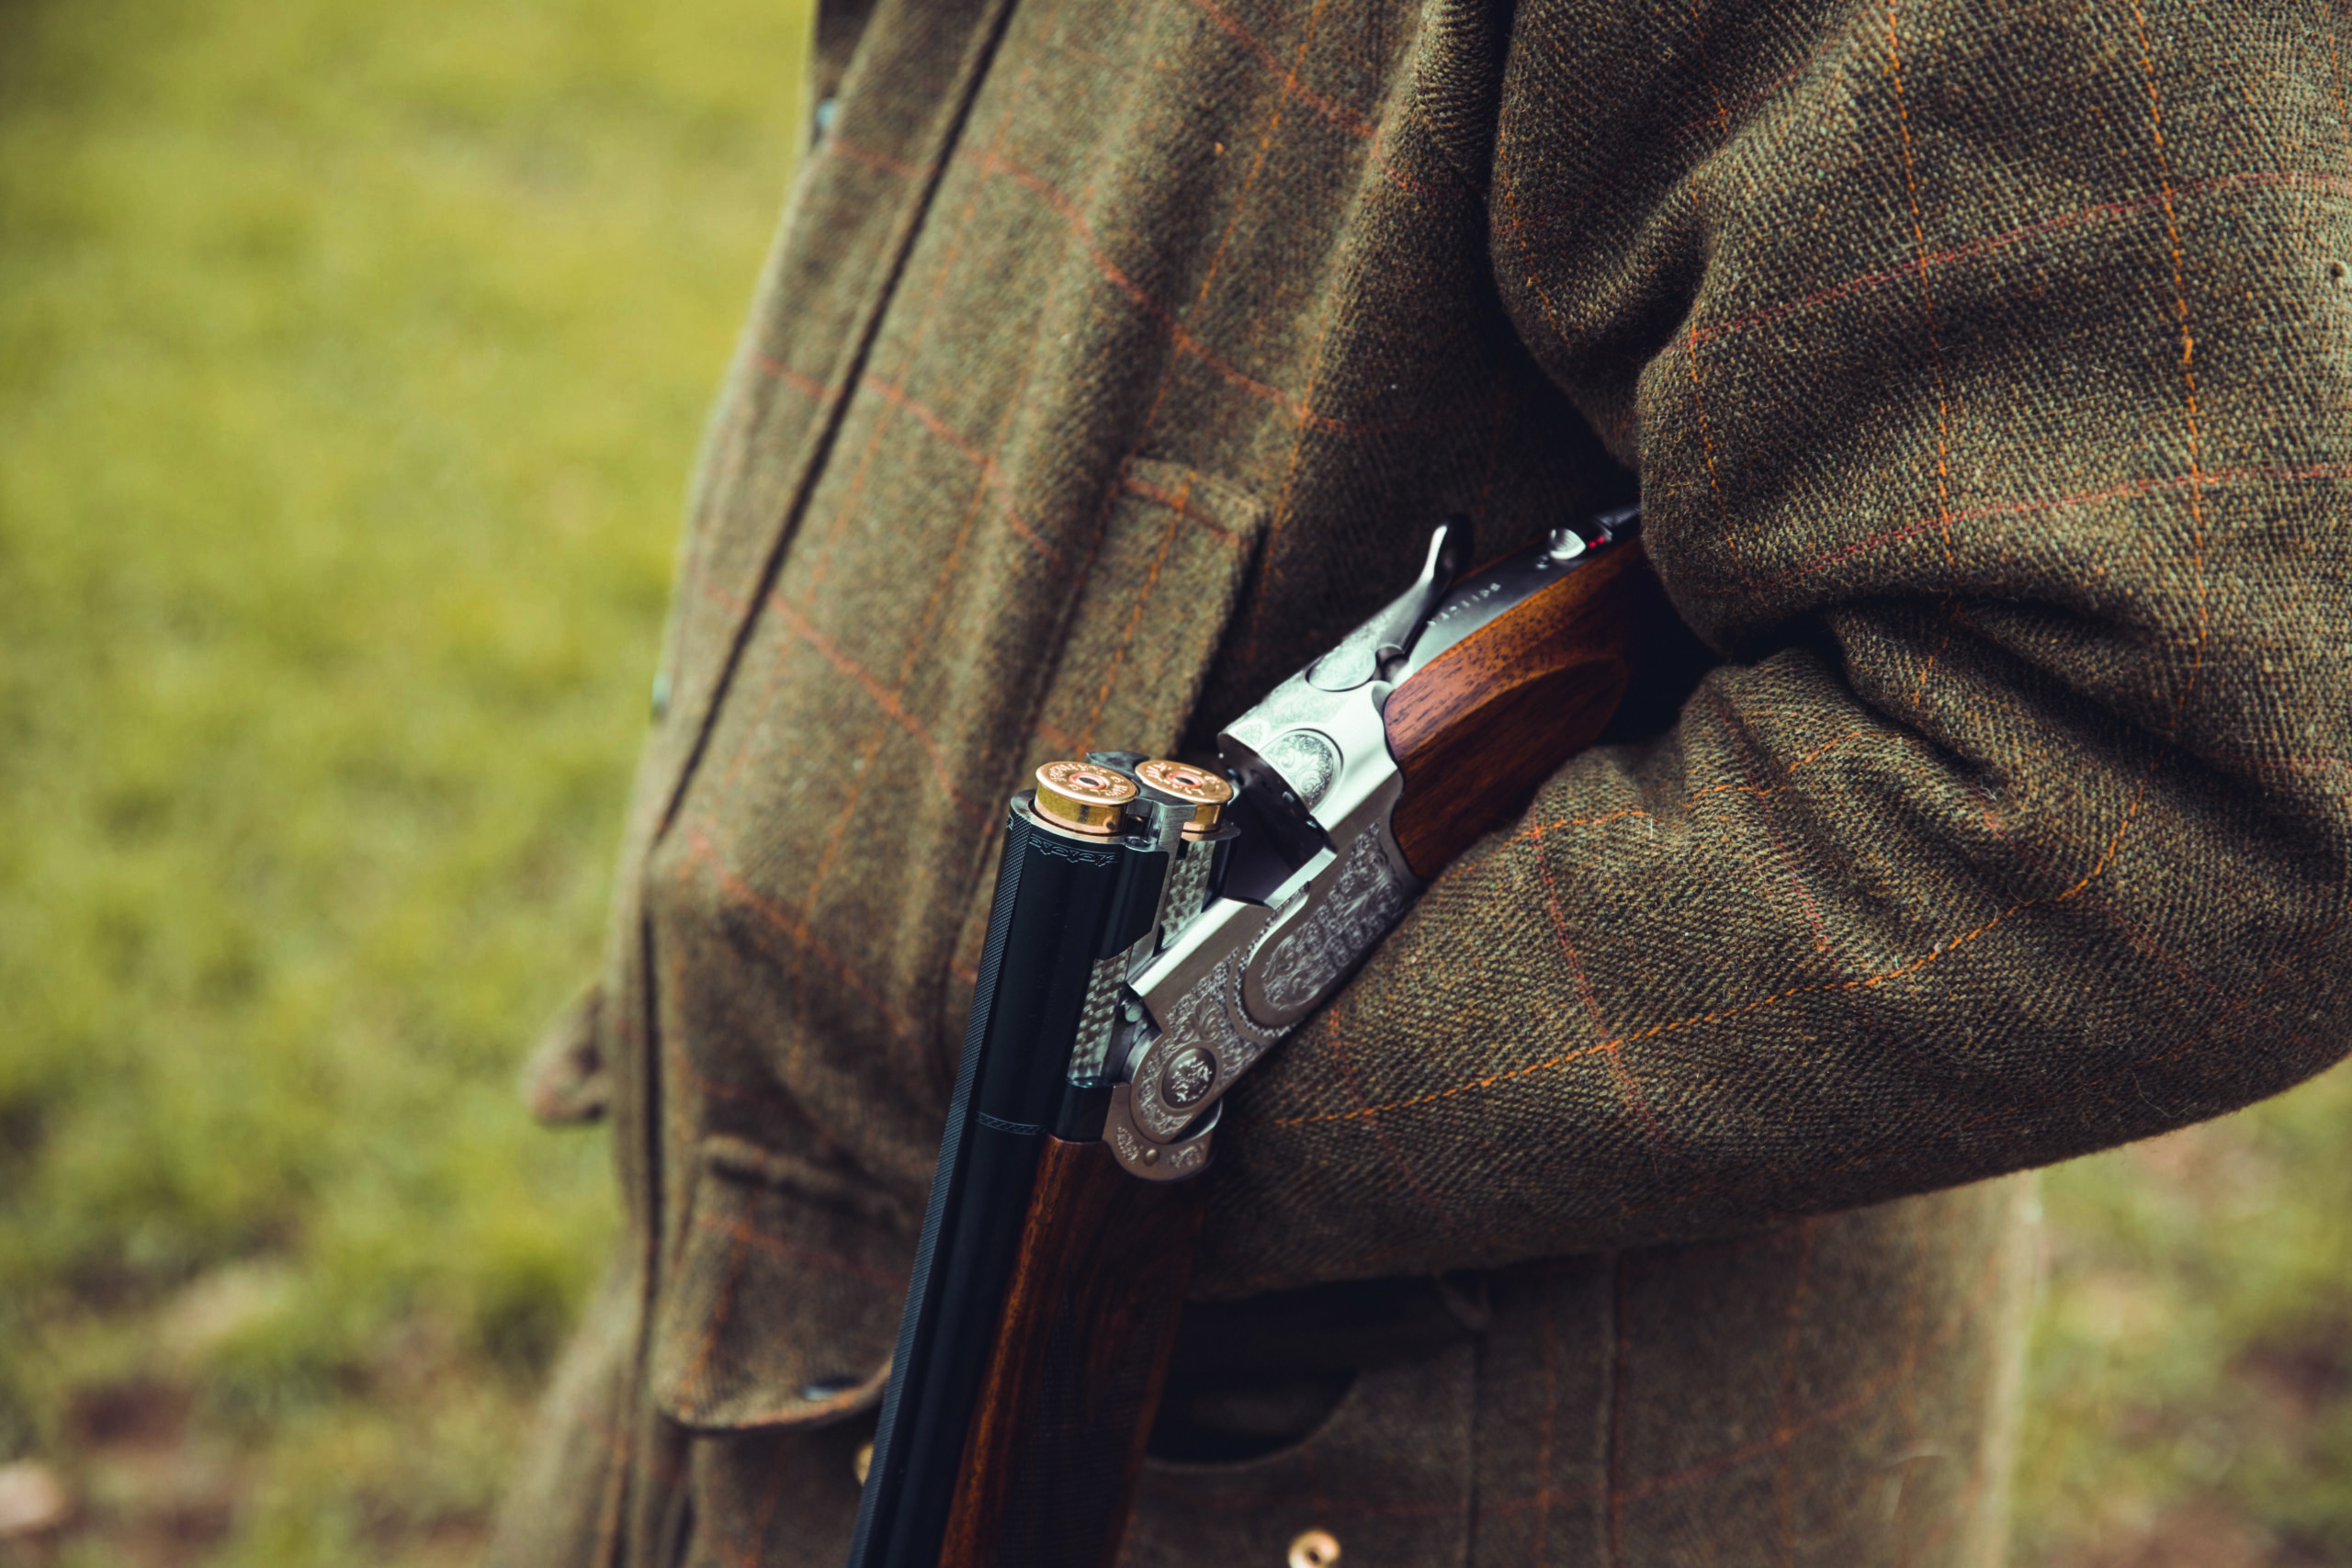
Cartridges for grouse shooting
A question I’m often asked, is what load size do I use? Early season I will use a 30g No. 5 and then move into 32g No. 5 later on. However, I have been using the specially designed copper-coated grouse load by Hull and they are very good. I particularly like the 30g No. 5½ I’ve tested them thoroughly on pigeon and a couple of early days on grouse, and they have performed extremely well. They are a perfect grouse load for both side-by-sides and over-and-unders.