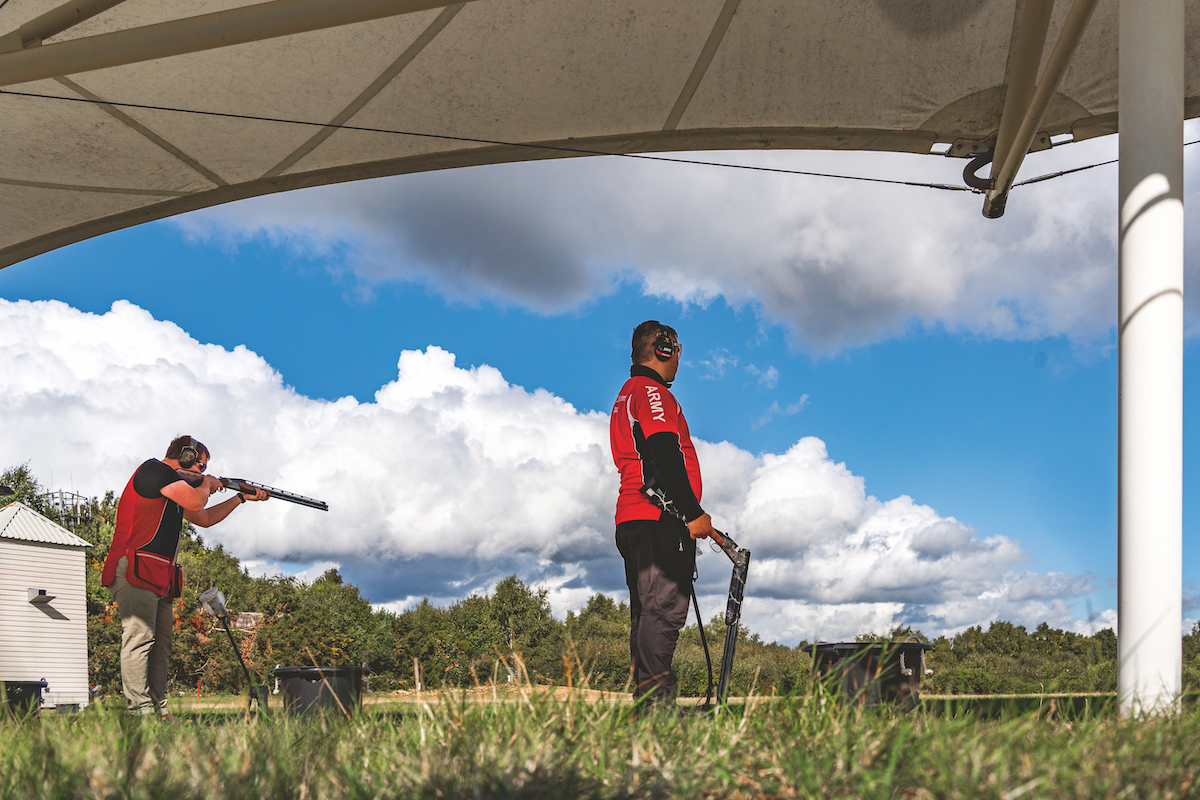
Clay pigeon shooting: Shooting a crossing target
CLAY PIGEON SHOOTING: To be honest, it’s probably more a combination of a medium speed/ slightly crossing/incomer than anything else, but I stick to my original description as that’s what I think describes this type of target most accurately.
Despite not being that popular around the shooting grounds, it’s a target you’re more than likely to encounter in a competition. It can be a sneaky little so and so, especially when it’s presented as a mini or midi, and I actually like to include this type of bird on a 50 or 100 bird layout… just to sort the men from the boys and to try and ensure that no one straights the layout.
I appreciate this bird can be a problem for many shooters, especially novices, so let’s have a quick look at how to break these dodgy little clays and keep your scores up with the big boys.
WHERE?
Just like every other bird on a sporting layout, unless you know exactly where the clay is coming from you’re always going to struggle that little bit more to hit it.

At the very best you’re going to be playing catch-up. And this is the first part of the problem – and a part that the course designer will exploit every time!
Quite often you might be able to see the trap. Great if you can, as it’s one less thing to worry about. Failing that, if the trap is out of sight you’re going to have to be able to decide in your own mind exactly where the bird will appear… whether it’s from behind a certain bush or tree, a clump of grass, even a twig or weed might be the key to remembering.
Make sure you’ve got it imprinted in your mind exactly where the bird is going to appear. That’s half the battle.
Tracking the line of the bird with your finger helps imprint the flight path in your mind, but the next thing to ascertain is where the bird disappears from view – either behind some form of vegetation, trees, bushes, hedgerows and the like, or where it physically hits the earth.
(Like most shooters I always find it’s often easier to judge a target’s distance when it’s near the ground, simply because there are reference points to which you can relate, unlike when the target is on its own up in the sky.)
Having a good idea how far away from the stand the target is at the very end of its flight will give you a pretty accurate idea of the distance to your kill zone.
WHEN?
Timing is crucial when trying to dust this type of target. Take the bird too soon – when it’s still a good distance away from the stand – and it might simply breeze through the shot pattern.

Trying to kill it too late often means the bird is no longer under power and it’s starting to drop to earth at a fair rate of knots.
HOW?
As mentioned before, watch the presentation of the clay like a hawk. From this you’ll identify your pick up point and the intended kill zone.

Keep your weight forward (there’ll be no reason whatsoever to transfer your weight onto the back foot.) Make sure the toe of your leading foot is pointing towards the kill zone – by doing this you’ll find you won’t (physically) run out of swing, i.e. you can’t move the muzzles any further without moving your feet at the same time.
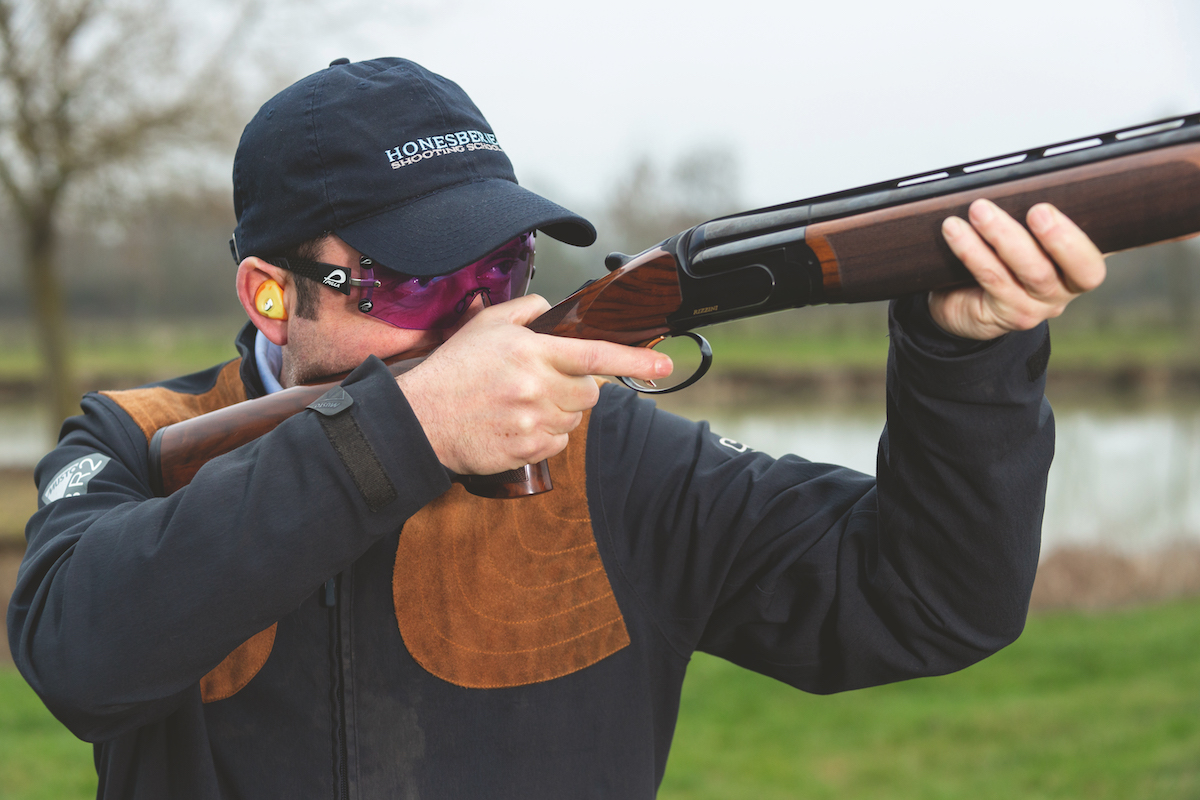
Don’t even think about trying to shoot gun-up, as this will tempt you to aim at the target. You’ll also find your concentration waning – and the gun starts getting heavy – as you wait for the bird to reach the kill zone.
For the same reasons, don’t mount the gun too soon. Adopt a comfortable stance.
Keep the stock just out of the pocket of your shoulder with the muzzles of the gun pointing at, or just in front of the pick up point. Remember, though, to keep the barrels just below the flight line so that you don’t obscure your view of the bird.
Before the bird is nearing your kill zone, bring the gun up into the shoulder – making sure your face is placed firmly onto the stock. When the gun’s mounted correctly you should be aware that the target seems to be hovering quite nicely on the bead of the barrel.
This type of bird naturally lends itself to the ‘pull away’ style of shooting. As such, keep the swing going and smoothly accelerate the speed of the muzzles ahead of the target.
Without stalling, and when your hand/eye coordination – backed up, admittedly, by your library of sight pictures – says “now”, simply pull the trigger.
Note: get the basics right, the preparation and stance and hitting this type of bird can be simple – relying more on instinct than style, coaching or technique.
The analogy I often use when coaching is that of a thrown cricket ball: If someone chucks a ball towards but a few yards ahead of you, you’ll automatically move forward, extend your arm and catch the thing.
You don’t hesitate, wondering to yourself, hmm, how fast shall I move forward? And how far shall I stick my arm out?
Instinctive shooting is the name of the game here… assuming, of course, that you’ve got all the groundwork already in place.