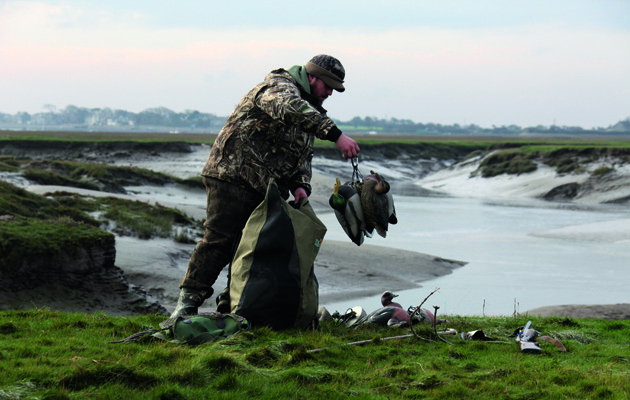
Decoy rigging
Tom Sykes explains how to rig duck decoys so that they can be used on motherlines or individual weights.
There are many ways to rig up decoys. Over the years, I have used a variety of cords and techniques on a range of decoys, until I found what I believe is the perfect combination.
You should start by choosing the best decoy for your price range. The UK decoy market is always improving, although we don’t have as wide a selection as the States, there are still a lot of products making it across the Pond.
I have been using Greenhead Gear (www.greenheadgear.com) decoys for the last five or so seasons and I really can’t complain about the quality. Even to this day, my original decoys still look great on the water, which takes some doing as they are out on average for two or three flights a week throughout the season. The Greenhead decoys are easy to use and rig up, with numerous holes to attach cord and a notch in the keel that firmly secures the decoy cord in place when the cord is wrapped up. The keels are weighted so that the decoy should sit correctly on the water and they do a great job of adding movement to the decoy spread with the slightest of currents. All the decoys are painted to the highest quality, which can make a difference when shooting daytime tides, though not a necessity in half-light conditions. They also have a variety of head positions, depending on the decoy, from resting to feeding and so on. This helps the decoys look natural and every little detail can help to turn the tables and make for a successful expedition out on the marsh.
Most UK suppliers stock a range of species, my current collection consists of a dozen teal, two drake pintail, half a dozen wigeon and five or so mallard. I especially like my teal decoys, which are a great way to bulk up a pattern as they take up very little room in a decoy bag. I rarely use all the decoys at once, but they do give me the option to mix and match. However, my new large flambeau decoy bag does allow me to carry all of them in comfort, which is useful when covering a lot of ground.
I have used a variety of cord over the years, but have stuck to tangle-free PVC cord for the past few seasons. I got mine, as with the rest of my kit, from Tidepool Wildfowling Products (www.tidepool.co.uk). This does what it says on the tin and prevents decoys from tangling together, allowing several to be carried at once by the string without spending hours at the other end untangling them.
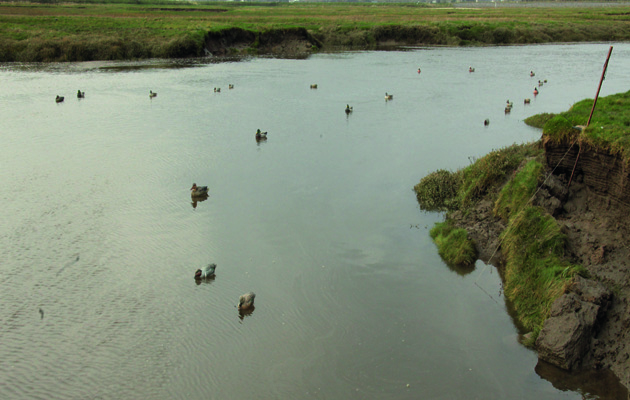
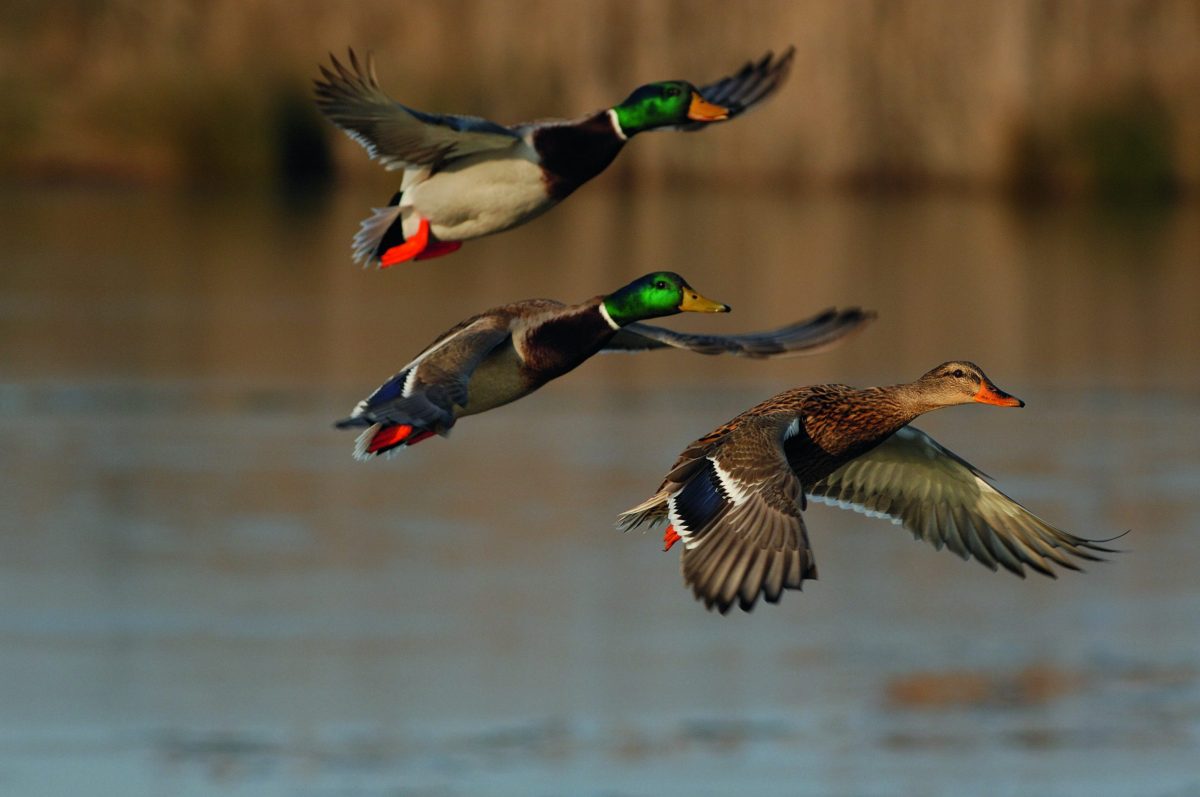
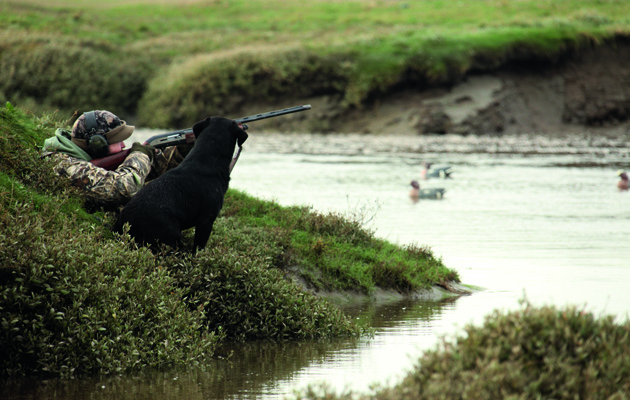
A well-made decoy can be hard to tell apart from a real duck at a glance, and turn the tide for a wildfowler on the marsh.
Rigging
There are many different ways to rig decoys. The Greenheads have numerous holes in the keel to attach them. The conventional way is to tie cord to the keel and then wrap it around the decoy’s neck. This is fine, but prolonged use can wear on the paint. For many years, I simply tied tangle-free cord to the lowest hole on the front of the decoy, which allowed me to wrap it up around the keel and use the notch at the front to keep the cord secure while in my bag. You can also use crimps, but rather than tying the decoy to the keel, simply thread a crimp over the cord, thread the cord through the keel hole and back into the crimp. Then compress the crimp together with a pair of pliers until tight on the cord. This is less likely to come undone than a knot and makes a tidier job.
‘Texas rigging’ is a technique that the Americans have been using for many years, with slight variations. It is possible to buy the rigs pre-made from some UK suppliers. The theory is that the line and weight are free-running on the decoy. Thread tangle-free cord through the lowest front loop on the decoy, but pull plenty of excess through to play with. Slide a two-way crimp over the cord and run the cord back through the crimp, leaving a circle about the size of a golf ball and crimp it firmly in place. Unravel the line to the desired length and cut it, ready for the weight to be attached. Take that end and thread a crimp through it, slide on a weight, then thread the line back through the crimp and clamp it tight. This technique is handy as the loop at the opposite end to the weight can be clipped to a carabineer, allowing the decoy to slide down the line to the weighted end. Numerous decoys can then be clipped together for easy carrying. When deploying, simply separate the decoys off the carabineer, allow the decoy to slide back to the loop end and place the decoys on the water.
The ‘Sykes’ rig
The next technique is my very own – the ‘Sykes’ rig – which takes elements of the Texas rig, but makes it more versatile for UK ‘fowling, be it tidal creek or inland pond. The basic principle is the same as the Texas rig, however as most of my decoying takes place on tidal creeks and rivers I have no need for a weight to be permanently attached to the decoy cord as I rarely use separate weights systems. I have replaced the weights with heavy-duty long line fishing clips (right) so that my decoys can be easily attached directly to a motherline without the need for loops. When it comes to using this system with weights, simply thread a loop of para-cord through a fishing weight and attach the long line clip to it. The para-cord is the key to this technique, as unlike a snap swivel, which can be looped on to the weight and re-clasped, the long line clip has to bite down on some form of cord.
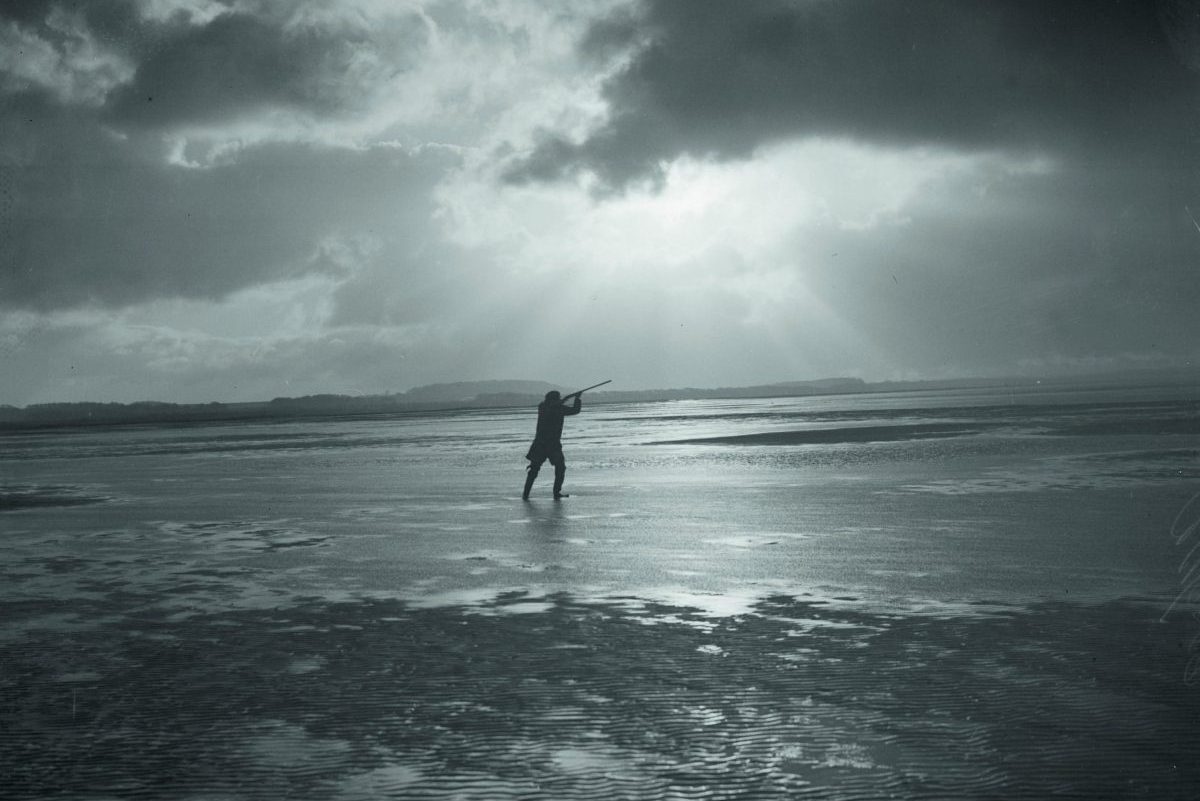
Despite your best efforts, it sometimes comes down to the duck gods whether it is a successful outing or not.
The buddy system
When deploying decoys with weights, try attaching decoys to each other. This way, you don’t have to carry a weight for every decoy, reducing the strain on your back. If using this technique with snap swivels, clip the swivel around another decoy that’s attached to a weight of motherline, so that it is free-running and will naturally sit on the water a cord’s length away from its partner. This can also be done with the long line clips, but with a greater control over how close the decoys sit from one another.
The loop closest to the decoy really comes in handy, as the decoys can be clipped together by this when carried to the water. If the full length of line is too much to handle, wrap the cord up around the keel and secure in the notch, then clip a few decoys together via the loop that is now fixed in place close to the decoy, although this will reduce the number of decoys attached together. A longer length can be pulled away from the decoy before it is wrapped and notched in place, allowing decoys to hang at different height to take up less room on the wall.
All the different rigging techniques will work, it’s just a matter of personal preference and finding the best setup for the individual’s needs. Despite your best efforts, it sometimes comes down to the duck gods whether it is a successful outing or not. So good luck and happy decoying!
Click below to view a short film of Tom rigging up a duck decoy: