Home/This is how to analyse your shooting (and become a better Shot)
This is how to analyse your shooting (and become a better Shot)
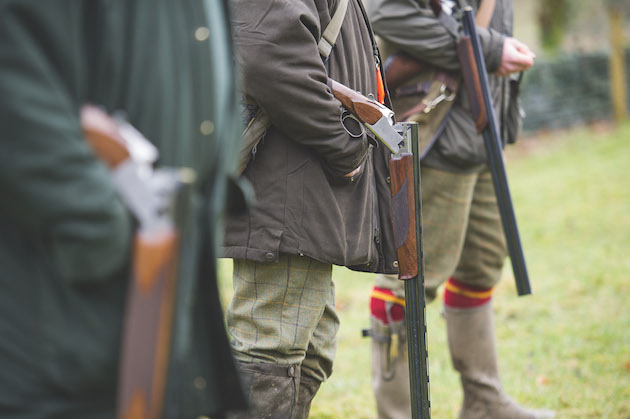
walking guns
ShootingUK18 June 2019
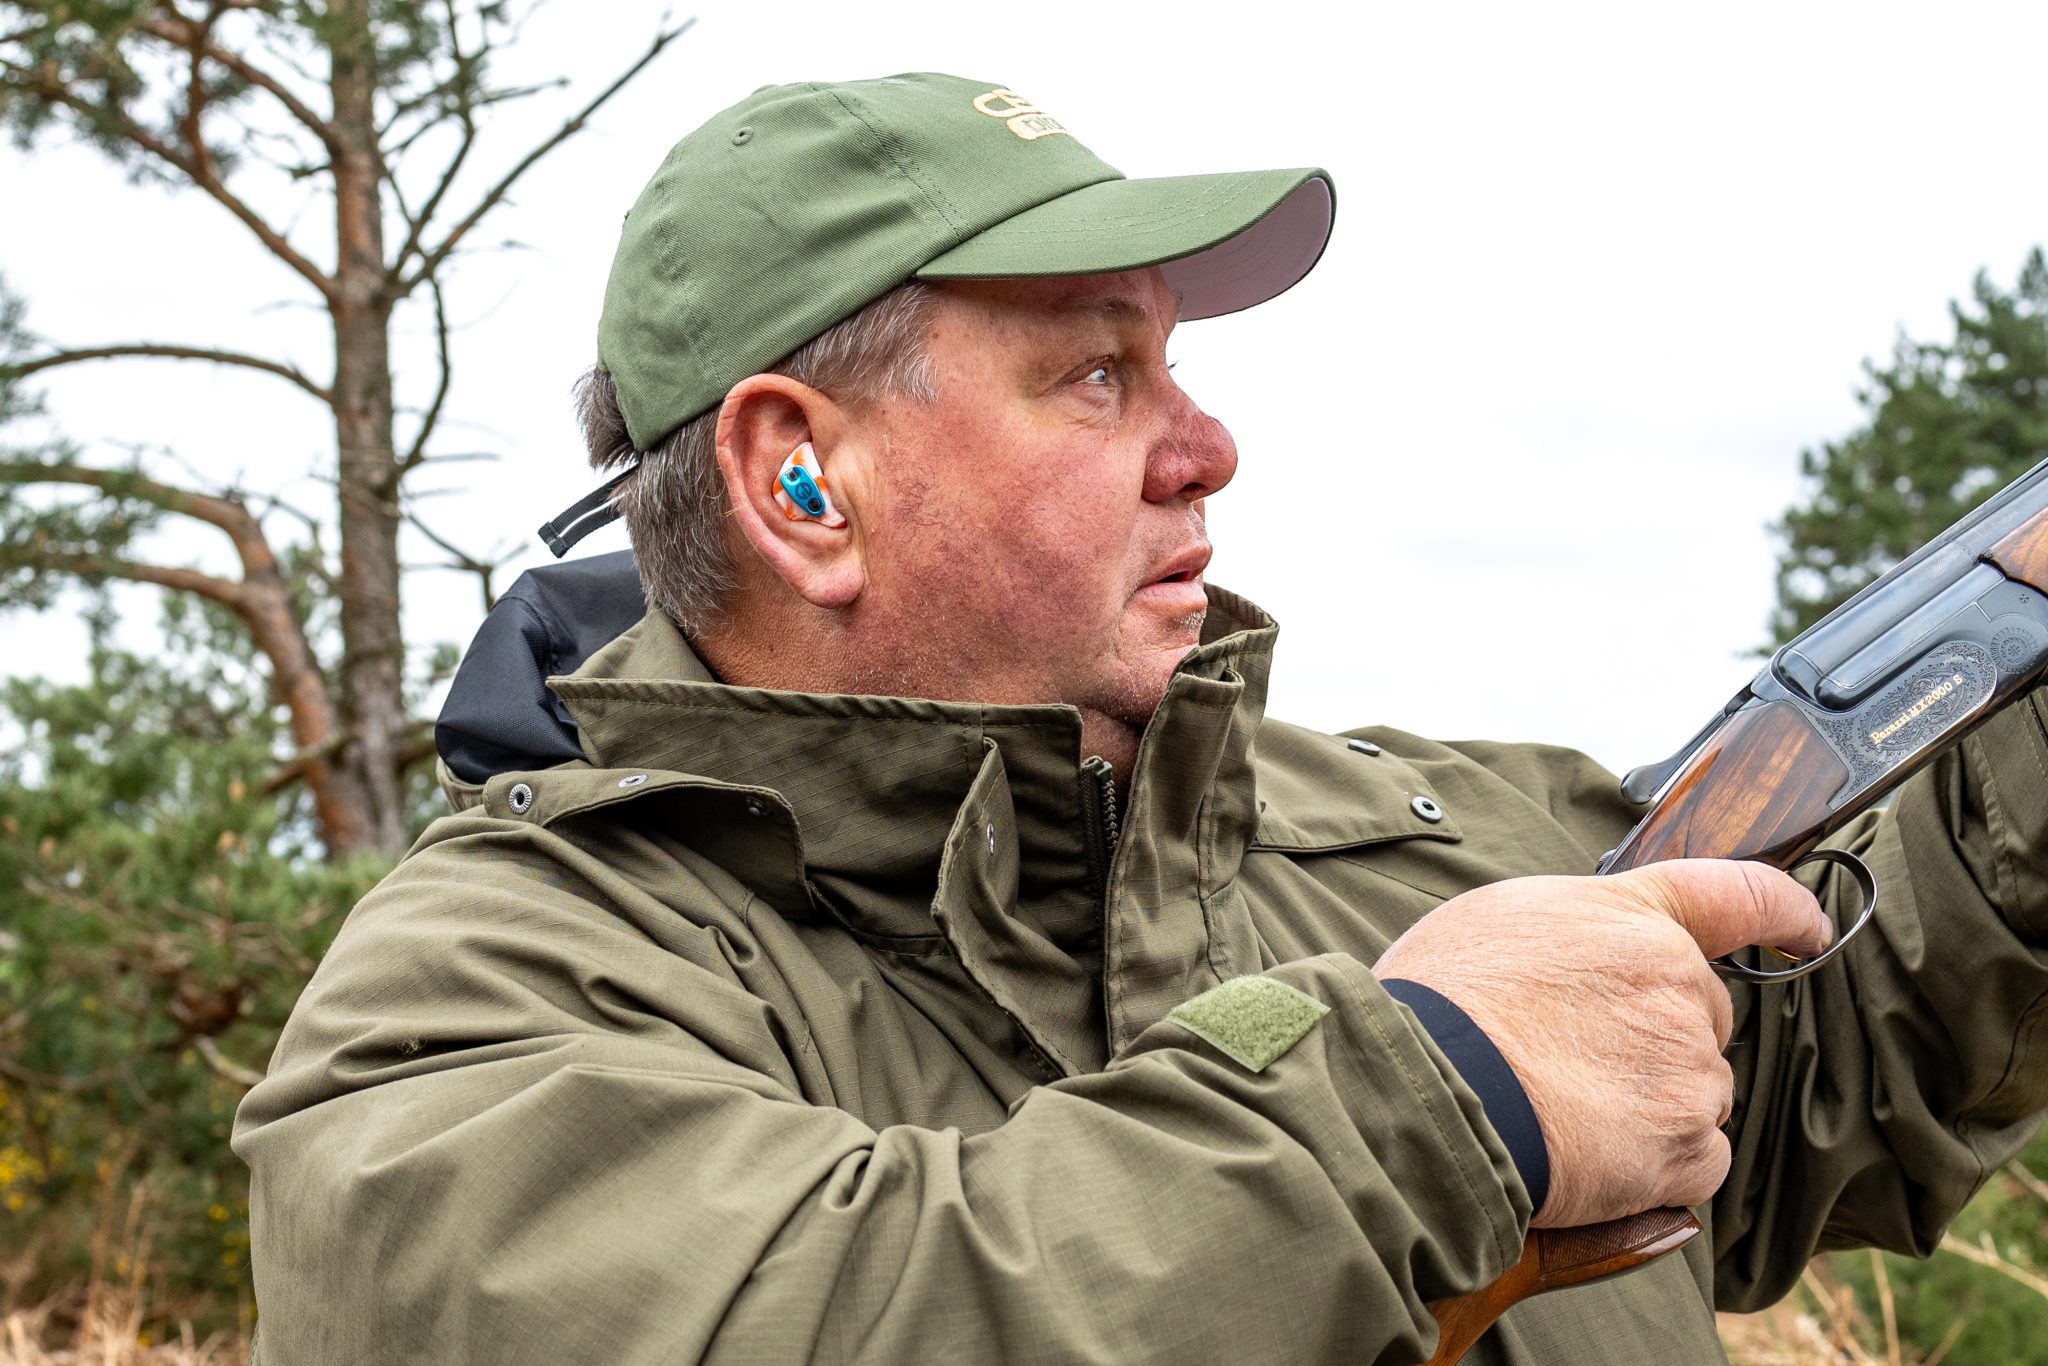
Eyes
If you are right-handed it is crucial that your right eye controls the direction in which the gun is pointing. Or your left eye, for the left-handers who shoot with the gun in the left shoulder. When the opposing eye takes over control of the pointing activity, the shot pattern will be placed yards away from the intended place, when the target is out at a distance of 30 or 40 yards from the gun.
There are many ways of doing an initial check on eye dominance, but the better processes involve pointing either a finger or ideally an unloaded gun at a distant test object. Your coach will be able to identify any pointing error by standing behind your shoulder.
In fact, you can check your gun pointing capability for yourself. For a right-hander, mount an unloaded gun to your right shoulder and with both eyes open, point at a distant twig on a tree. Close your left eye. If the gun is still firmly pointing at the intended twig, your right eye is controlling the gun and you are right-eye dominant. Any hint that the gun is pointing to the left of the intended twig indicates that your left eye might be misdirecting the gun. If the gun appears markedly out of line, to the left, you are probably strongly left-eye dominant.
Associated with this interference by an “unhelpful” opposite eye is the sensation that with both eyes open, you are seeing the left side of the gun or seeing two guns, getting a confused picture.
To successfully direct the shotgun you will need to close your left eye or render it non-operational by putting a small patch on your shooting glasses. The patch should be placed on the left lens so that when you have the gun mounted properly, your left eye cannot see either the end of your gun or the test target.
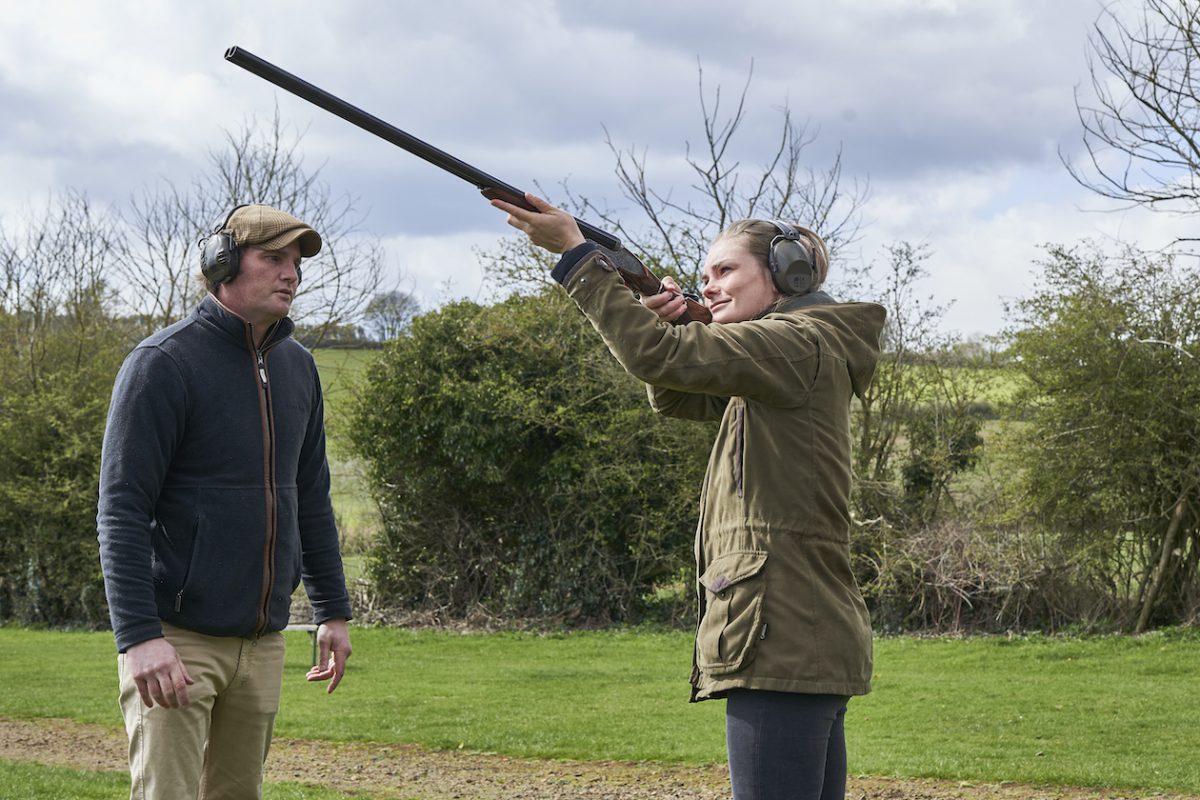
Cheek
Mount the gun to your cheek so that your line of sight grazes the top rib of the gun. In other words, the gun is pointing where you are looking — with your right eye, for right-handers. If your eye is too high, the top rib will look like a motorway stretching out before you. The shot pattern will be placed too high when you shoot. With your eye too low, you will be looking into the back of the top lever of the gun and may well lose sight of the target.
Practise your gun mount so that when you bring the gun to your cheek, you remember the touch position as the stock of the gun contacts your cheek, reasonably firmly. As the gun touches your cheek, it should also reach your shoulder at the same time; and if the gun fits you properly this simultaneous placement for the stock will happen automatically.
There should be no hint at all of getting the gun to your shoulder and then lowering your head to align your eye. Your coach can provide advice on gun fit.
To help with this efficient gun mount, imagine a laser coming out of a barrel of the gun and point it at the target, as you bring the gun to your cheek. During the mounting process keep the laser pointing at the target, by moving both of your hands in unison.
The gun and target are now therefore moving at the same angular speed across the sky. As the stock of the gun meets your cheek and shoulder, pull ahead of the target to give the appropriate forward allowance, in front of the target and pull the trigger.
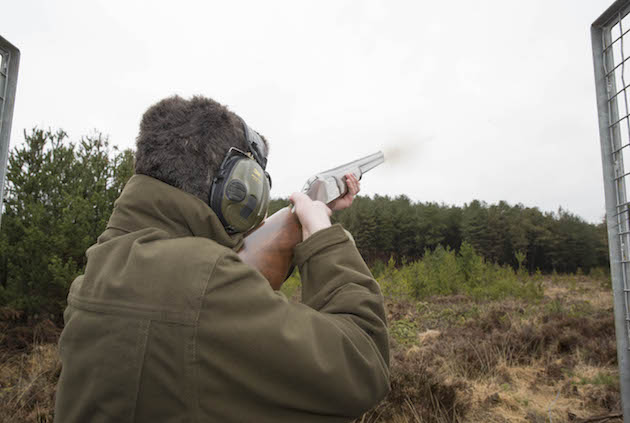
Keep the gun moving until you see the target has been hit. Always make sure you keep your head down and cheek on the stock throughout the shot, and remember you may need a second barrel.
Lifting the head from the stock is a very common error and is a natural reaction to give your brain more information about the target or a clearer view. The result is a shot placed too high, over the target. When the stock is on the cheek touch position, keep it there during the shot.
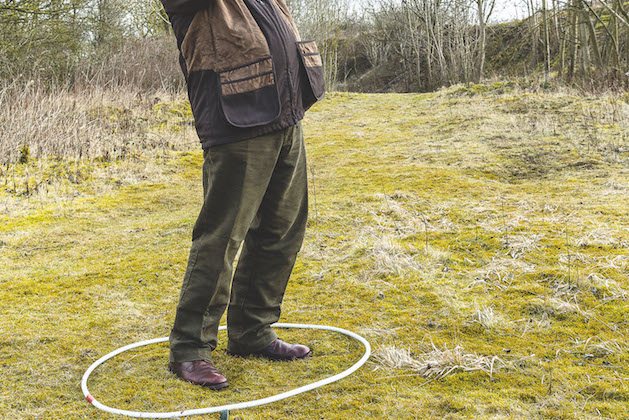
Your feet should be approximately shoulder width apart
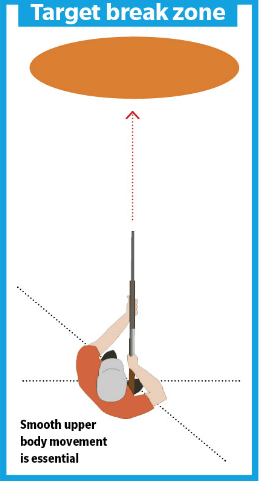
Upper body movement
Successful shotgun shooting depends on the smooth and controlled movement of your torso and arms to cover the area of the sky, or ground, where you are going to shoot the target. It is important to emphasise where you are going to shoot the target, not where the target has come from or indeed where it is going.
Set up your feet and therefore the position of your upper body to allow two barrels in the optimum area of the sky.
A line through your toes will be at approximately 45° to the target contact area. Your feet should be approximately shoulder width apart. Any wider and your hips start to lock up earlier in the gun swing; any closer and you lose vertical stability. This component of shotgun shooting mirrors the need for correct foot placement in golf, cricket and tennis, for example.
The test of whether your feet are in a good position is to move your upper body and your mounted gun in the area of the sky where you anticipate shooting the target. Where you intend to shoot the target should be at the most comfortable and controllable area of your body and gun movement. The most extreme upper body position is for the “true driven” target directly above your head.
Traditional shotgun coaching for this type of target centred on two differing techniques — one with weight principally on the forward, left foot (for the right hander) and the other method where weight was placed on the back, right foot. To some extent, the chosen technique will depend on your upper body flexibility — and the age of your spinal column.
Don’t be constrained by using just one technique; if it is more controllable for you as a right-hander to let your weight come back on to your right rear foot, do so. If you are comfortable on the front foot and with a curled torso, do that. It may depend to some degree on the type of driven target, its speed, height and curl.
Diagnosing yourself to become a better Shot
Things may go wrong. Rarely, let’s say, but they can. If they do, go through the pre- and post-shot checklist:
• Any eye problems?
• Did I close my offending dominant eye for the shot?
• Did I mount the gun properly to my well-practised touch position on my cheek and was the gun simultaneously in my shoulder?
• Did I lift my head to “look for” the target, resulting in a shot over the top?
• Did I have my feet in the right position and shoot the target in the expected position in the sky or was I caught out a bit?
• Did I read the flightline of the target correctly and establish a good gun-and-target relationship during my gun mount?
Do you have a feeling that you could improve your gun-mount? Well, there’s no better time than the present for…
If all of these variables were performed correctly, the only reason for missing must be an incorrect forward allowance, or lead, in front of the target. It may be that you simply got the gap wrong or, in the overwhelming desire for success, you tried to consciously measure the forward allowance and looked from the target back to the gun. Have confidence in your technique, focus keenly on the target and your brain will know where the gun is pointing.
Those concerned with presentation of birds and seasonal returns might be best buying in purebred Alectoris rufa from Portugal. Egg and poult producer Bryan Johnston explains
By ShootingUK
Get the latest news delivered direct to your door
Subscribe to Shooting Times & Country
Discover the ultimate companion for fieldsports enthusiasts with Shooting Times & Country Magazine, the UK’s leading weekly publication that has been at the forefront of shooting culture since 1882. Subscribers gain access to expert tips, comprehensive gear reviews, seasonal advice and a vibrant community of like-minded shooters.
Save on shop price when you subscribe with weekly issues featuring in-depth articles on gundog training, exclusive member offers and access to the digital back issue library. A Shooting Times & Country subscription is more than a magazine, don’t just read about the countryside; immerse yourself in its most authoritative and engaging publication.
To provide the best experiences, we use technologies like cookies to store and/or access device information. Consenting to these technologies will allow us to process data such as browsing behavior or unique IDs on this site. Not consenting or withdrawing consent, may adversely affect certain features and functions.
Functional
Always active
The technical storage or access is strictly necessary for the legitimate purpose of enabling the use of a specific service explicitly requested by the subscriber or user, or for the sole purpose of carrying out the transmission of a communication over an electronic communications network.
Preferences
The technical storage or access is necessary for the legitimate purpose of storing preferences that are not requested by the subscriber or user.
Statistics
The technical storage or access that is used exclusively for statistical purposes.The technical storage or access that is used exclusively for anonymous statistical purposes. Without a subpoena, voluntary compliance on the part of your Internet Service Provider, or additional records from a third party, information stored or retrieved for this purpose alone cannot usually be used to identify you.
Marketing
The technical storage or access is required to create user profiles to send advertising, or to track the user on a website or across several websites for similar marketing purposes.

 walking guns