★ Beat print – get early access to the news by signing up to the Shooting Times newsletter here ★


How to clean your PCP airgun barrel
When you shoot a pellet, a small amount of lead gets deposited in the lands and grooves of the rifling in your barrel – and that’s a good thing. That lead provides a smoother, slicker surface for subsequent pellets to travel over. But the leading will keep getting thicker – and eventually, instead of aiding consistency and accuracy, it will work against it. Which is why knowing how to clean your PCP airgun barrel is essential for long term consistency.
Some shooters believe they never need to clean their barrel, but excess lead does need to be removed. How often will depend upon your particular barrel, the purity and type of lead used to make your chosen pellet, and its velocity. Some people like to clean after 250 or so pellets and some will even do so every time they shoot their rifle. My preference is to clean the barrel after shooting a tin of pellets, as it’s easy to keep track of the number of shots I’ve fired. It’s also a good idea to clean a new barrel before shooting, to get rid of any manufacturing oil or lead residue.
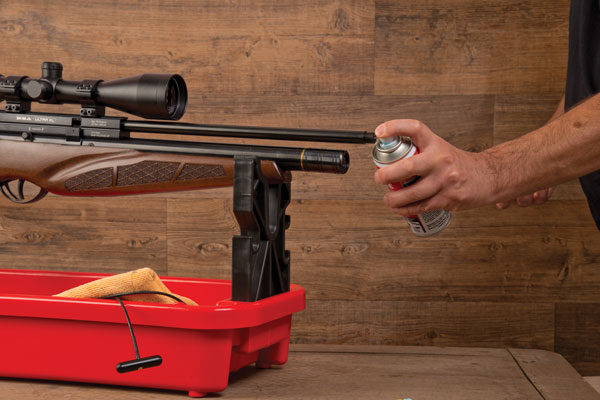
Remember to close the bolt when spraying down the barrel, keeping the solvent away from the action
The process for cleaning springers and gas-rams is fairly straightforward, so here we’ll concentrate on PCPs. Whenever you work on a rifle, it should be checked to see it’s safe and supported in a gun vice or cradle. Gather everything you need before you get going. I’m using the Napier Power Pull Through Kit, which includes all the cleaning products you’ll need, but there are plenty of alternatives on the market.
It’s best to carry out the barrel-cleaning process in a clean area. Some of the products being used can irritate skin and eyes, and we are also dealing with the removal of lead, a poisonous metal. Latex gloves will offer the best protection, although I just prefer to wash my hands thoroughly once I’ve finished.
How to clean your PCP airgun barrel: what you will need…
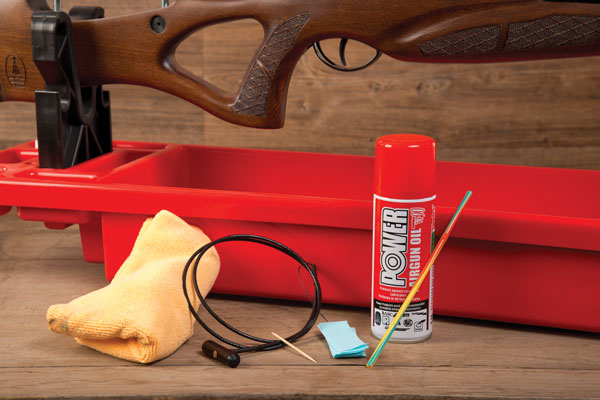
- Gun Cradle: Some way to hold the rifle steady is a must. This particular Gunsmith’s Maintenance Centre from MTM is about 13 years old and is still going strong.
- Pull-through: This pull-through from Napier has been given a bore-friendly coating that won’t harm the rifling. The big advantage of a pull-through is the fact that you’re cleaning the barrel in the direction of travel of the pellet.
- Patches: These pre-cut patches are also from Napier – just layer different numbers of patches according to the calibre of the gun you’re cleaning, and don’t forget some pistol barrels can be cleaned this way as well.
- Airgun oil: Aerosol oils like Power Airgun Oil can be sprayed down the barrel to help loosen lead deposits before cleaning begins in earnest. The same oil can be sprayed on the patches for use with the pull-through. (Read best gun oil here).
- Toothpick: A humble toothpick can be worth its weight in gold when trying to hook the patch-retaining loop of the pull-through out of the breech – that’s often a place where even the smallest fingers can’t reach in far enough to get a proper grip on the loop.
- Drinking straw: A straw gives the pull-though a head start any time you’re trying to clean a barrel that doesn’t offer direct access to the muzzle, such as a shrouded barrel with a non-removable end cap.
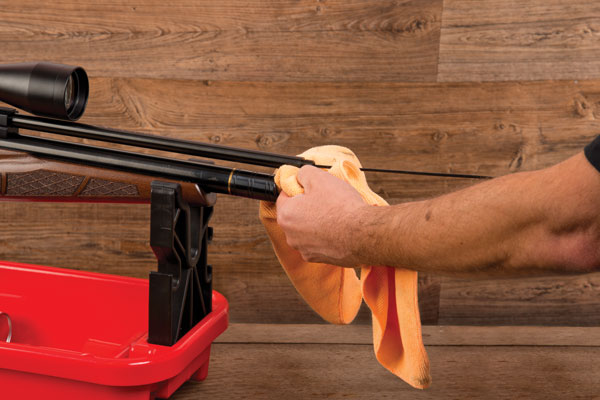
- Microfibre cloth: The ubiquitous microfibre cloth has dozens of uses for airgun maintenance; in this case, it can be used to contain any oil and lead residue that’s being pulled out of the barrel.

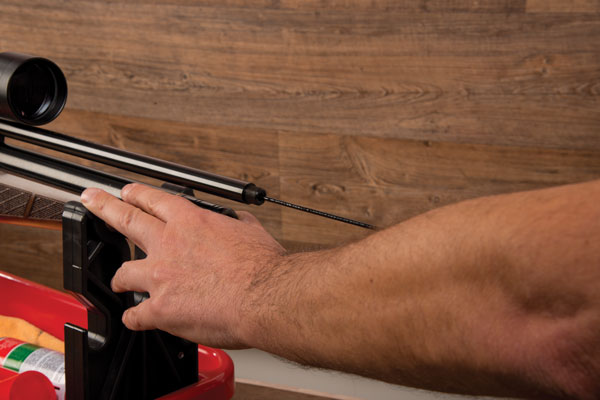
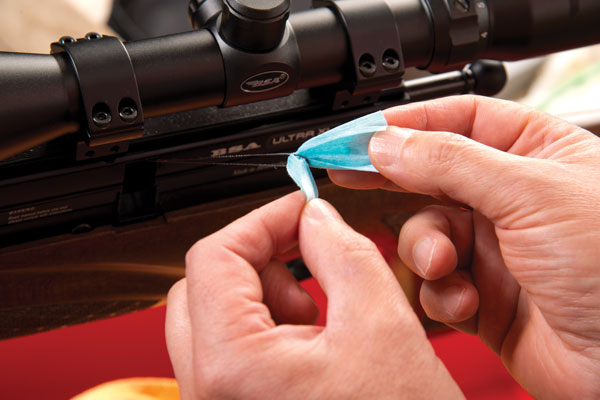
The easiest way to insert a pull-through is directly into the barrel – this BSA Ultra XL makes the job easy
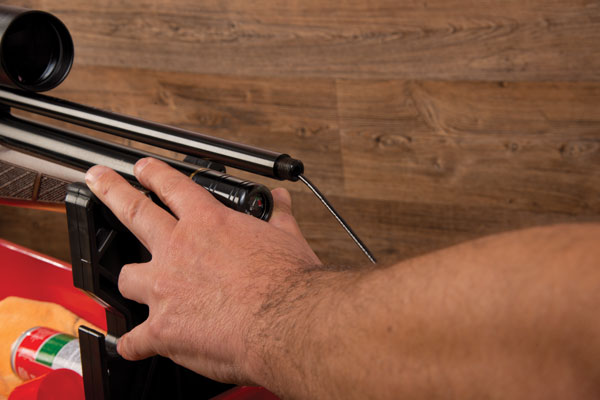
The Napier set includes a can of Power Airgun Oil, which should be sprayed down the muzzle and left to dwell for about a minute to loosen the lead deposits. It’s best to do this with a closed bolt, to stop the spray getting into the action. As you need access to the breech, you’ll need to cock your rifle and apply the safety, after which the pull-through can be fed down the barrel from the muzzle end.
Most air rifles will have some sort of device attached to the muzzle, and it’s far easier to both spray the oil and clean the barrel with this removed. A PCP like the BSA Ultra XL is the simplest to deal with, as it features an air stripper that just unscrews. Rifles like the Air Arms S400 are almost as easy, the muzzle end cap in this case being held in place with a grub screw. Guns such as the BSA R-10 SE and the Daystate Saxon have moderators that are screwed into a shroud, rather than the barrel, but they can still be easily removed.
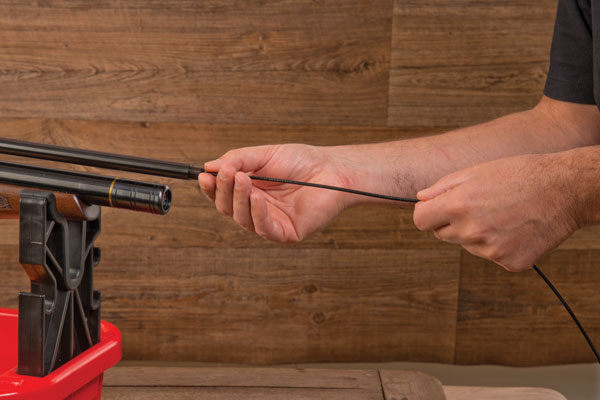
Feed the pull-through carefully down the barrel, taking care not to scratch the lands: even though brass is softer than steel, it can still do some damage if it’s not used correctly
Some guns, like the Zbroia Kozak, feature a shroud that does not offer direct access to the barrel itself. Most shrouds extend beyond the actual length of the barrel. Trying to feed the pull-through down the shroud and in through the muzzle will usually result in the loop that holds the cleaning patches just folding up on itself. Repeatedly plugging away, hoping the pull-through will eventually find the bore, isn’t a great idea either.
Many pull-throughs feature a coated brass shank, which shouldn’t be stabbed against the crown as it could potentially do some damage. Instead, use a drinking straw to present the pull-through centrally to the bore. Just make sure the straw is long enough so it doesn’t slide inside the shroud, never to be heard of again. Don’t ask how I know this.
How to use a pull-through
Wrong: The pull-through is rubbing against the crown – in time you risk damaging the crown, and that will lead to serious accuracy issues
Right: Take hold of the pull-through and pull the patches through the bore, taking care to keep everything central and away from the crown
With the pull-through fed down the barrel, look for the little loop to appear in the breech. This area is usually too cramped for your fingers to reach into: you may need to use something like a cut-down cotton bud or a toothpick to hook it and retrieve it, so you can then add the patches.
The Napier set includes some pre-cut patches, which should be sprayed with a little oil and hooked into the loop on the pull-through. It’s important to get the right degree of friction in the bore to clean the barrel effectively.
Napier suggests two patches for .177, three for .22 and four for .25. If the barrel is particularly dirty or has never been cleaned, use one patch less on your first pass to remove the excess build-up, then use the recommended amount. When you pull the patches through, be careful to pull centrally to the bore, otherwise you run the risk of damaging the crown. Another thing to watch out for is the cloud of oil and lead vapour that will appear when the patches pop out. Wrap a paper towel or microfibre cloth around the muzzle to stop these chemicals from getting into your lungs or over your worktop.
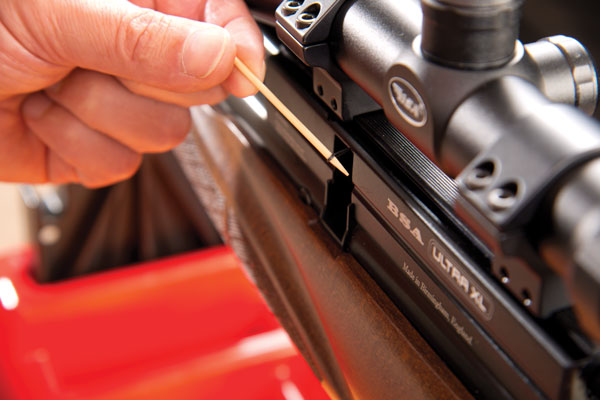
You may need to use a tool to hook the loop of the pull-through
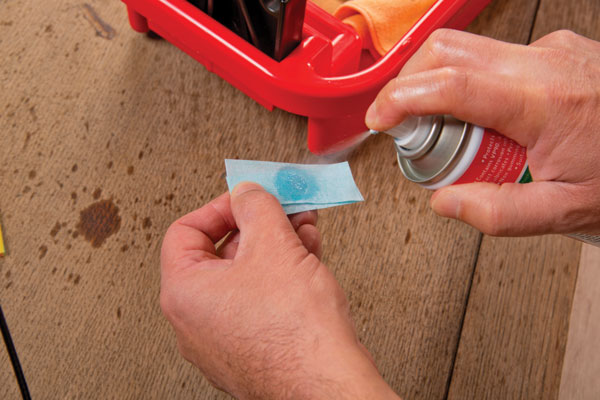
Choose the right number of patches for your calibre
Now all you need to do is repeat the process until the patches come out clean. If you’re going to put the gun in storage for a while – maybe you put your gun away over the winter – make sure there’s a light film of oil in the bore, which will help protect the metal from any moisture that’s trapped in your gun cabinet or bag.
But remember your rifle is still cocked at this stage, so when you dry-fire to clear the action, shoot it outdoors: you will be blasting out a cloud of excess gun oil, even though there’s no pellet in the breech. There will still be enough oil left in the barrel to protect the bore. If your rifle is destined to be shot rather than put into storage, finish off the pull-through process with a couple of dry patches, as you want your pellets to re-lead the barrel with a clean, dry bore.
Poke them through the loop, pull them through the bore and see what comes out the other end!
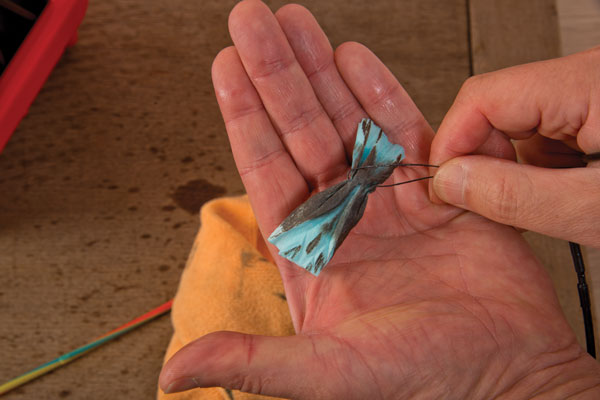
You can tell how dirty the barrel has become by looking at the accumulated lead that’s been removed from the lands and grooves of the barrel
If you did unscrew anything from the muzzle end, now is a good time to lube the threads with a good-quality moly grease such as Bisley’s. This will stop the metal from seizing, especially if you’re screwing aluminium onto steel, and makes it easier to remove your brake, muzzle cap or moderator next time. You may want to add a little grease to the rear of your bolt or the hinge mechanism on your sidelever.

Any time you remove a moderator, air stripper, muzzle brake or thread protector, give the contact surfaces a thin coat of moly grease
That’s it: job done. You’ve now carried out a deep clean of your bore without using any nasty jags or brushes that could cause damage. These are great for powder-burners, but are not recommended for airguns. All that’s left to do now is re-lead your barrel by firing some pellets down the tube. Accuracy may be woeful at this stage, but as the barrel starts to regain its optimal level of leading – and this can take anywhere from 10 to 50 shots – your rifle will start shooting far straighter than it did before!
Related Articles
News
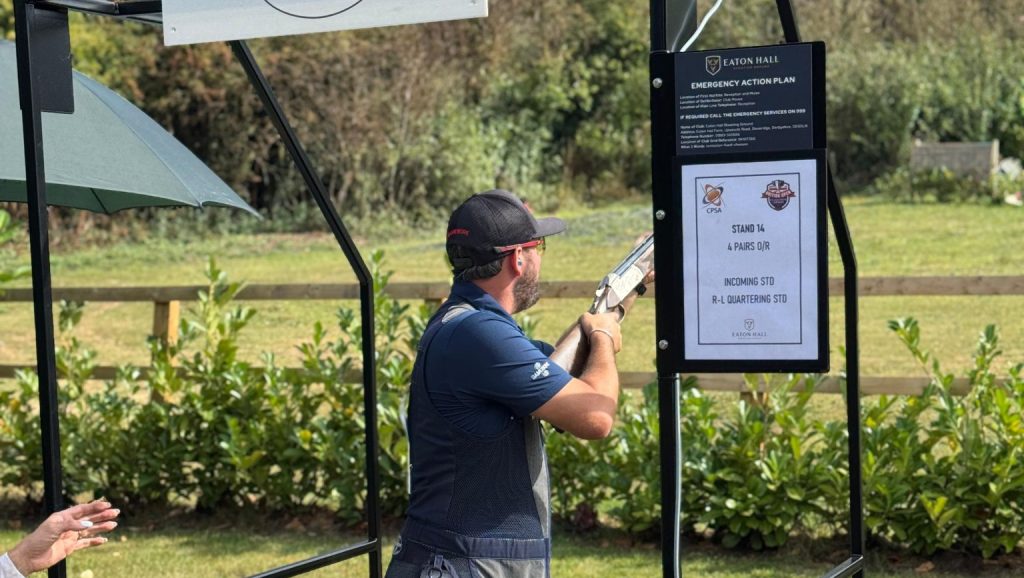
The £400,000 clay shoot: Eaton Hall aims for a British record
Eaton Hall Shooting Ground will offer a record £400,000 prize pot at the 2026 TopGun Championship, including a £180,000 Super Final bonus.
By Hollis Butler

News
Debanked? The new law is on your side
New banking rules require banks to provide 90 days’ notice and a clear explanation for closing accounts, reveals Conor O’Gorman
By BASC
Get the latest news delivered direct to your door
Subscribe to Shooting Times & Country
Discover the ultimate companion for fieldsports enthusiasts with Shooting Times & Country Magazine, the UK’s leading weekly publication that has been at the forefront of shooting culture since 1882. Subscribers gain access to expert tips, comprehensive gear reviews, seasonal advice and a vibrant community of like-minded shooters.
Save on shop price when you subscribe with weekly issues featuring in-depth articles on gundog training, exclusive member offers and access to the digital back issue library. A Shooting Times & Country subscription is more than a magazine, don’t just read about the countryside; immerse yourself in its most authoritative and engaging publication.

