
How to prepare a pheasant – with Amy Willcock
Shooting Gazette’s food and lifestyle writer, Amy Willcock, shows you how to prepare a pheasant ready for cooking.
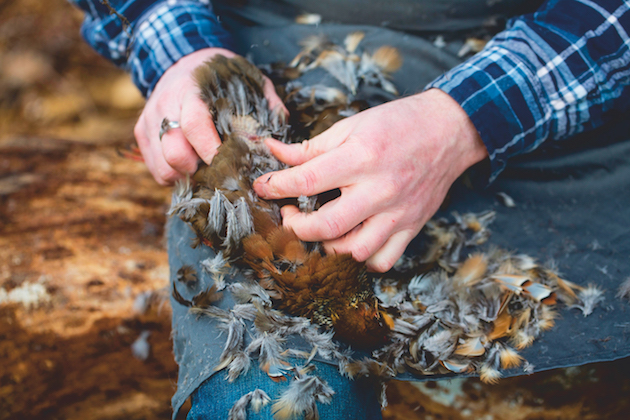 FWGDTE A man sitting plucking feathers from a game bird carcass.
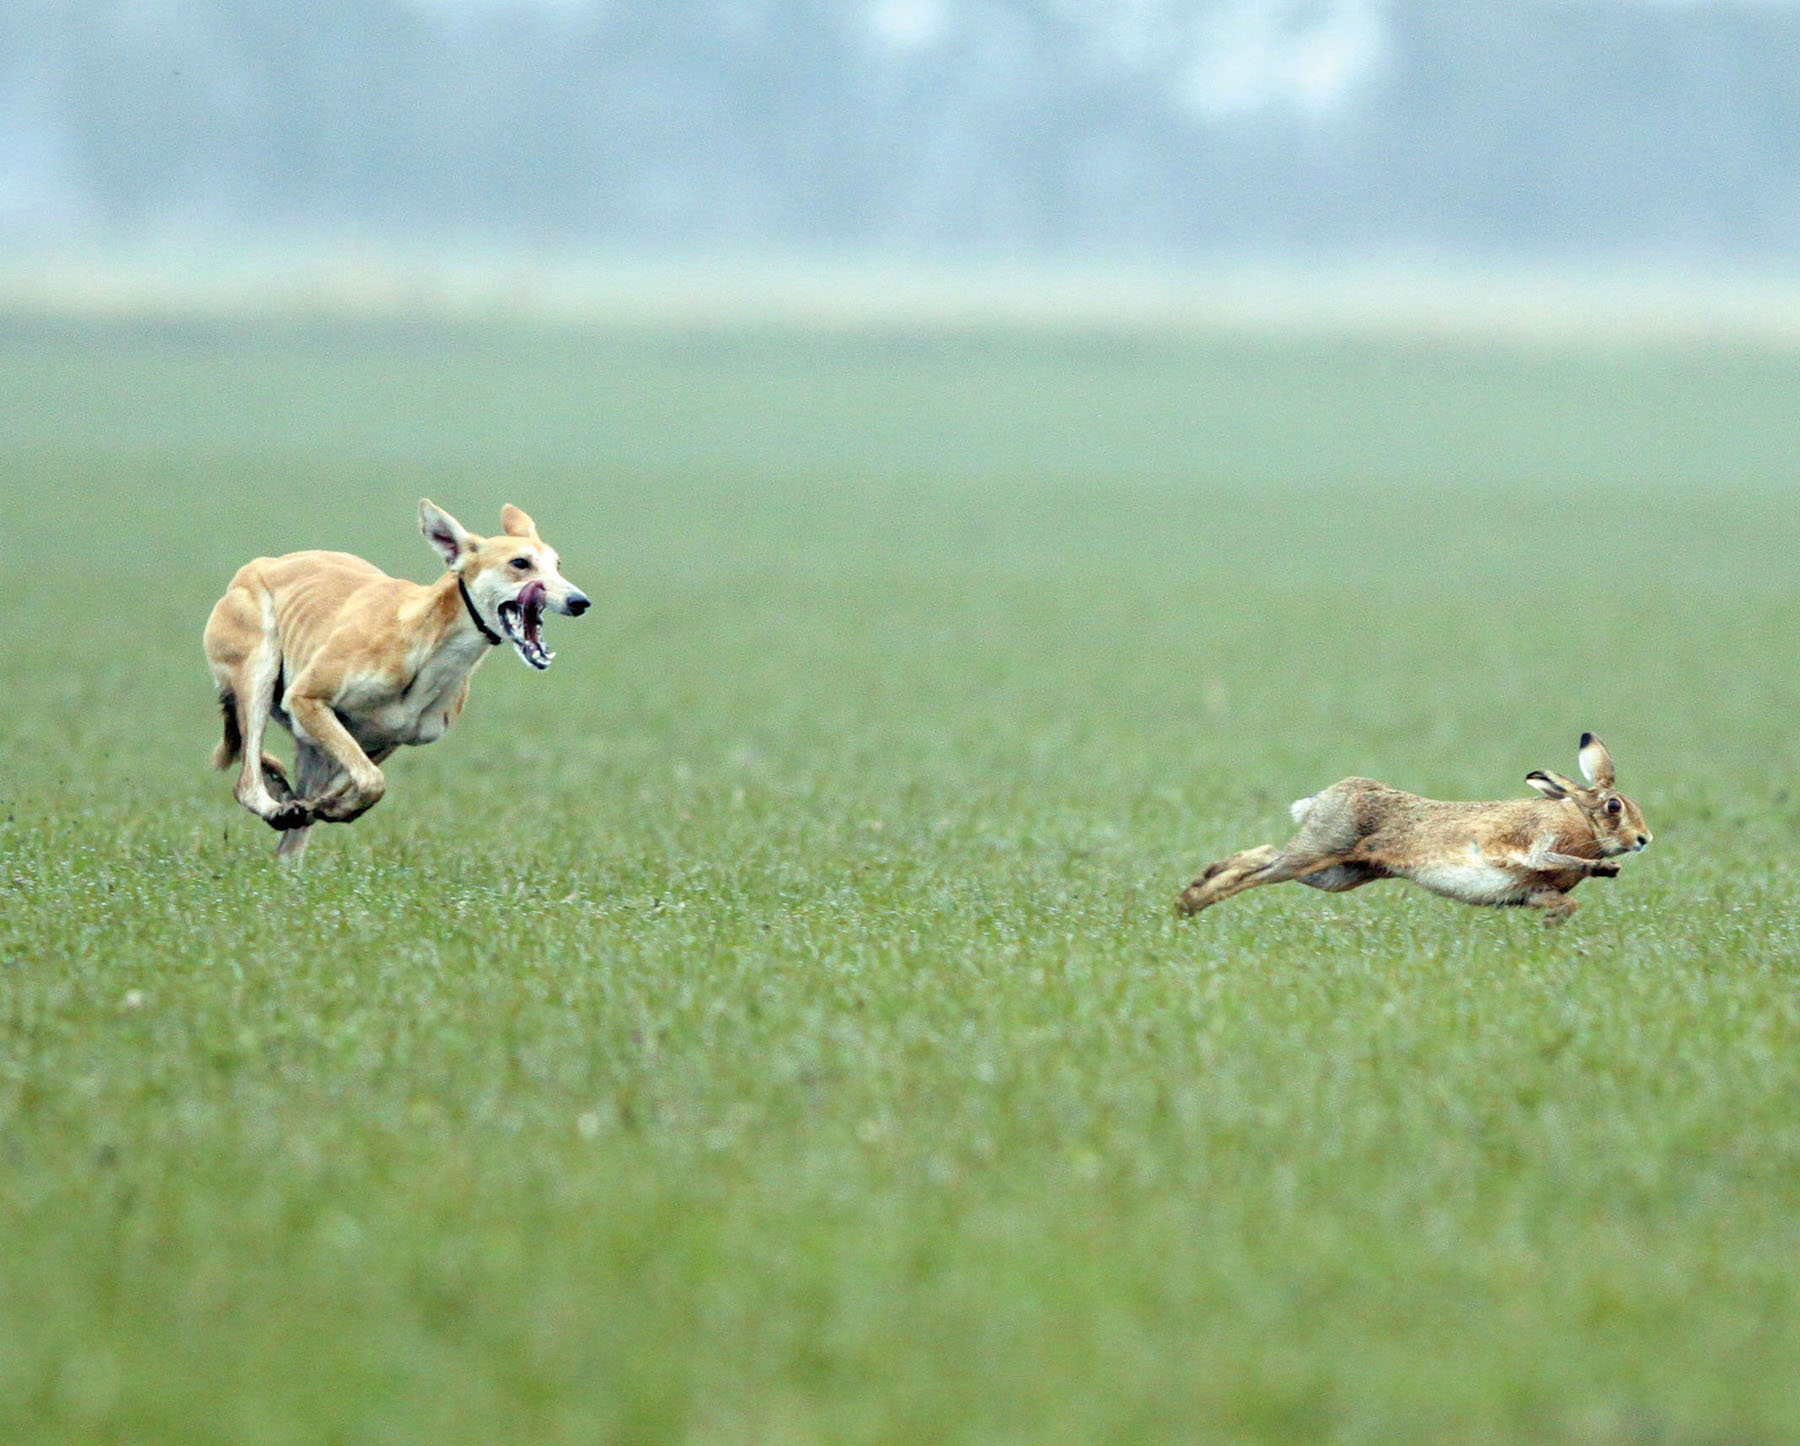
If you have never attempted plucking a pheasant before, let me suggest that you start outdoors. You’ll want a chair for the purpose, and a bin liner for the feathers – tucked into a bin is best – a bit of time to yourself and a complete absence of dogs, who always make things much more complicated and much less tidy.
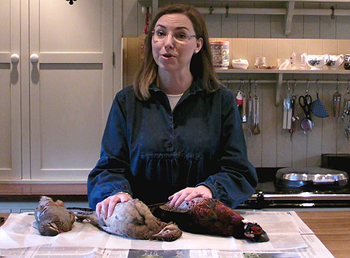
Shooting Gazette’s food and lifestyle writer, Amy Willcock, shows you how to prepare a pheasant ready for cooking.
This is another way to prepare a pheasant.
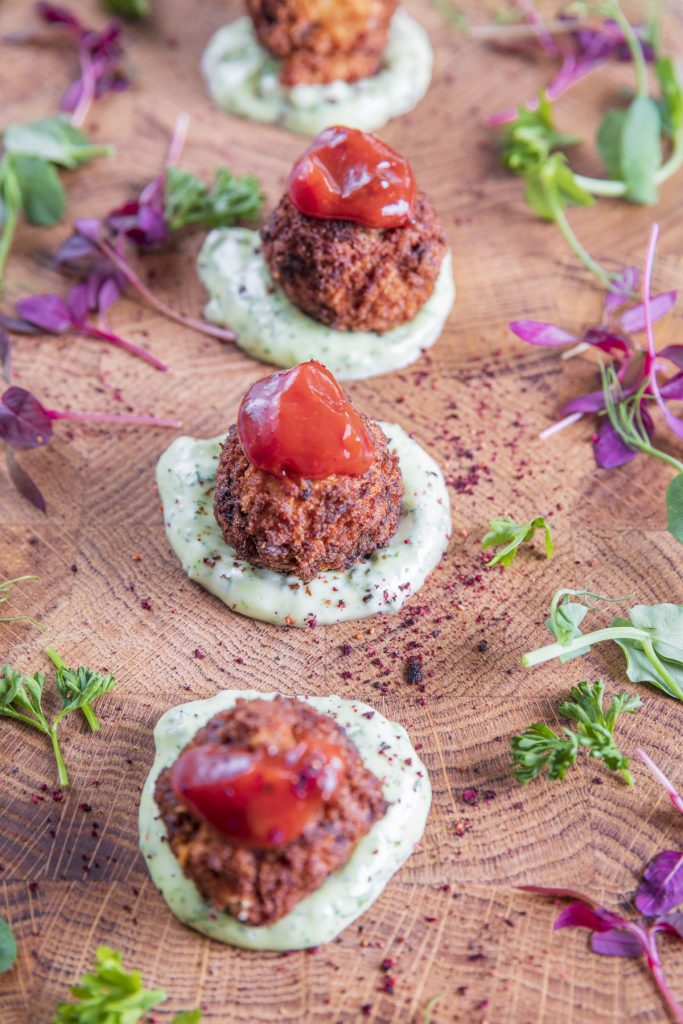
Grey squirrels threaten songbirds and cause damage to woodland, but they can be a delicious treat when deep-fried
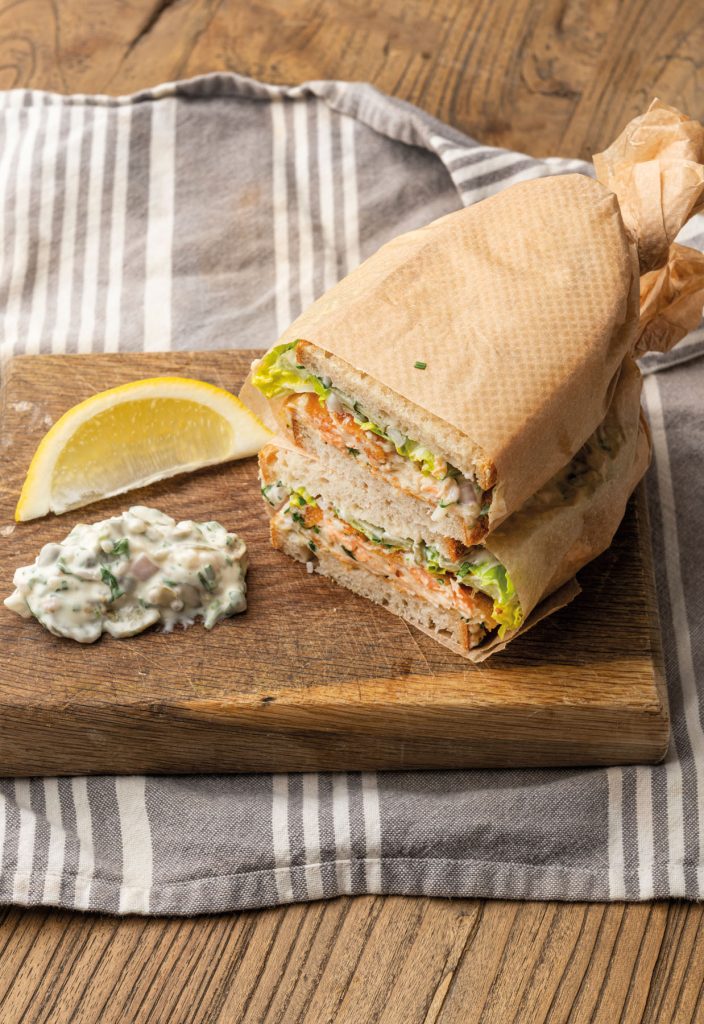
Upgrade a classic fish finger sandwich with trout, homemade tartar sauce and crisp breadcrumbs in this comforting countryside recipe
Get the latest news delivered direct to your door
Discover the ultimate companion for fieldsports enthusiasts with Shooting Times & Country Magazine, the UK’s leading weekly publication that has been at the forefront of shooting culture since 1882. Subscribers gain access to expert tips, comprehensive gear reviews, seasonal advice and a vibrant community of like-minded shooters.
Save on shop price when you subscribe with weekly issues featuring in-depth articles on gundog training, exclusive member offers and access to the digital back issue library. A Shooting Times & Country subscription is more than a magazine, don’t just read about the countryside; immerse yourself in its most authoritative and engaging publication.

