★ Win a pair of Brandecosse Capriolo boots worth £219! Click here to enter ★

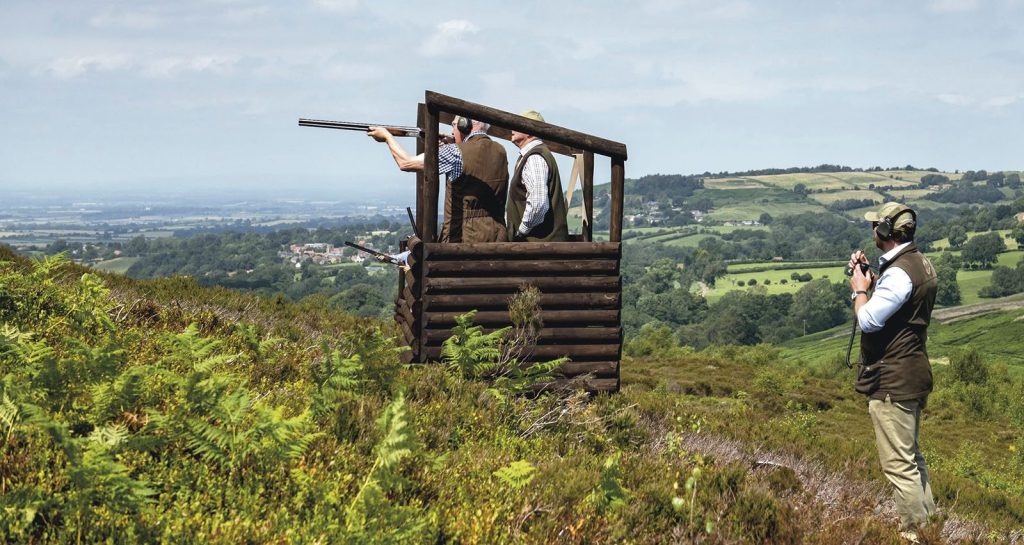
How to hatch and rear your own pheasants
 Pheasants, Phasianus colchicus and stock doves, Columba oenasUsd 20 march 13 game rearing
Many DIY shoots are looking at ways of reducing costs, and one way of achieving that is rearing pheasants yourself.
There are plenty of benefits.
- You know where your birds have come from
- The birds will be the age and strain you want
- You will be aware of any pheasant rearing-related problems before release
- You don’t need to spend a fortune on equipment
- You don’t need acres of land
- It’s not difficult
- Birds reared close to their release site don’t have to be transported long distances, so experience less stress than those travelling from game farm to shoot
- When released, a poult reared on site will settle down, eat and drink faster than those that have spent a long time in a crate. It should also make them less susceptible to disease
- You will get a huge sense of satisfaction
- Hatching and rearing pheasants keeps you in touch with the seasons and other shoot members.
How to start rearing pheasants
Would-be amateur keepers will be pleased to learn that the technology behind incubators, heaters and brooder houses has improved considerably in the past 10 to 15 years. Although matters are more technical there is less need for guesswork, trial and error. Generally, things are easier to control and keep an eye on, and there is less mystery associated with incubation and the rearing process itself.
What about pheasant eggs?
Incubating your own eggs is only worth it if you intend to have eight or nine hatches. If you only want to set eggs once (so that you have a single batch of chicks to look after) it is far easier to buy them in. Decide which strain you want, then look for a gamefarm or shoot that can supply them. If you do it the other way round and find the gamefarm first, you may well end up with a strain of bird that doesn’t suit your ground.
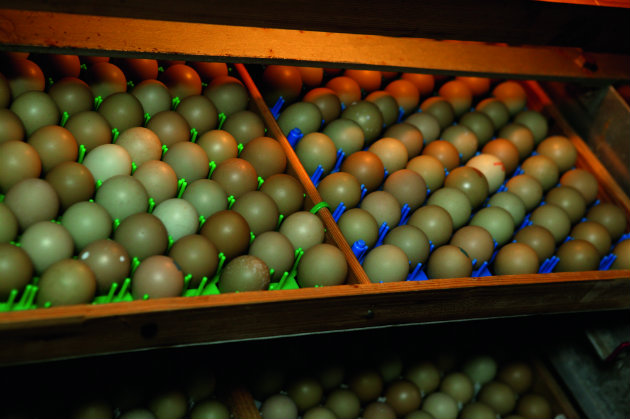
It’s only worth incubating your own pheasant eggs if you want to do several batches not just one
Using an incubator
Modern incubators tend to double as hatchers as well. Buying a machine and filling it to capacity will give you the best results. Overloading a small one will reduce the percentage that hatch, and it will be harder to maintain a constant temperature and increase the humidity in a larger one that is only part filled.
Incubators don’t need to be in a special shed or room, but they do need to be somewhere where the temperature is constant. Sheds and garages are okay if they are fairly well insulated. Sunshine on a tin roof will raise the temperature excessively and the incubator will overheat, while a late frost could lower the temperature inside a poorly insulated shed so that the incubator struggles to maintain its temperature.
Housing chicks
A brooder house doesn’t necessarily need to be wooden and purpose-built. It can be a shed of any sort as long as it is big enough to house the chicks and, more importantly, the poults when they are six to seven weeks old. It will need a certain amount of natural light and a door or pop-hole arrangement to connect it with an outside run.
Good second-hand rearing sheds, which are my preference, are not easy to come by, but are worth the money if you can get some that have been well looked after. They should be made from treated timber and stored when not in use. A deep clean with a pressure washer and a hatchery-grade disinfectant will get rid of any bugs, and then you can make any minor repairs needed. A good second-hand hut will last for years.
You don’t need to have a purpose-built rearing shed. The first chicks I helped rear were raised in old pig arks. I’ve also seen them reared in cowsheds, garages, barns and garden sheds, all of which worked perfectly well. But the conditions inside the building are vital. Contentment reduces stress and this reduces the likelihood of disease.
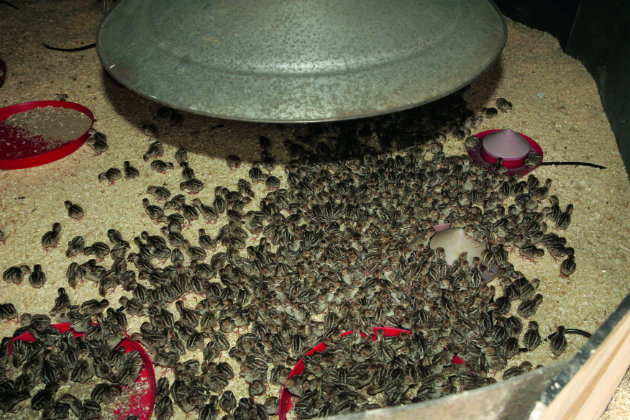
The chicks need to be kept somewhere warm with a certain amount of natural light
If the shed or hut is large enough, you can partition off an area for the first few weeks and open it up when the poults need more space. A sun parlour is essential; it’s the halfway house between the hut and the grass run. The chicks can be let into it in their first week; it gets them on to the grass. It is also useful for a part-time keeper or DIY shoot, because the person looking after the chicks may not be able to drop everything and dash back to get the birds into the hut if it looks as though it might be about to rain.
An 8ft x 8ft hut is large enough to rear 300 chicks, and if you add on a sun-parlour/night shelter and a decent grass run, it will suffice until the chicks are seven or eight weeks old. The size of the hut is important. While there will appear to be lots of space in a smaller one early on, when the chicks grow, it will become cramped, and that is asking for trouble.
Second-hand equipment
If you don’t want to buy a new heater, they can be picked up and bought second- hand, especially the smaller ones which are better-suited to DIY rearing. The pipes and connections will need checking for leaks, and the filters will benefit from a blow-through with an airline. They can be professionally serviced and most parts are replaceable. The newer models have thermostats, which can save on the cost of gas, but they are more expensive and tend to be a bit big unless you are planning to rear 1,000 at a time.
Feeding and rearing pheasants
It doesn’t matter if the drinkers are automatic or not, as long as there’s plenty of them. Be cautious about putting automatics inside the brooder house unless it is well-drained — for example, on pea gravel — in case the float sticks, causing the shed to flood. Day-old chicks are like blotting paper, and it doesn’t take much for them to become wet and cold.
I prefer to use manual drinkers inside and automatics outside in the shelter pens and runs. Multi-vitamins are relatively cheap and can be added to the water and used when the birds are experiencing some sort of stress.
Feed is fairly easy to sort out. You will probably get a better price if you order direct instead of through a third party, but it will depend on the firm. There is little to choose from as far as quality goes between the feed firms at the top end of the market, and as you will only be using a relatively small amount for the first six or seven weeks, using decent feed can make all the difference. Don’t be tempted to use chicken or turkey food to save money or because it is easier to get hold of. The way the two feeds are compounded are very different, and pheasants have different requirements from poultry.
Best beddding
Again, bedding is cheap and easy to get hold of. What you actually use is up to you. There are lots of different types, most of which are suitable for day-old chicks. If you can get hold of some corrugated cardboard for the first few days it will help. The bedding can be added later, once the birds have started to eat.
Don’t be tempted to use farmyard straw because the birds will try to eat it and it may contain bugs, which will make them ill or kill them. The same goes for sawdust and shavings from a sawmill or a friend’s planer. Shavings used for chick bedding should be of a certain size and dust-free. Using shavings from your local joiner (which will probably contain too many small particles and dust) could result in the birds getting compacted gizzards. This happens when they pick up and try to digest the small pieces of shaving, thinking they are food. The gizzard becomes compacted, they can’t feed and eventually they die. It is far better to spend a little on proper bedding.
Disease challenge
It is a rare year when birds on the rearing field don’t face some disease challenge or other, so it is a good idea to get the contact details of a good gamebird vet just in case — having the number handy will save you time if the birds fall ill.
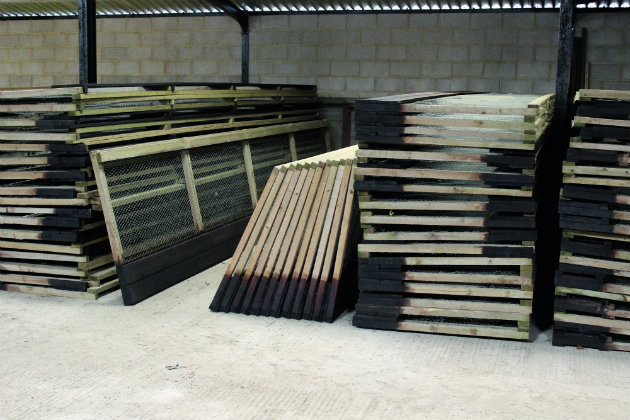
Partridge fence pens in storage – note that the bottoms have been dipped in disinfectant
About runs
The final part of the rearing shed is a grass run. I’ve seen birds reared on concrete and I wasn’t impressed. I’ve also seen birds shed-reared without a run, they were sprayed with water to simulate rain on their backs.
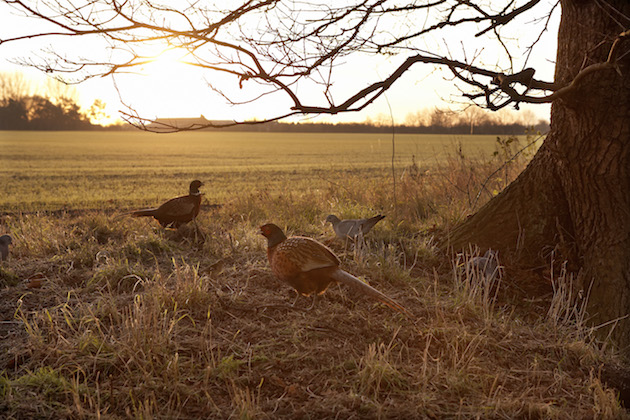
The best way to get fit, healthy poults that are used to local weather conditions is to give them access to an outside grass run where they can peck about and get used to different weather conditions. As with the shed, the bigger the grass run, the better, though of course it shouldn’t be so large that they get lost. A 40ft x 40ft run will be plenty for 300 to 350 chicks and will allow some extra space for them if the weather turns wet and release is delayed for a week.
You can ease the disease threat by using runs made with pen sections rather than having permanent ones in place. Sectional runs can be taken down, washed, disinfected and re-erected the following year on fresh ground, something you can’t do with a permanent one. Putting the hut and run on fresh ground will reduce the worm burden and lessen the chances of the birds going down with something left in the ground from the year before.
Auctions and gamefarm sales are the best places to pick up some second-hand sections. You can make them or buy new ones, but there is usually someone upgrading their rearing system who may have a few to get rid of.
A soft net for the run is essential. Birds will damage themselves on a wire roof, and while it may look stronger and last longer, it will prove a false economy.
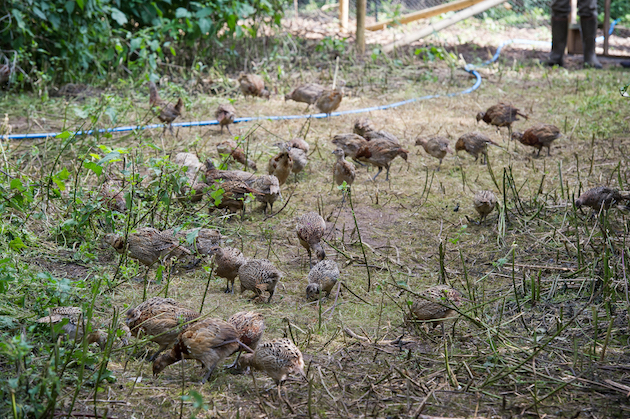
Pheasant poults in the run
Crates
The final thing you will need is crates. Whether you buy them or not is a matter of choice. Sometimes it is easier to borrow some from a neighbour. They are expensive, and while they will last for years, it is quite a lot of money to spend for what is only going to be one or two days’ use a year.
On our shoot, we crate our birds on the morning of the release. In our experience, this is a better method than crating birds the night before, even if it means they are released a little later in the day. Birds that haven’t been unduly stressed often walk out of the crates immediately, wander over to the feed and start scratching about, or head straight to the feeders and drinkers.
Rearing pheasants equals commitment
It does take commitment by one or two shoot members to undertake the day-to-day management of the chicks until their release at seven weeks old. Having one or two people in charge of rearing pheasants will work better than a rota system, though the latter does work well once the poults are in a pen.
Those doing the rearing need to spot any potential health problems or changes in the behaviour of the chicks early on; this is why it is better for a couple of people to be responsible rather than the entire shoot.
Related Articles
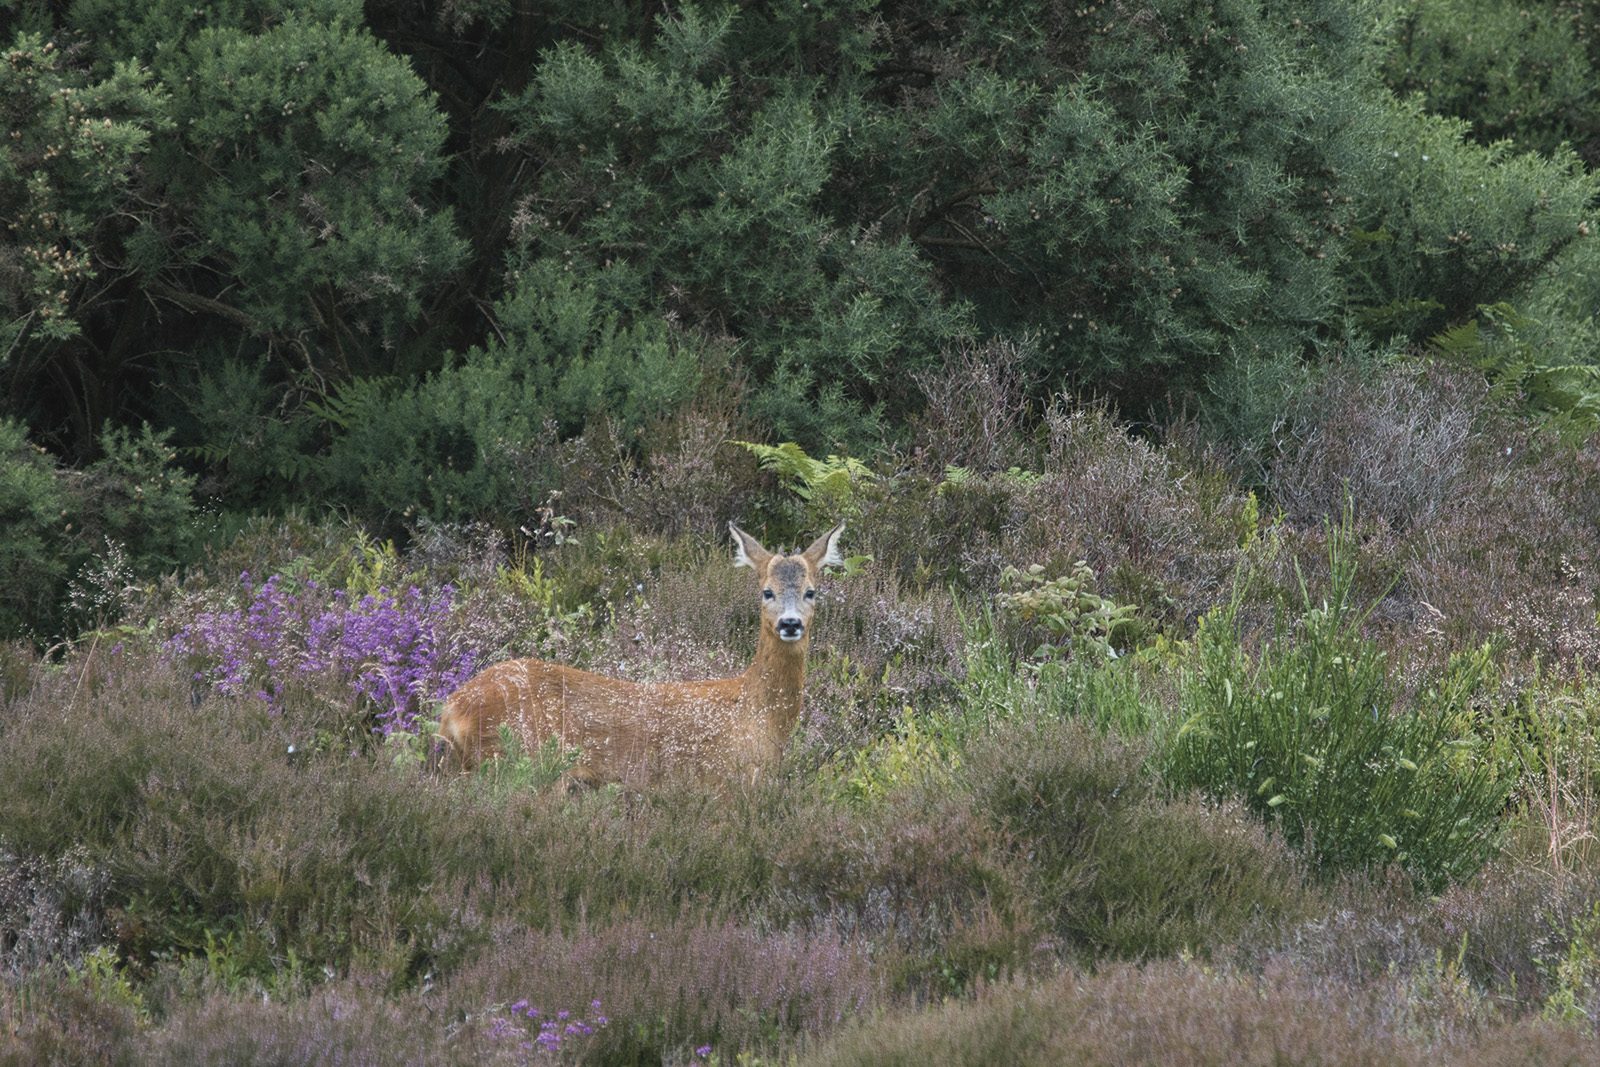
Stalking diary: the boundary-crossing buck that made the morning hard work
Waking at 3am is only half the battle when a boundary-crossing young buck decides to make Charlie Blance's morning roe stalk as difficult as possible
By Charlie Blance
Simulated game shooting: like game shooting minus the feathers
Once dismissed as mere off-season practice in tweed, the simulated game day has become a sport in its own right; Selena Barr asks four leading operators what separates a standout day from a chaotic on...
By Selena Barr
Get the latest news delivered direct to your door
Subscribe to Shooting Times & Country
Discover the ultimate companion for fieldsports enthusiasts with Shooting Times & Country Magazine, the UK’s leading weekly publication that has been at the forefront of shooting culture since 1882. Subscribers gain access to expert tips, comprehensive gear reviews, seasonal advice and a vibrant community of like-minded shooters.
Save on shop price when you subscribe with weekly issues featuring in-depth articles on gundog training, exclusive member offers and access to the digital back issue library. A Shooting Times & Country subscription is more than a magazine, don’t just read about the countryside; immerse yourself in its most authoritative and engaging publication.

