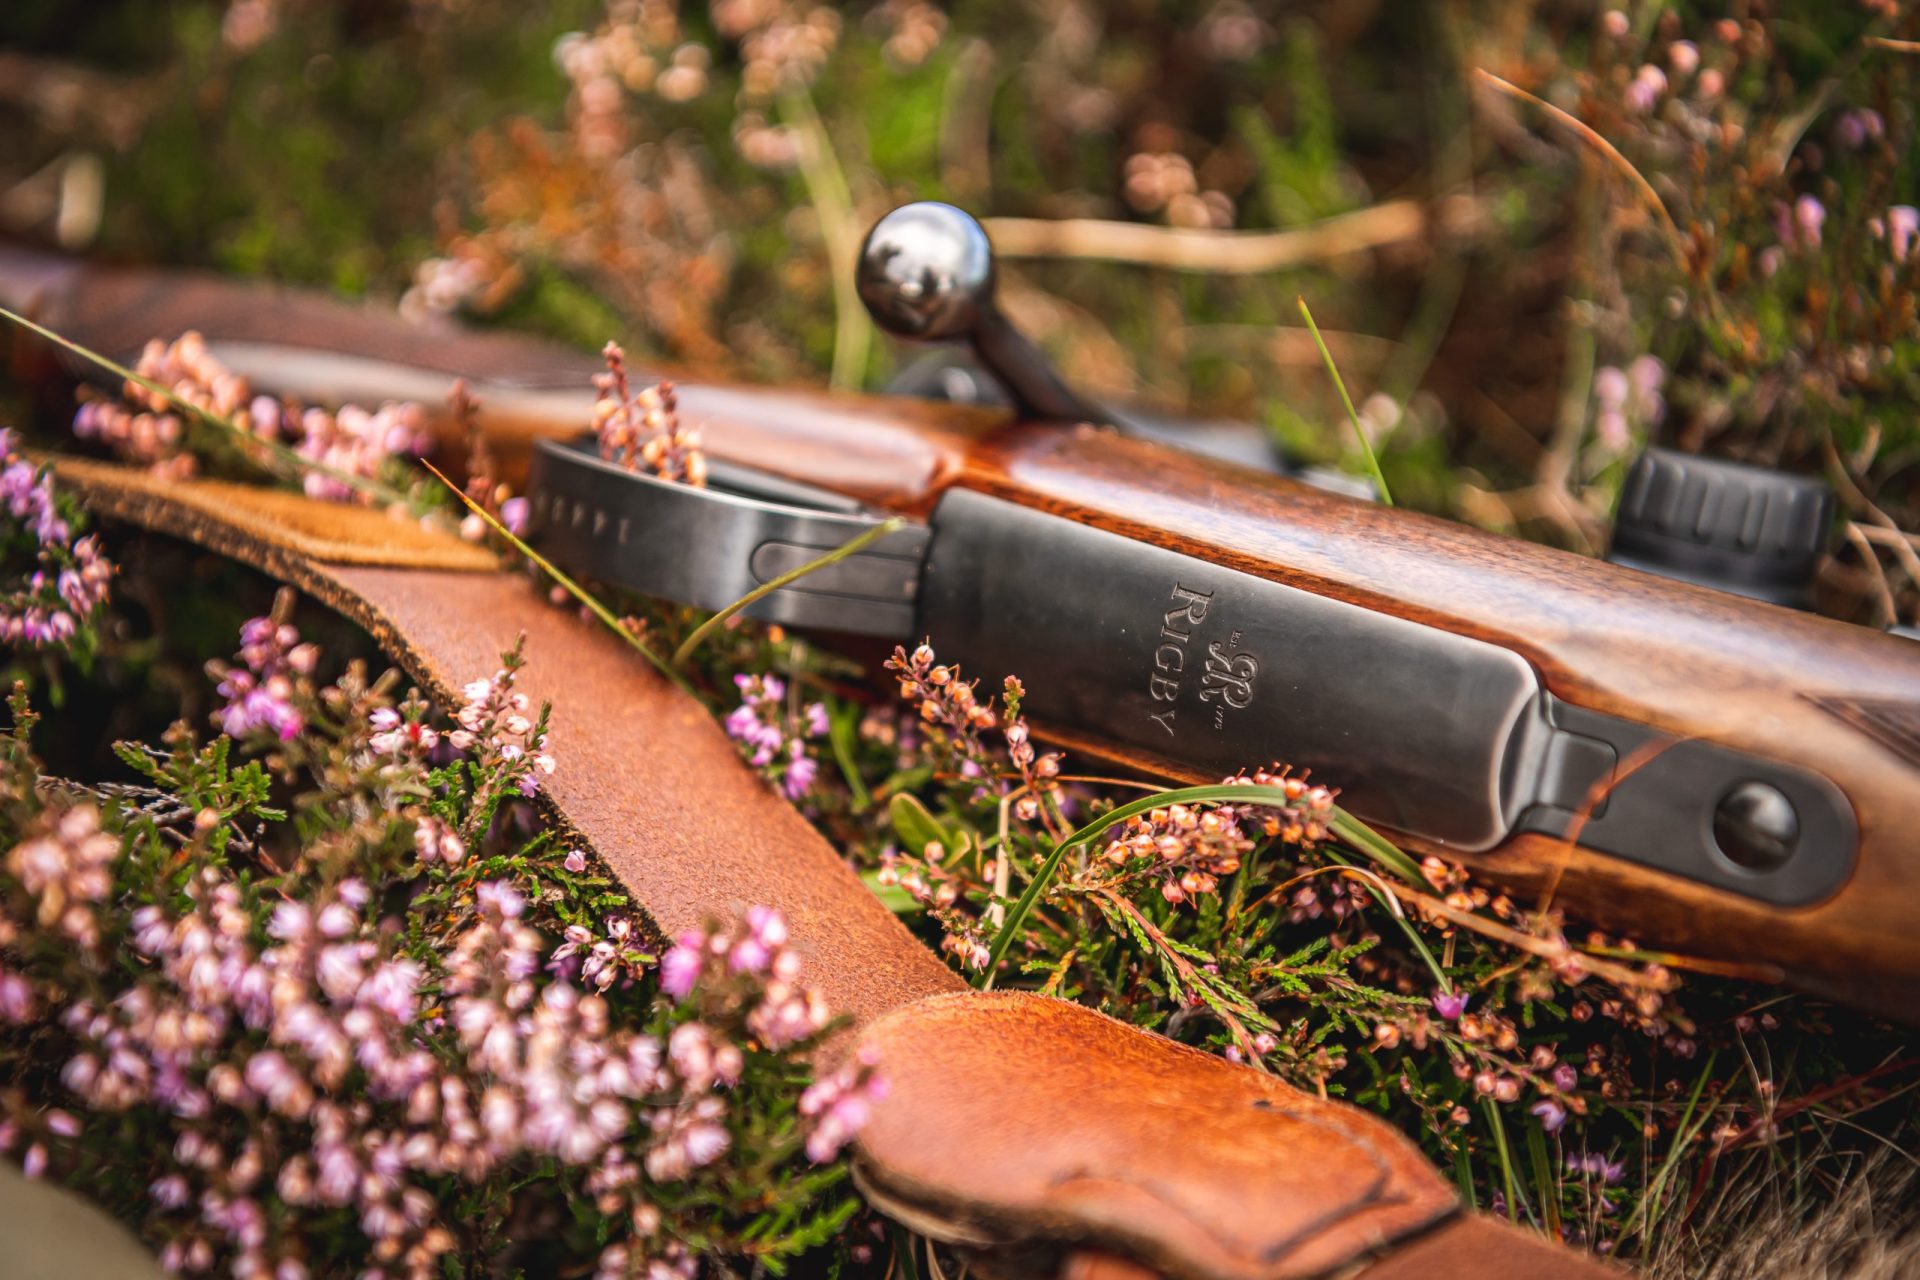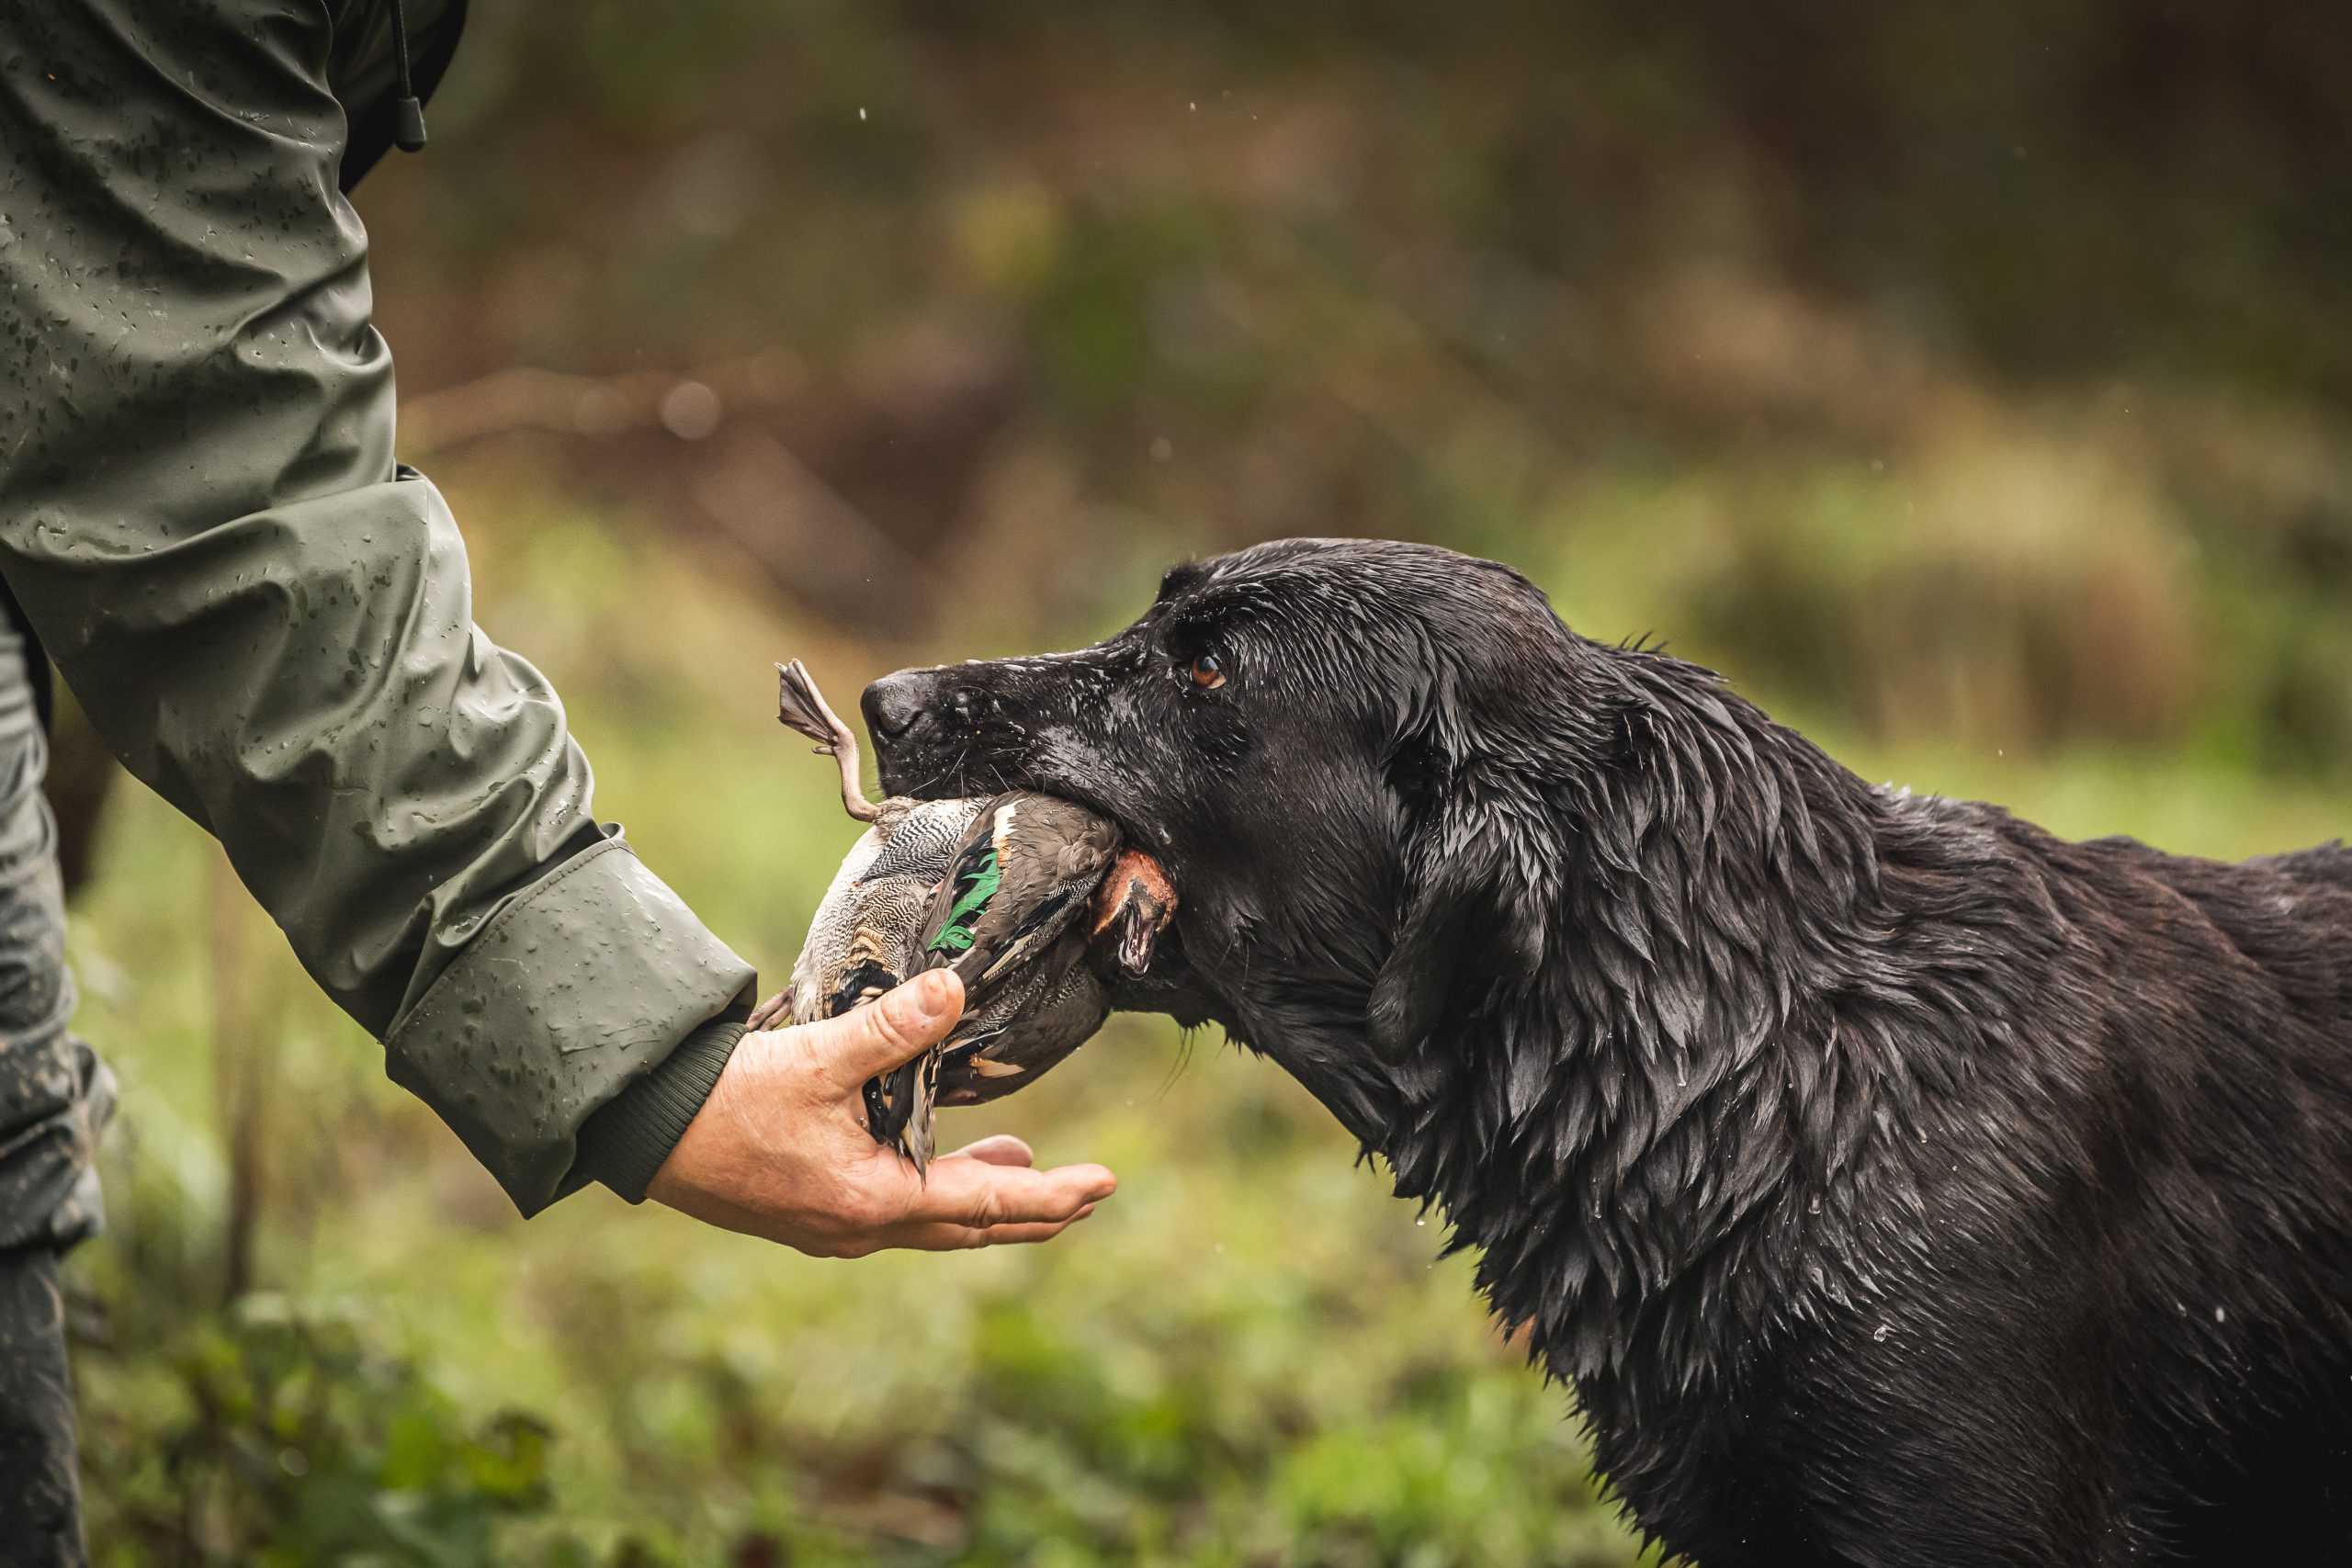


Shooting
Pigeon shooting lesson: Pairs
I know there’s a world of difference between shooting real pigeons and their clay counterparts, but I was surprised to see a couple of mates really struggling
Would you like to speak to our readers? We offer sponsored articles and advertising to put you in front of our audience. Find out more.
They were trying to make an impression on some woodies they were decoying near my farm recently – especially as I’ve seen the lads shoot clays here and I know they’re better than average shots.
When I saw the guys a few days later I asked them how they’d got on – the farmer in me is always interested in reducing the pigeon population – and I was a bit surprised with their answer.
Apparently they were doing everything by the book; including letting the incoming birds decoy in close and waiting until they were committed to land before moving to fire.
I’m told the first barrel was generally a hit, but the problems arose for the second shot.
This resulted in a pretty disappointing kill to cartridge ratio for the shooters, and wouldn’t make a dramatic inroad towards preserving any farmer’s crops.
Back on the clay ground, though, I think everyone would agree that it would be so much simpler if all the birds were thrown as singles, but I’d be the first to admit that it would also be unbelievably boring.
Shooting pairs is tricky and a test of technique and concentration, but why do we still often fail to dust every target on a stand when we could easily have done so if they were presented as single targets?
If we can shoot them as singles, surely we must be able to hit them as pairs? It’s not asking too much, is it?
The fact that these particular birds were incomers shouldn’t really make any difference so for now we’ll concentrate on the ‘double’ side of the problem.
The main reasons for missing the second bird of a pair are generally because we don’t focus enough and we don’t think hard enough about what we’re trying to do, or how we’re going to do it.
There is, however, a simple solution, a golden rule if you like.
Always treat every combination as two single targets, and two separate shots.
It doesn’t matter if they are thrown simultaneously, on report or as a following pair, the birds still need to be broken one at a time.
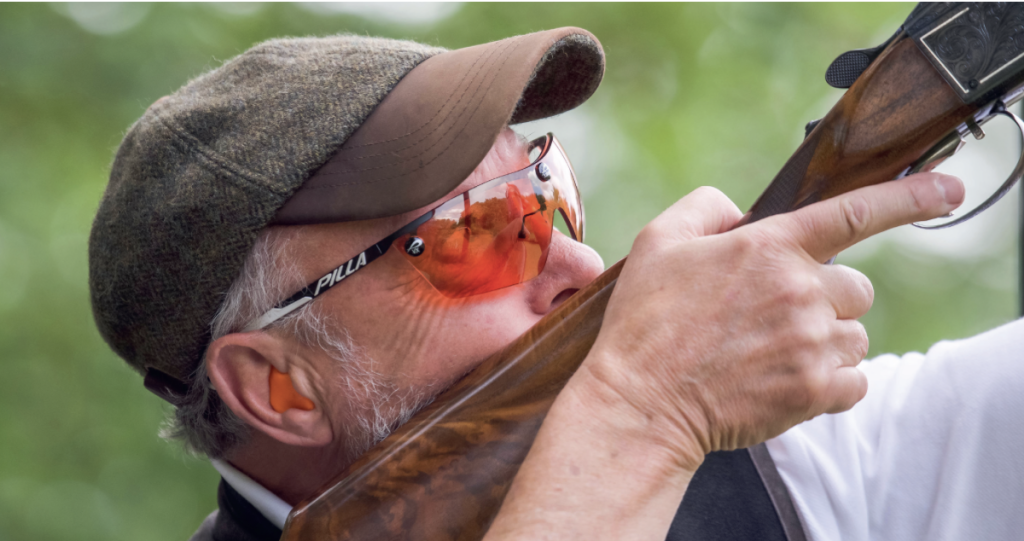
REMEMBER WHEN PRACTICING
• ALWAYS STUDY the targets closely before it’s your turn to shoot. Focus on the birds, try to remember their flight path and build up a picture in your mind of how you’re going to shoot them.
Think about the timing involved. Then when it’s your turn in the stand you should be confident you know exactly where you’re going to look for the first bird, where you’re going to kill it and also know where the second target will be once you’ve broken the first clay.
(It’s really important you know where the second target’s going to be after firing the first barrel because the muzzles of your gun will need to come straight onto the ready position you’ve chosen for the second target.)

• DON’T GET paranoid about where the other shooters in your squad are killing their targets.
Obviously you can make a mental note of where they break their clays, but don’t forget that everyone’s reaction times are different.
So if your mental picture of the shots tells you to shoot them either sooner or later then when your fellow shooters do, my advice is to follow your gut instinct.
• PAY ATTENTION to the speed and the timing of your shots.
If you feel you hit the first pair comfortably enough, don’t be tempted to shoot the next pair a little bit faster or slower.
A consistent rhythm will always give you consistently good scores.
• DON’T BE tempted to shoot ‘gun up’ for the second bird of the pair.
I’m not saying that you have to dismount the gun completely, as quite often you simply won’t have the time, but by taking the stock just a couple of inches from the pocket of the shoulder you get a better, clearer, view of the next target.
Doing this also helps you think of the pair as two completely separate targets.
• ANOTHER FACTOR you keep the clays separate is foot movement. Just shifting an inch or so between shots can make a huge difference as it provides another natural break between the shots.
DRY RUN
When you’re in the stand, reinforce your (proposed) action sequence with a dry run.
With the gun unloaded, adopt your ready position, mount the gun and swing through to your chosen kill point.
Say bang under your breath if it helps. After taking the gun from your shoulder, move your feet ready for the next shot (if it’s necessary) before assuming your ready position for the second shot.
Then simply remount the gun and swing it to your next kill point.
(Don’t forget, though, that dry mounting the gun in this way is allowed under English Sporting rules, but not if you’re shooting FITASC.)
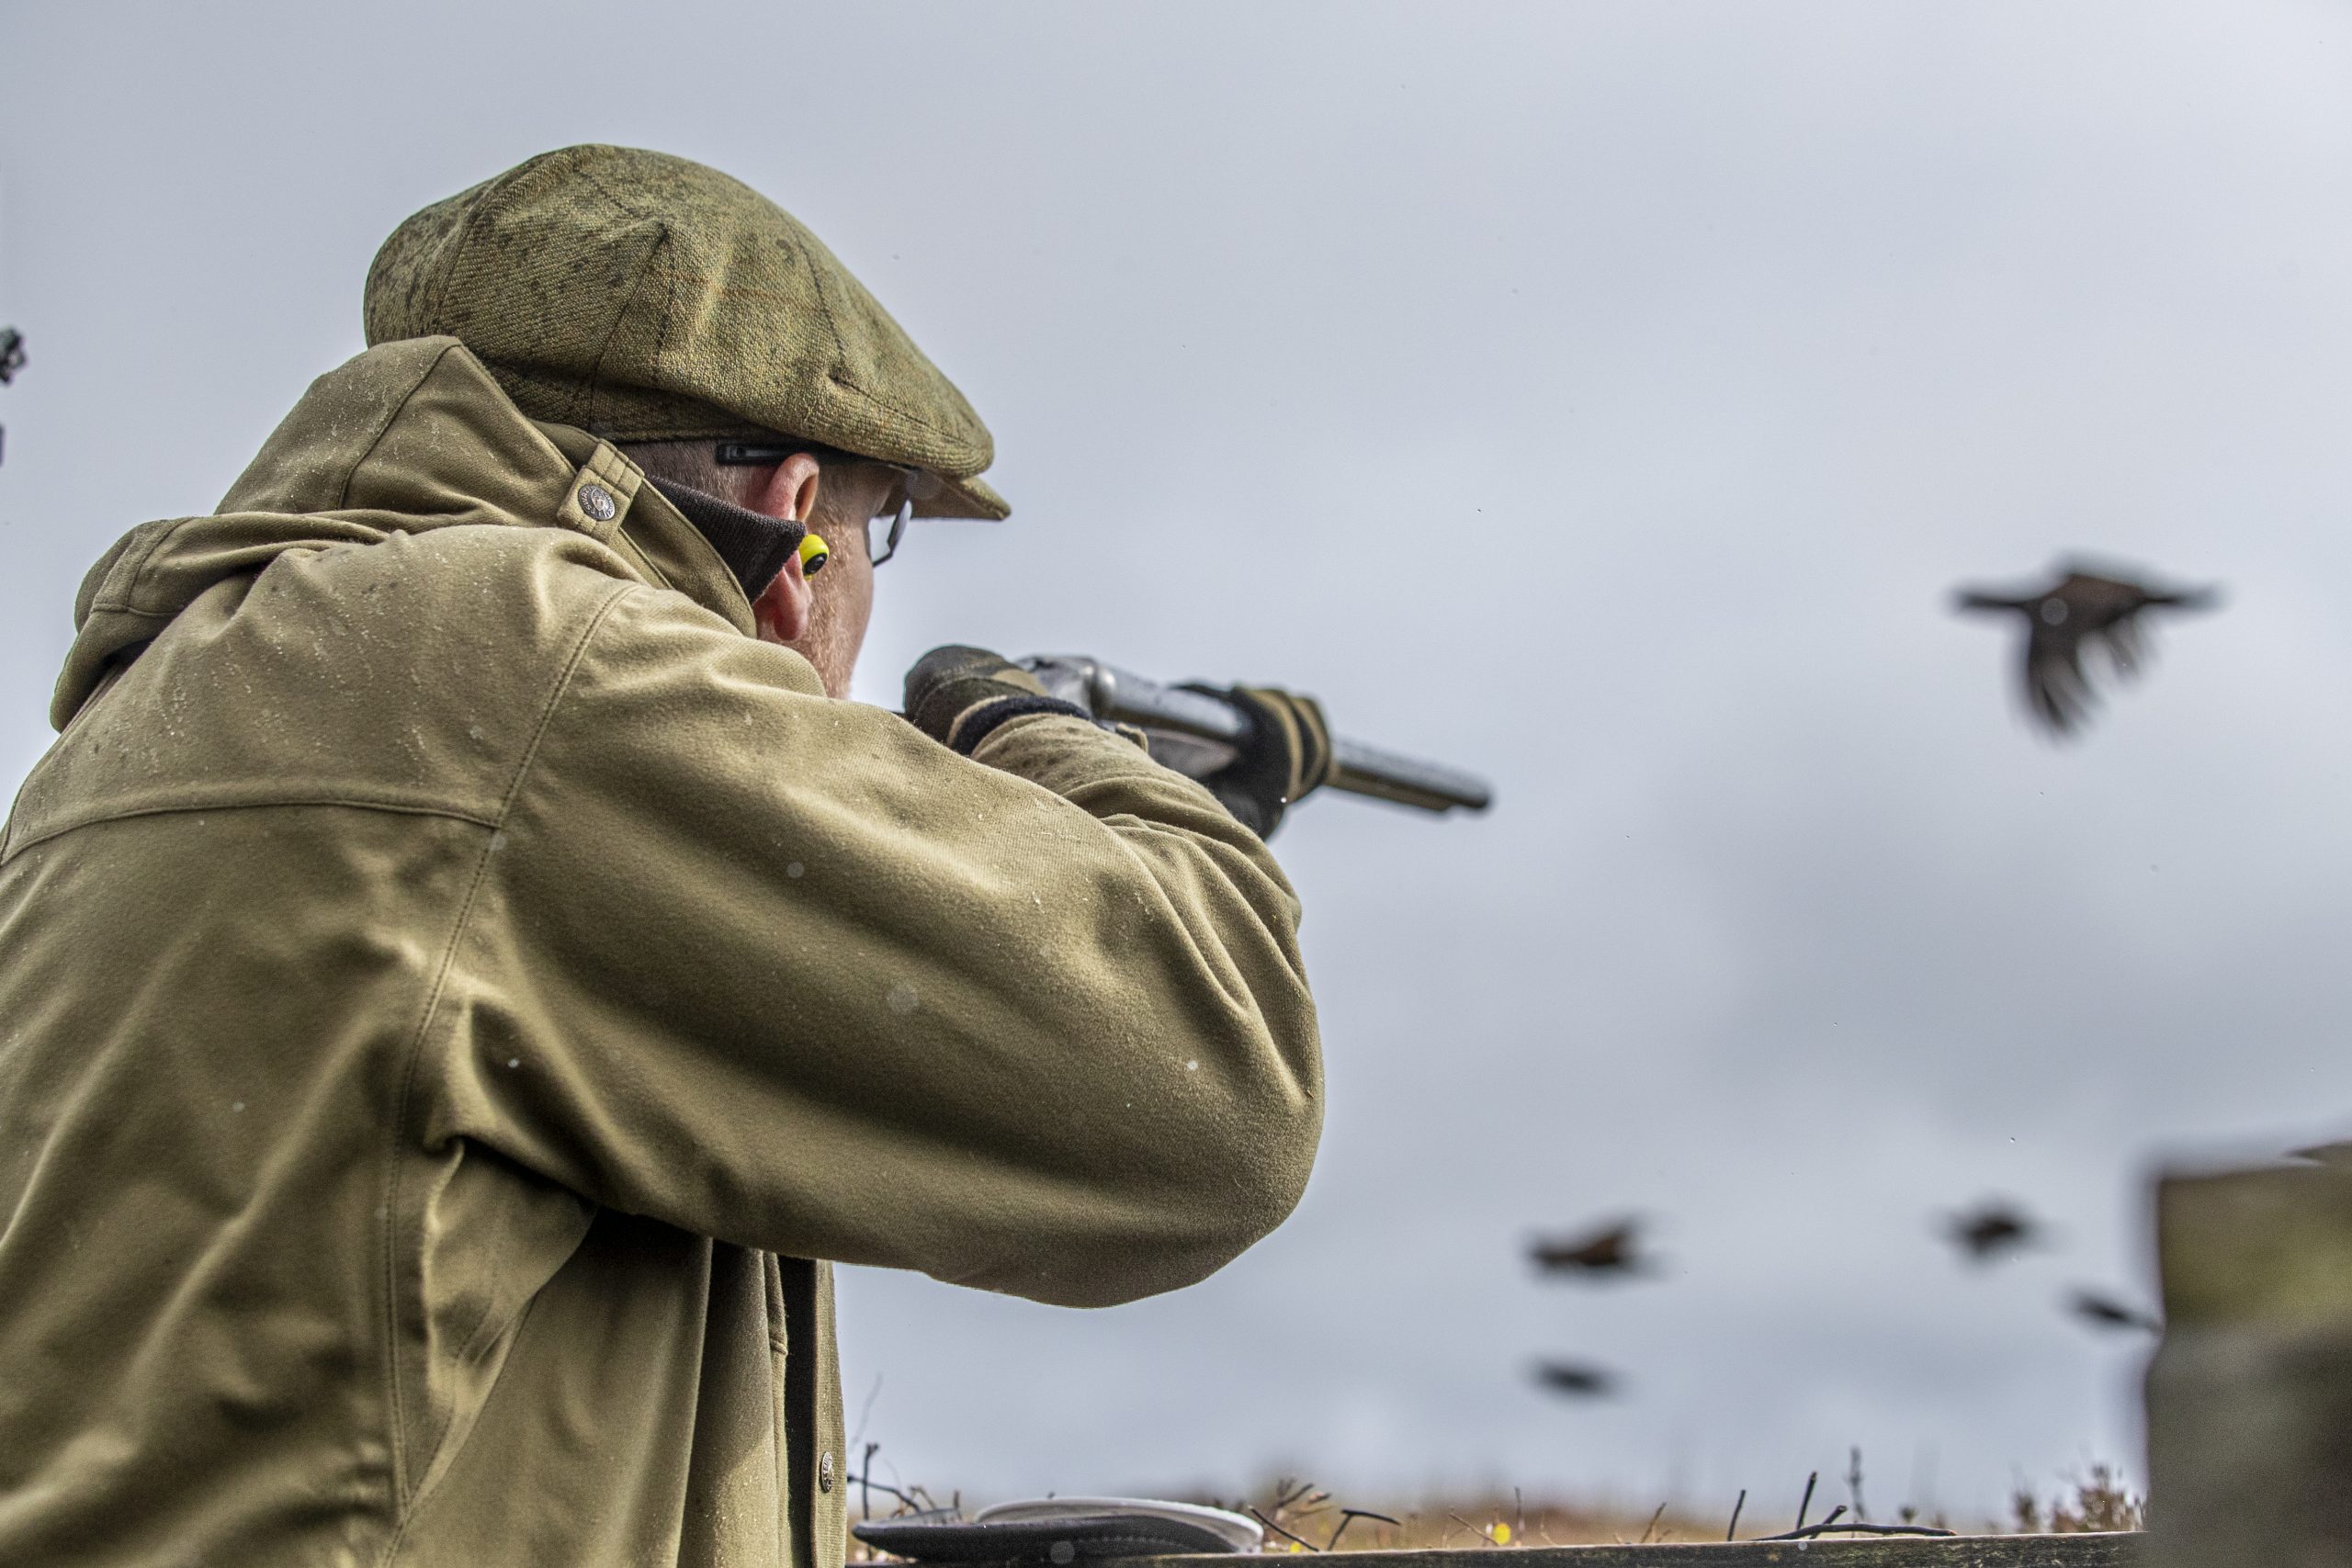
BACK IN THE HIDE: INCOMING
Here the difference between clay and live pigeons is really noticeable.
With live quarry you want to wait until they stall in flight, feathering their wings as they commit to land.
With clays, however, the trick is to hit them when they’re still under power and traveling forward.
If you wait too long, waiting until the bird is closer, the target will become more influenced by gravity and it will start dropping under its own weight.

Also, it’s more likely to be affected by any wind so its line of flight is going to be much more unpredictable.
If you have to shoot the bird ‘on the way down’ make sure you give it substantially more lead than your mind tells you is necessary, simply because it will drop quicker than you think it will.
BACK IN THE HIDE: GOING AWAY
In the pigeon hide, the sound of the first shot will always make the other bird fly off in panic.
Remember to treat your second shot just as you would any other.
Aim for a smooth mount and swing, bring the muzzles up and as the retreating bird is seen sitting on the bead of the barrels squeeze the trigger.
Remember to keep the gun moving after pulling the trigger!
Related articles

Shooting
Shotgun
Let’s bite the bullet
The ban on lead shot for all game shooting is moving apace so it’s time to find the best eco-friendly ammunition that suits you and your rifle
By Time Well Spent
Shotgun
Shotgun buying guides
Starting out? Make sure it fits
If you’re buying your first clay gun, the right fit takes precedence – not good looks, the brand your mate’s got or even price – warns Paul Austin