

Close decoying pigeons often look like the easiest shot, but too many misses can be the start to a memorable…
Based on readers’ recent enquiries, this month top shooting coach, Mark Russell, goes back to basics.
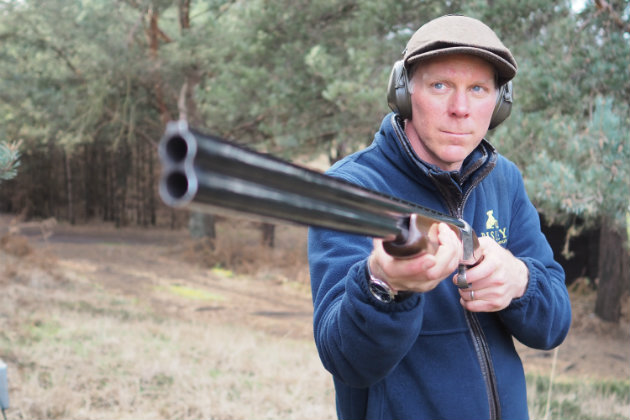
To build your shooting basics on a strong foundation you need to have a gun that fits properly. Something that’s true for both novice and experienced shooters.
A gun that fits you will maximise your hit rate. If your gun isn’t pointing where you’re looking hitting targets is going to be a struggle.
If you’re unsure about your gun fit, talk to your shooting coach and see what they say.
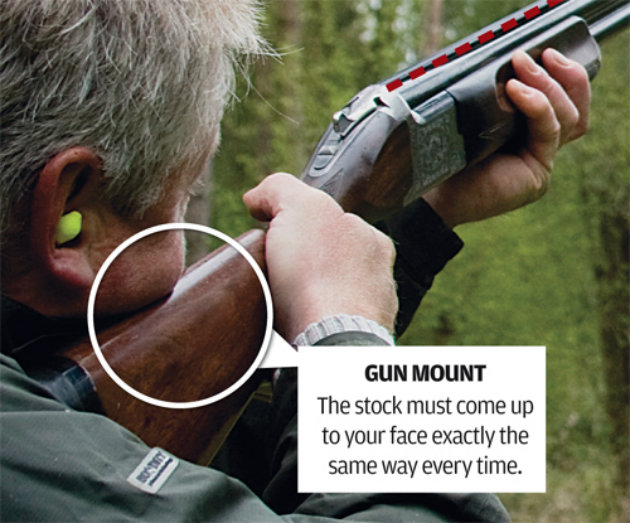
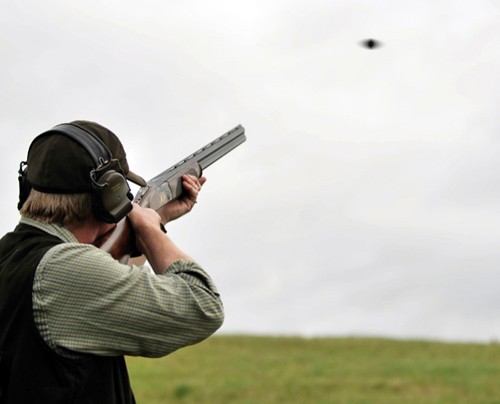
If you don’t mount the gun in exactly the same way every time, you will lose all the positive effects of a properly fitted gun. So practice dry mounting the gun as often as you can.
Five or 10 minutes a day will make all the difference.
Close decoying pigeons often look like the easiest shot, but too many misses can be the start to a memorable…
I have to close my left eye because of eye dominance, so sometimes I lose sight of high driven birds…
Last month we looked at a few ‘firsts’ in the shooting world, safety first, first gun, first targets and the…
Here are a few tips to help you when you’re practising.
• A parallel gun mount is essential, irrespective of the angle at which the barrels are held at the ready/call position.
• Don’t have the gun too low at the ready position. Ideally it should be just out of the pocket of the shoulder. Extra movement means extra effort and wasted time.
• Don’t tilt the gun at the ready position.
• Always bring the gun to your cheek, not your cheek to the gun.
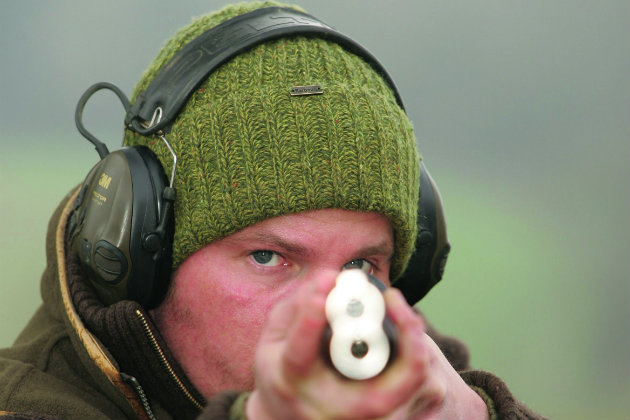
• When the gun is mounted, don’t lift your head off the stock.
• Remember your ‘front’ hand needs to be positioned on the fore-end according to the type of bird. So for a high driven bird, consider having the forehand back a little so it doesn’t impair the swing.
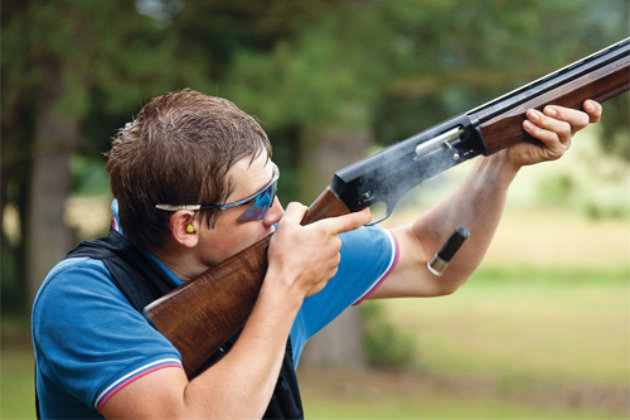
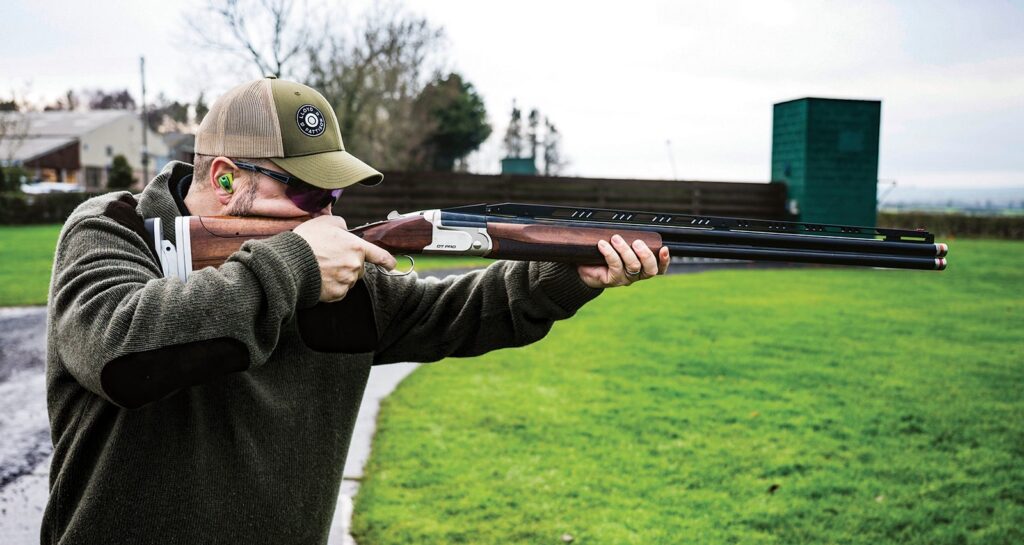
One of the biggest advantages of a semi-auto is the dramatically reduced recoil. The kick is absorbed by the gun, which is ideal for novices as they can concentrate on the clay rather than worry about getting a knock.
In addition, the single barrel makes the gun feel more pointable.
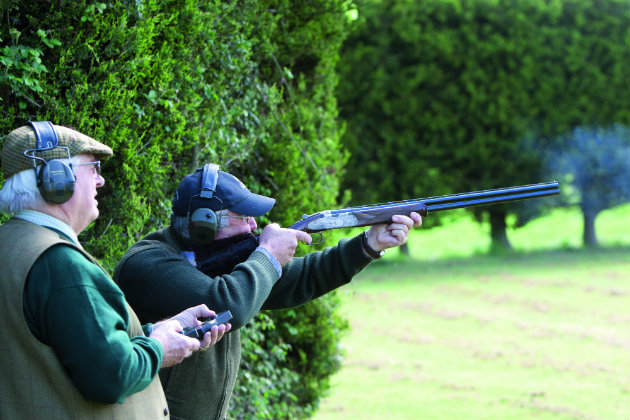
Watching the flightline – the path of travel that the target is taking – is vital.
You might find it helpful to follow the line of the clay with your finger – which also helps in choosing the kill point. Concentrating and remembering is the key to success.
Carefully scrutinise each and every target before you shoot and your cartridge/kill ratio will increase.
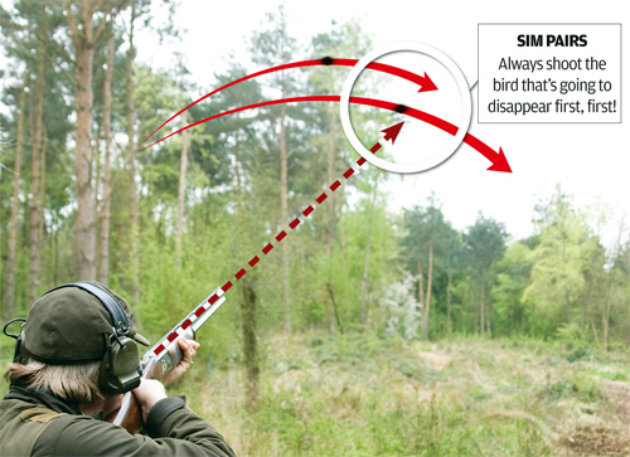
A common assumption is that whenever you’re shooting a pair of targets you should always take the bird that’s travelling in front first.
But that’s only true sometimes. The rule is to kill the target that’s going to disappear from view first.
When you take the ‘second’ bird as your first shot, you will not have as much time to get on the second, swing ahead and fire as you would if you’d shot the pair in the reverse order.
If you’ve got all the time in the world, I’d usually opt for taking the trailing bird first. This way you can swing onto and through the first bird, fire and then get onto the second without having to break the momentum of your swing.
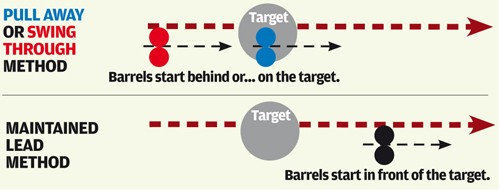
In most conventional shooting (pull away or swing through) the muzzles are either behind or on the bird to start with, then the gun is moved to bring the muzzles ahead of the target.
Then you pull the trigger and the shot (hopefully) collides with the target
Most beginners get to grips with this style almost immediately.
However, if you want to up your game, try maintained lead.
In maintained lead the muzzles are ALWAYS positioned ahead of the bird.
Even when you call for the clay, your stance should ensure that the swing starts ahead; it continues (ahead of the target) along the flight line of the bird and, when the gun is finally mounted in the shoulder the trigger is pulled.
As the name suggests, there is a ‘maintained lead’ at all times.
Maintained lead is a fantastic way of killing birds.
Lloyd Pattison tests the Webley & Scott DT Pro, a fully adjustable over-and-under trap gun from the revived English marque, and finds premium features and real value for clay shooters at well under £...

Waking at 3am is only half the battle when a boundary-crossing young buck decides to make Charlie Blance's morning roe stalk as difficult as possible
Get the latest news delivered direct to your door
Discover the ultimate companion for fieldsports enthusiasts with Shooting Times & Country Magazine, the UK’s leading weekly publication that has been at the forefront of shooting culture since 1882. Subscribers gain access to expert tips, comprehensive gear reviews, seasonal advice and a vibrant community of like-minded shooters.
Save on shop price when you subscribe with weekly issues featuring in-depth articles on gundog training, exclusive member offers and access to the digital back issue library. A Shooting Times & Country subscription is more than a magazine, don’t just read about the countryside; immerse yourself in its most authoritative and engaging publication.

