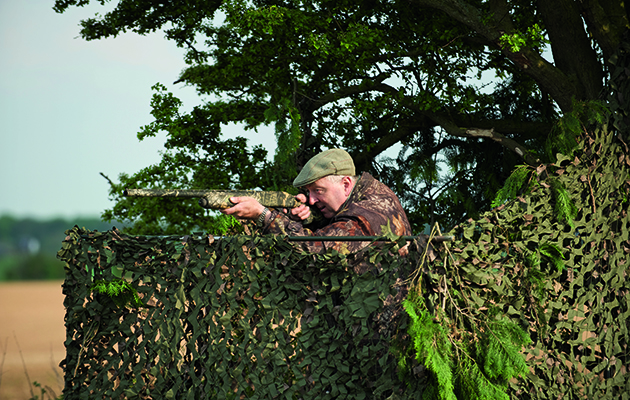
When pigeon shooting, there is nothing more important than the position of your hide.
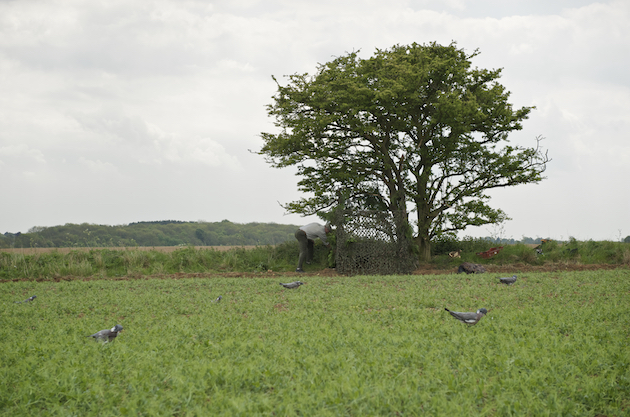
Pigeon shooting: Is it okay to build a hide in the centre of a field or is it best to stick to the hedgerows and margins?
There are only a few things to remember when building a pigeon hide for pigeon shooting, but you’d be amazed how many people get it wrong.
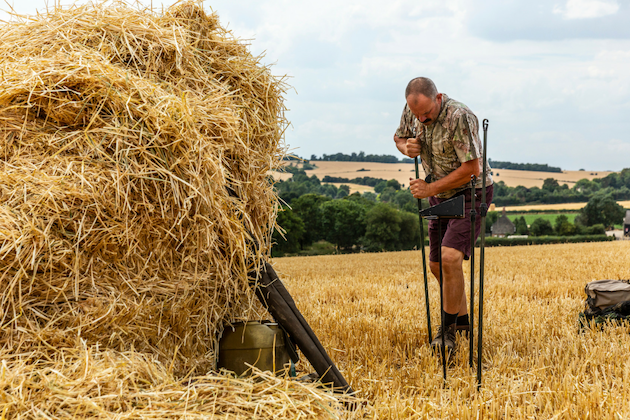
Geoff plants hide poles in a “u” shape along the chosen side of the bales
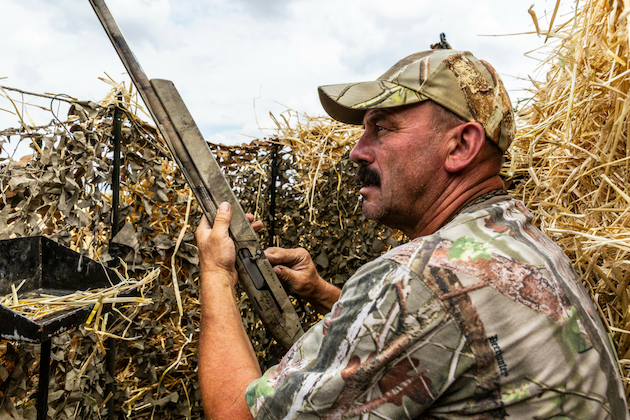
To build a hide with bales couldn’t be easier. I work out the direction of the wind at first and know the flightlines, so I can decide which way I’d like to shoot because having the wind on your back is always best. Being in the middle of the field means that I can shoot 360° around the hide, but being able to use the wind to my advantage — and knowing that pigeons pretty much always like to land into the wind — I can focus their approach to the pattern and decoy them in close for easy kills. Birds coming towards you only have two options — left or right — which are fairly straightforward shots.

Once the poles are in place, hang the netting all the way along the hide and back again
It is difficult to try to watch pigeons from all directions and it makes your neck ache, so having them approach from a consistent direction really helps. In this situation, I put hide poles in a “U” shape along the chosen side of the bales and then select the most appropriate camo net to blend in with the straw. I have three colours — straw, standard green and brown — and they are all ex-army nets that I’ve picked up over the years. The one I’m using for the straw is practically the same colour as the background and is the army’s standard desert netting. Once the poles are in place, I hang the netting all the way along the hide and then fold it over and run it back to give a double layer.
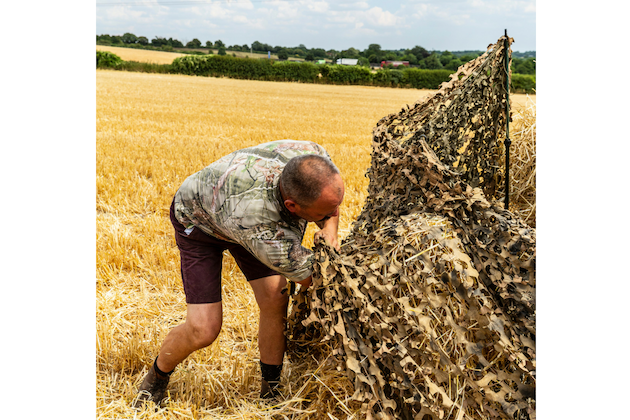
The double layer of net forms a “pocket” that can be stuffed with straw
This not only makes sure that the gaps in the netting aren’t too large, enabling the pigeons to see me, but it also makes a “pocket” for me to stuff with straw between the two layers. Remember, though, you will need to be able to spot pigeons, so leave yourself gaps to look through. The other important thing to remember is what’s behind you, especially if the sun is from behind. Pigeons are spooked by movement. If your shadow is projected on to the hide from the sun behind you, every movement will show up to the pigeon like a Punch and Judy show at the seaside. In this situation, the bales make a perfect background to the hide, but in many situations, it will be essential to either hang nets at the back of the hide or use whatever is available where you are shooting — perhaps there will be some conifers that can be cut and utilised. Basically, you are looking for anything that can give you as solid a background as possible, so take advantage of whatever you have got to hand.
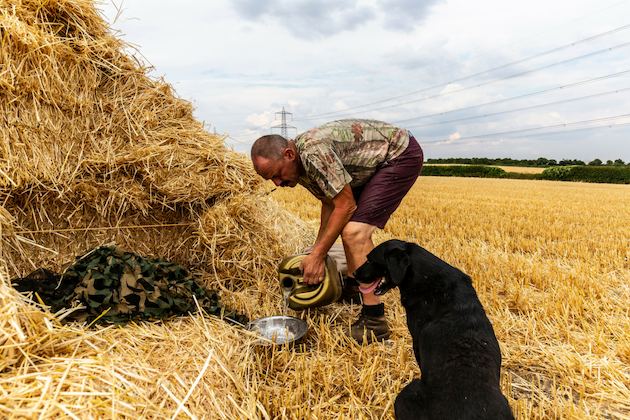
The dogs re at the back of the hide so that the sound of the gun has less effect on them
In winter it is harder to build pigeon hides because there is far less greenery around. Ivy bushes are a real plus, as are any evergreens, but they are not always in the right spot for shooting. They have the added benefit of stopping the wind, though, which is a big plus. A cold wind on your back all day is no fun. If I know the area we are going to shoot is sparse for material to use, I plan ahead. At the shoot we have plenty of fir boughs that we use in the release pens for cover, and I can take one of these with me. I take it along for added hide-building material and it has saved the day on many occasions.

Placing decoys in a visible location will encourage visiting birds to divert and drop in
Once you have built your hide, take a moment to look at it from the pigeons’ angle. Does it blend in well? Is it tall enough to conceal you when you are sitting down? Is it large enough for you to be able to shoot and load the gun comfortably? Does light from behind make any movements you make visible?
When pigeon shooting, there is nothing more important than the position of your hide.
So many pigeon shooters forget to practise when they get the chance, only to suffer inconsistent results when they shoot…
On a safety note, check that there is nothing in your arc of fire that you should not be shooting at. I saw a video recently where the hide was set up under power lines. I’ve never heard of anybody shooting through power lines and in the past I’ve had no option but to shoot under telegraph poles — this is where hide discipline must be observed and you will have to pick your shots wisely.
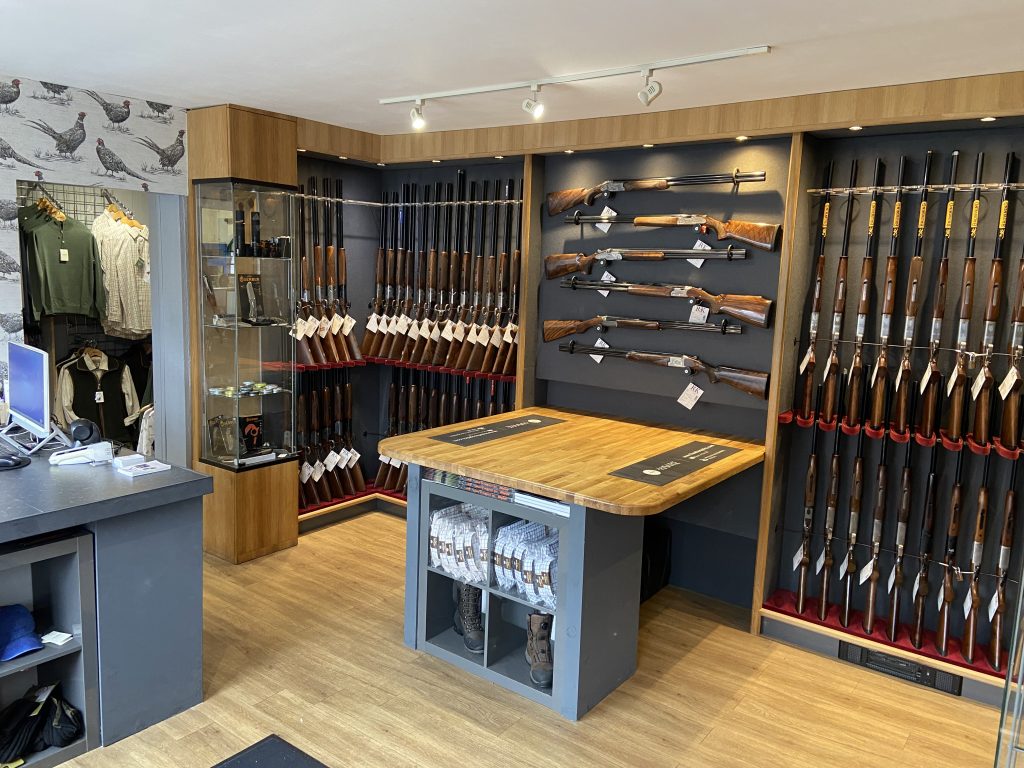
A pick of some of the best gun shops for fieldsports enthusiasts
Get the latest news delivered direct to your door
Discover the ultimate companion for fieldsports enthusiasts with Shooting Times & Country Magazine, the UK’s leading weekly publication that has been at the forefront of shooting culture since 1882. Subscribers gain access to expert tips, comprehensive gear reviews, seasonal advice and a vibrant community of like-minded shooters.
Save on shop price when you subscribe with weekly issues featuring in-depth articles on gundog training, exclusive member offers and access to the digital back issue library. A Shooting Times & Country subscription is more than a magazine, don’t just read about the countryside; immerse yourself in its most authoritative and engaging publication.

