★ Beat print – get early access to the news by signing up to the Shooting Times newsletter here ★

How to shoot pigeon over oilseed rape in winter
Want to bag more when pigeon shooting over rape this winter?
Some pigeon shooters say it’s next to impossible to consistently make anything of a bag over oilseed rape in winter. But we disagree. It’s a matter of considering pigeon decoy patterns. (Read Geoff Garrod on winter pigeon shooting.)
Pigeon decoy patterns
To maximise your opportunities on oilseed rape you need to think really carefully about the decoy pattern and how it looks from a pigeon’s point of view. Create a pattern that’s full of eye-catching movement and therefore easily visible to woodpigeon on the wing.
Watch and you will see that woodies don’t always approach high enough to see your decoy pattern in every part of a field. So always strive to put out a pattern with maximum visibility and movement to draw the birds onto your part of the crop. (Read shooting pigeons with an airgun and placing decoys.)
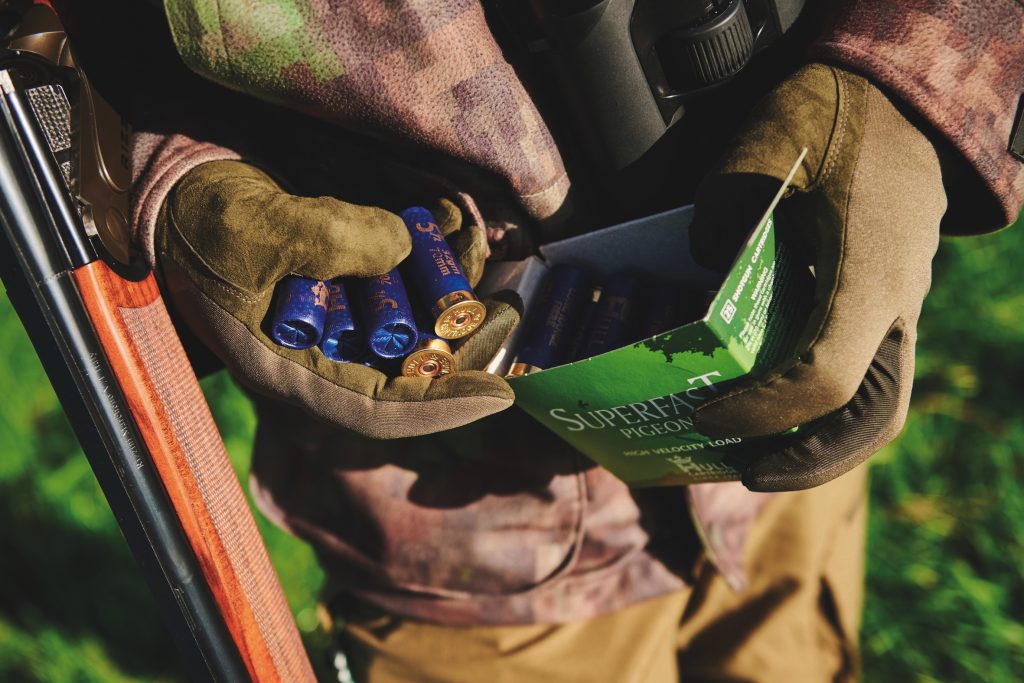
Decoys for winter oilseed rape
On this crop, static ground decoys are rarely spotted from a distance. So when setting up use two rotary machines, two or three floaters, three flappers and several gliders. At a push, birds for the rotaries and floaters can be fitted with winged artificials, but these, of course, are not suitable for the flappers.
Correctly positioned flappers not only go a long way toward bringing the pigeons into the area of the pattern, but also to the exact place where you want to shoot them.
Five is the minimum number of dead birds to take out; two to put on the gliders (which should be slightly back and to each side of the centre flapper) and three for the flappers.
Pigeon shooting patterns

Pigeon shooting pattern over oilseed rape
The flock on each side consists of at least 15 half-shell decoys, 30 in all, spaced no more that two feet apart so that it resembles a natural feeding flock and achieves maximum visual impact. Putting the decoys quite close together in this fashion encourages pigeons to head towards the flappers, and into the killing area. The measurements that to use for this decoy pattern are as follows:
1: 20/25 paces from the hide to the centre flapper, which will face the hide, and one pace back, and another pace to the side of the flapper for the two gliders.
2: Nine paces from the flapper to the left or right to throw the half shells out to your front and the outer side away from the hide. Set them up on their supports and repeat the exercise on the other side of the flapper. This then gives a killing area of eighteen paces wide
3: Station a flapper on each side, one pace in at the hide end of the flock, approximately, and again facing the hide.
4: Two floaters can now be set out behind the flocks to act as “sign posts” leading the birds into the killing area directly in front of the hide
5: Finally, your rotary or rotaries should be positioned in full view of the birds approaching the ‘flock’ and, if possible, those passing from behind as well. Another three or four gliders can be placed at the inner edge of the flock on each side to increase the pulling power.
Use this pattern when able to set up with the wind on your back otherwise use the comma pattern if the wind is from the right or left.
This article was originally published in 2014 and has been updated.
Related Articles
Shooting
Drey poking kit guide: essential equipment for grey squirrel control
Invasive grey squirrels do a great deal of damage to our trees and their numbers need controlling, so you must have the right kit
By Shooting Times
Get the latest news delivered direct to your door
Subscribe to Shooting Times & Country
Discover the ultimate companion for fieldsports enthusiasts with Shooting Times & Country Magazine, the UK’s leading weekly publication that has been at the forefront of shooting culture since 1882. Subscribers gain access to expert tips, comprehensive gear reviews, seasonal advice and a vibrant community of like-minded shooters.
Save on shop price when you subscribe with weekly issues featuring in-depth articles on gundog training, exclusive member offers and access to the digital back issue library. A Shooting Times & Country subscription is more than a magazine, don’t just read about the countryside; immerse yourself in its most authoritative and engaging publication.

