★ Win a pair of Brandecosse Capriolo boots worth £219! Click here to enter ★
How to use a hide for pigeon shooting
 correct position
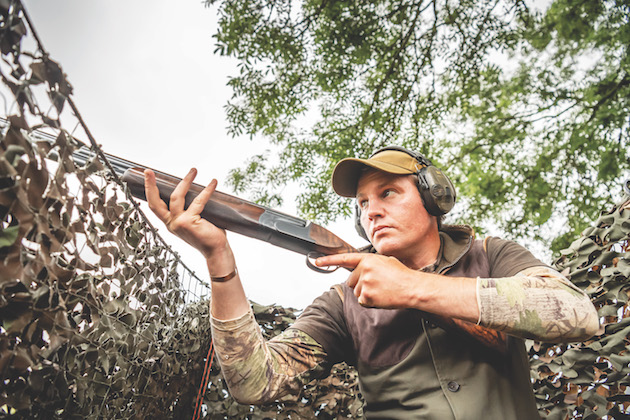
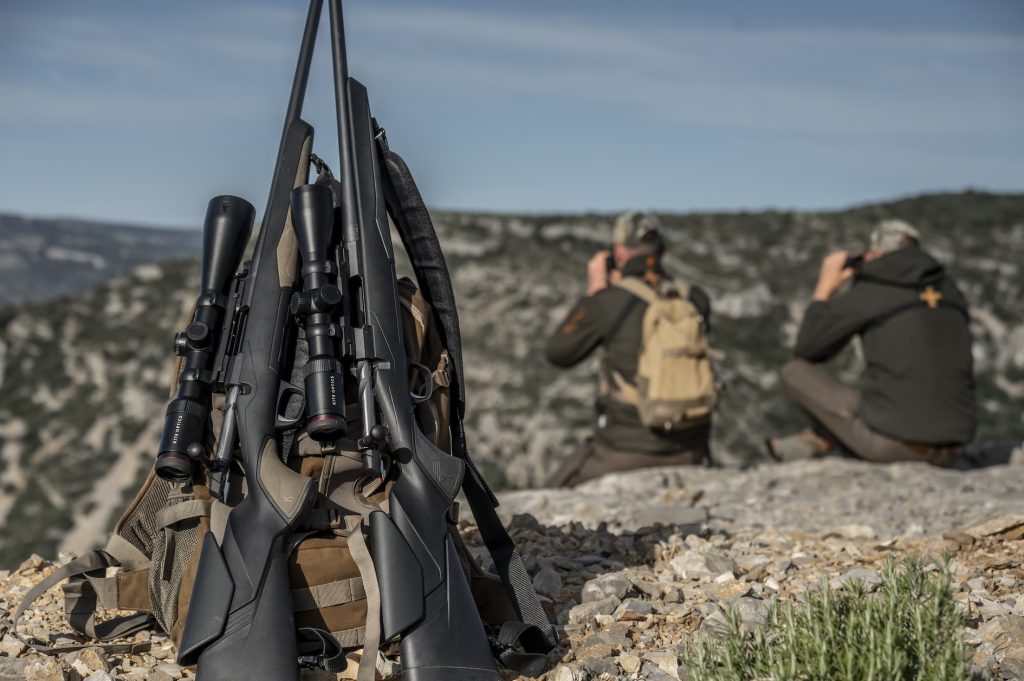
Usd 8 july 20 shooting from a hide
correct position
Usd 8 july 20 shooting from a hide
Almost all of us, at some point over the course of a season, will end up shooting from a hide of some sort, be it a duck hide, grouse butt or, if you’re lucky, a dove blind. Each quarry species requires differing skills but the principles of shooting from a hide, or something like it, are the same. Anyone who has mastered the art of pigeon shooting from a hide will find they are capable of taking on duck as they whiffle into a pond. Equally, anyone who is a dab hand at taking on teal shouldn’t feel too out of their depth on a driven grouse moor. I will focus here, however, on the pigeon hide.
Hide set-up
Many shooters cause themselves problems when shooting from a hide purely because the hide set-up is wrong. If this happens, it can actually end up being a hindrance as opposed to an advantage.
The height of a hide is important. You need to be able to move your gun comfortably and freely. Setting the front of the hide four inches below the top of your shoulder should allow for comfortable movement.
I use between five and eight poles and multiple nets to provide a good-sized, natural and strong hide. I don’t go over the top space but I like to be able to move comfortably and, most importantly, be able to move my feet.
Natural hide
Natural hides are great and if built correctly into a hedge (with permission from the landowner) they are tricky to beat with regards to blending in. Again, height is important and by not going too heavy on foliage you will still have the visibility you require to see approaching traffic, which will allow you to shoot to the best of your ability. A natural hide in the winter does need an extra bit of netting/leylandii branches, or similar, to help with cover as there is no foliage on the leaves.
As a pigeon shooter, if I could pick any hide it would always be a bale hide. They have the advantage of providing 360-degree shooting, allowing you to maximise all angles and cater for any wind eventuality. With a bale hide in the field I would use a net on the inside raised just 12 inches above the bales. This gives you your viewing window so your head is not constantly moving up and down.
With a net hide in the field I will use five to eight poles and try to make the hide octagonal rather than too square. I use various types of camo netting and foliage to make sure the hide is not a black block.
It’s imperative that the inside of the hide is kept tidy. All you need is sustenance and water tucked away, a seat and your cartridges. Any clutter will get in the way and could create an unsafe shooting situation.
I tend to use a spade to level the ground if it’s not level. It’s important to have a comfortable standing that allows you to move your feet nicely.
The shape of the hide shouldn’t be too blocky and it is important that your location choice maximises shooting angles. If you restrict your angles you will restrict your shooting, making difficult shots impossible and straightforward shots tricky.
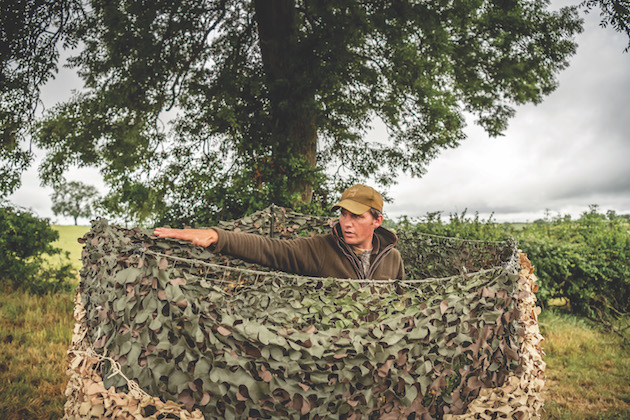
Use varying hues of camo net and foliage for the perfect blend
A view to a kill
Another important aspect is to try and maximise the extent to which you can see incoming birds without being seen. Any movement or a flash of a face is easily spotted by birds. By using multiple nets you can create visibility spots through the net, which means you can sit in your hide watching comfortably and not constantly having to bob your head up over the hide, which is guaranteed to put off approaching birds.
Hide poles can be a constant nuisance if you do not set the top of the hide correctly. With the top of my hides I won’t have hide pole, droopy net, hide pole, droopy net. You are asking for problems if you set the top like this. I like to try, if I can, to have the net perfectly level with the top of the hide pole connectors. This way it is impossible to knock into the poles halfway through a shot causing an inevitable miss and a guaranteed excuse from the shooter.
Rushing is another key
This is a problem that happens when people hide behind a net and then leap up at the last second to take the shot, often not getting their gun mount right. If the bird is coming into land, be it duck or pigeon, you can relax – it is focused on landing and not on your hide. However, if you stand up quickly the bird may notice the flash of your face. Calm and steady kills the bird.
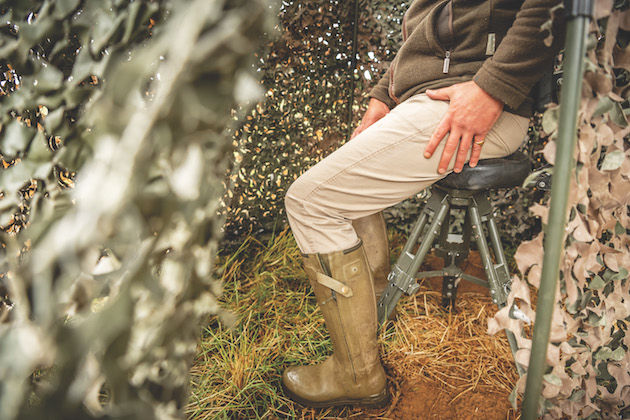
Seats offer a chance to relax but don’t get too settled
Seated or standing?
I know many people who set their hide so that they can stand all day. However, I like to be comfortable and my good old Idleback chair fulfills this function perfectly when I want to relax for a bit and kick back. You will not see me shoot from a seated position unless I’m being lazy or I have no other choice. The importance of your feet and good footwork is vital, so why leave yourself and your feet planted by shooting sitting?
If you are going to shoot from a seated position, your choice of seat is important. I see so many shooters with the wrong seat – and, especially, the wrong height of seat, which is absolutely crucial. It is key that your seat is set at a height that ensures that your knees are below your hips when you are seated. This will allow you to stand comfortably, slowly and correctly to shoot.
If your seat is too low all of your movements become difficult. Interestingly, your movements will actually speed up because it requires more power and energy to raise yourself from a lower position to a shooting one. This sudden movement could cause you to rush your shot, mount the gun badly and pick the bird up badly. If so, there will only be one outcome…
Having enough room to move efficiently around the hide is a key factor
Set up the shot
Once you have ticked off all the above you can relax – you have given yourself every opportunity to shoot to the best of your ability. If everything is set up correctly – hide, seat, angles and space – and you are confident that your chosen position is as safe as possible, then you focus on the bird. You do not want to be thinking about the pigeon hide or duck blind. Effective prior preparation – that is, seeing your arriving bird and setting yourself up for the shot – prevents poor performance. In a way, it’s no different to how a top clay shot prepares during a clay stand.
Shooting
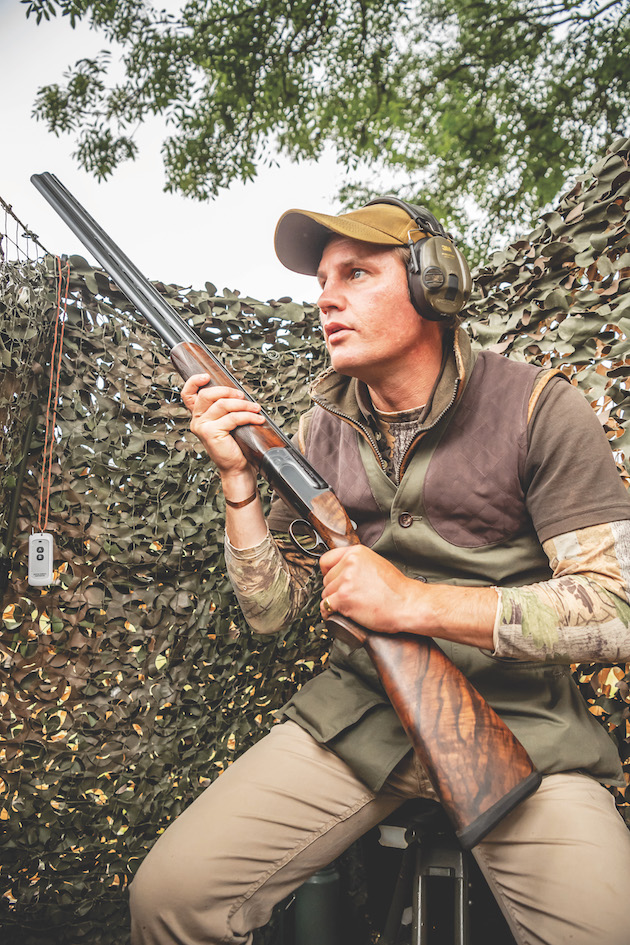
When you set yourself up for the shot make sure you address the bird properly. Muzzles should be over the top of the netting pointing in the direction of the bird and, ideally, just on its line; the heel of the stock tucked just away from your armpit. This whole set-up for a classical pigeon situation will allow you to mount the gun comfortably and pick the bird up correctly and make a successful shot. This is the same for a classical flighted duck as the bird wiffles into the pond.
When in the hide, do not hold the stock of the gun low with muzzles pointing up and away from the line of the approaching bird. If this happens, you will end up rushing, throwing a gun at the bird with no style nor technique. The shot will be a mess. It is also unsafe to shoot in this rushed manner as minimal thought has been given to the approaching bird, the shot and the situation.
Shooting out of a pigeon hide or similar structure is straightforward so long as you take the time to set things up correctly. Ensure you have a hide that allows you to shoot comfortably, offering good visibility of any approaching birds and maximising your shooting angles.
Related Articles
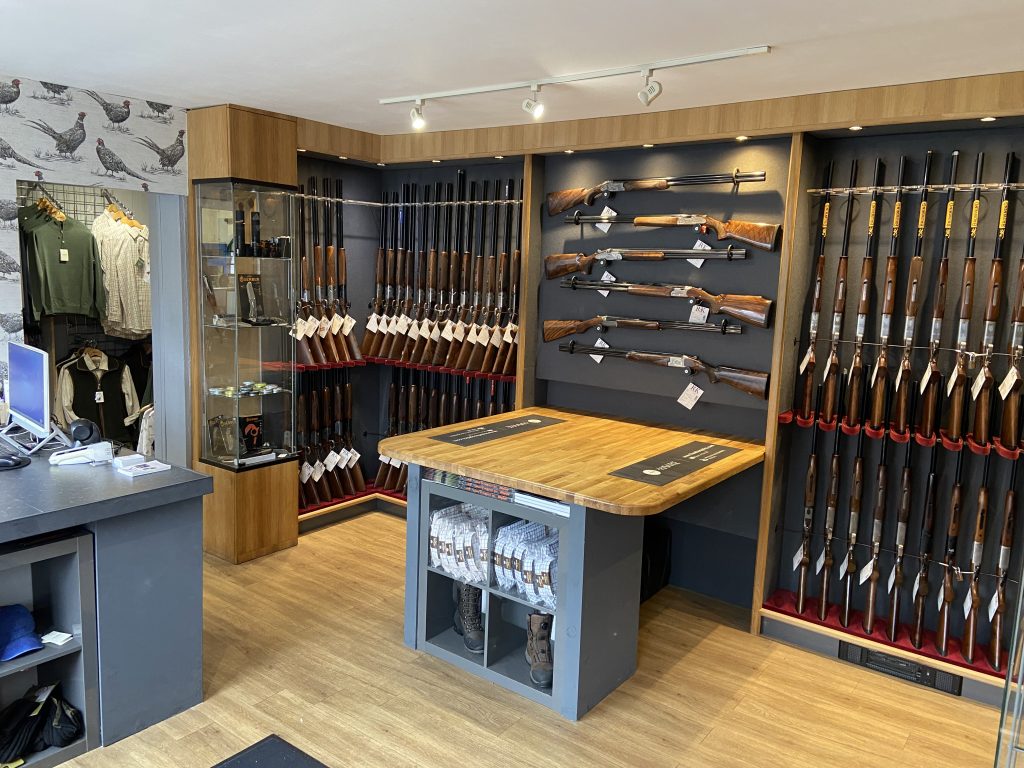
The Gun Shop Directory
A pick of some of the best gun shops for fieldsports enthusiasts
By Shooting Times
Get the latest news delivered direct to your door
Subscribe to Shooting Times & Country
Discover the ultimate companion for fieldsports enthusiasts with Shooting Times & Country Magazine, the UK’s leading weekly publication that has been at the forefront of shooting culture since 1882. Subscribers gain access to expert tips, comprehensive gear reviews, seasonal advice and a vibrant community of like-minded shooters.
Save on shop price when you subscribe with weekly issues featuring in-depth articles on gundog training, exclusive member offers and access to the digital back issue library. A Shooting Times & Country subscription is more than a magazine, don’t just read about the countryside; immerse yourself in its most authoritative and engaging publication.

