
Legislation
News
How to fix a damaged airgun barrel
Would you like to speak to our readers? We offer sponsored articles and advertising to put you in front of our audience. Find out more.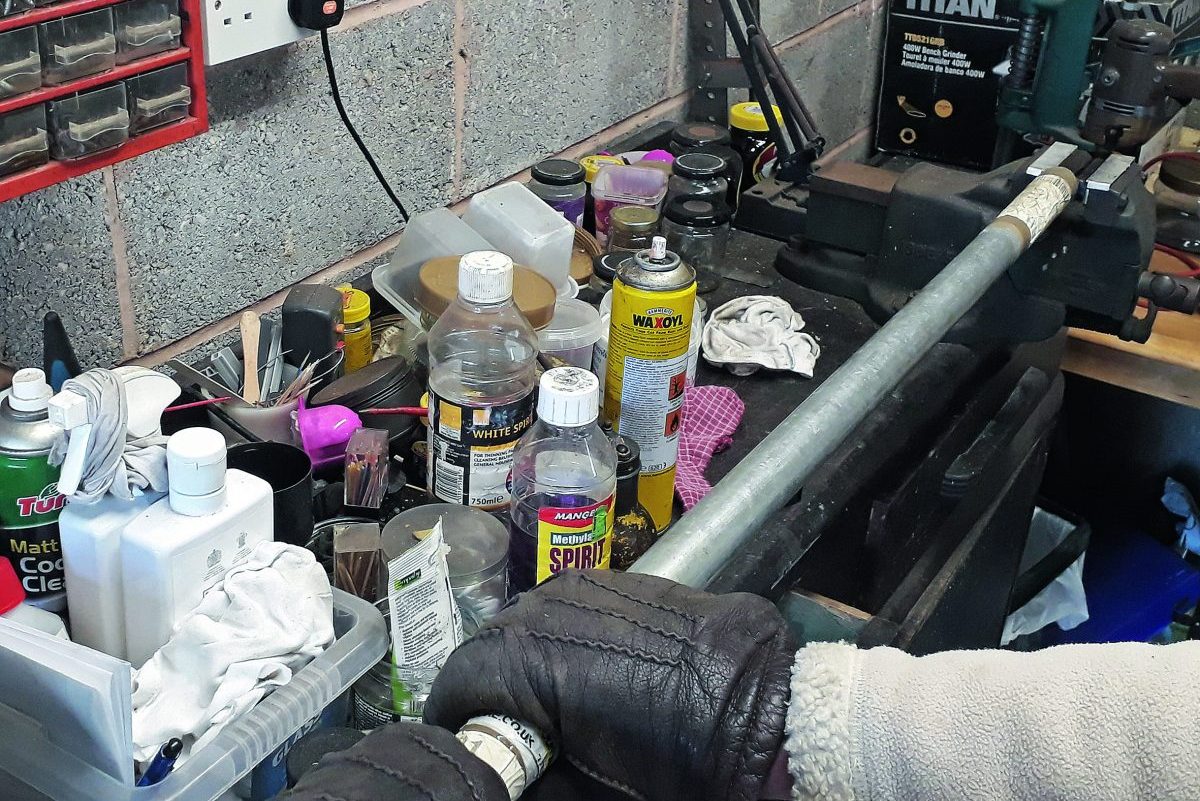
It is amazing what some owners of old airguns inflict on them. I have encountered incorrect or broken mainsprings, breech washers replaced with cork and improvised piston washers. Then there have been broken pivot pins, screw heads sheared off and cylinder jaws splayed. When it comes to airgun barrels, these too have been found with faults of varying severity. If present on a nearly new rifle or pistol then costly replacement is often the only satisfactory remedy.
However, on an old gun which sits in a collection with only occasional use for plinking, or where an owner is not able to obtain, or can’t afford to buy a replacement, then a barrel can sometimes be repaired to an acceptable standard. (Read here to find our advice on how to clean your airgun barrel)
What bends an airgun barrel?
I’m talking break-barrel airguns here, and most problems fall into two categories.
Firstly, a barrel bent downwards due to excessive force being exerted by an individual cocking the gun with brute force rather than mechanical sympathy. The bend occurs where the barrel exits the breech block.
Secondly, a barrel bent upwards due to the cocking action being completed, but the trigger inadvertently pressed (or the sear not holding) with the barrel still down. The barrel flies upwards with considerable force which smashes the breech closed, but due to its inertia, the barrel tries to continue on. The barrel-to-breech shoulder is again where the barrel usually bends. Frequently, the gun’s stock will break too.
Phil found this method to be the best way to straighten a bent barrel – using plenty of leverage applied with even more care!
If a barrel is bent only slightly downwards, as happened when I once lent someone my Original Model 35, then it may be possible to reduce the height of the front sight to avoid needing to elevate the rear sight over-much to compensate for the problem.
I did this with the tunnel sight, which slides onto a longitudinal dovetail in the barrel. I reduced the sight block height and then re-filed the attachment grooves. I was able to fine-tune this by bending the tapered blade within the tunnel slightly upwards to achieve exactly the sight height required.
Two fixes for damaged airgun barrel
If a barrel is bent to the degree that the out-of-line is visible externally, and is even more apparent when looking down the bore, it will need straightening. I have used two methods to achieve this. Both methods involved clamping the breech block on its side very firmly in a bench vice (with aluminium jaw protectors fitted), which is itself mounted solidly to a bench.
The first method involved sliding an aluminium sleeve over the barrel to protect an area around 5in forward of the breech to barrel joint. This point was then struck hard, laterally, with a club hammer precisely angled to correct the bend and not introduce an additional misalignment. I used this method to straighten the barrel of an Original Model 45 which had bent upwards. It took several hammer blows of increasing strength before looking down the bore at a light source and slowly rotating the barrel to let me know that it was now straight. Refitting it to the gun and sighting it in then confirmed that all was well.
The second method utilised a 1.3in diameter scaffold pole, cut to 41in long, with one end padded with layers of parcel tape. After removing the front sight, the faulty barrel was itself protected with masking tape. The barrel was again secured in the vice, but this time with the bend away from me so that the straightening action was achieved by pulling the end of the pole, which was slid over the full length of the barrel, towards me.
Because of it being far longer than the barrel, I could easily apply enough force and also exercise a higher degree of control than with the earlier method. I adopted this approach with a Cadet Major barrel prior to overhauling and refinishing the gun. The effort applied started gently and was then increased a little at a time until I could actually feel the barrel straighten. It needed great care not to go too far. This was entirely successful and is the method I shall use in the future.
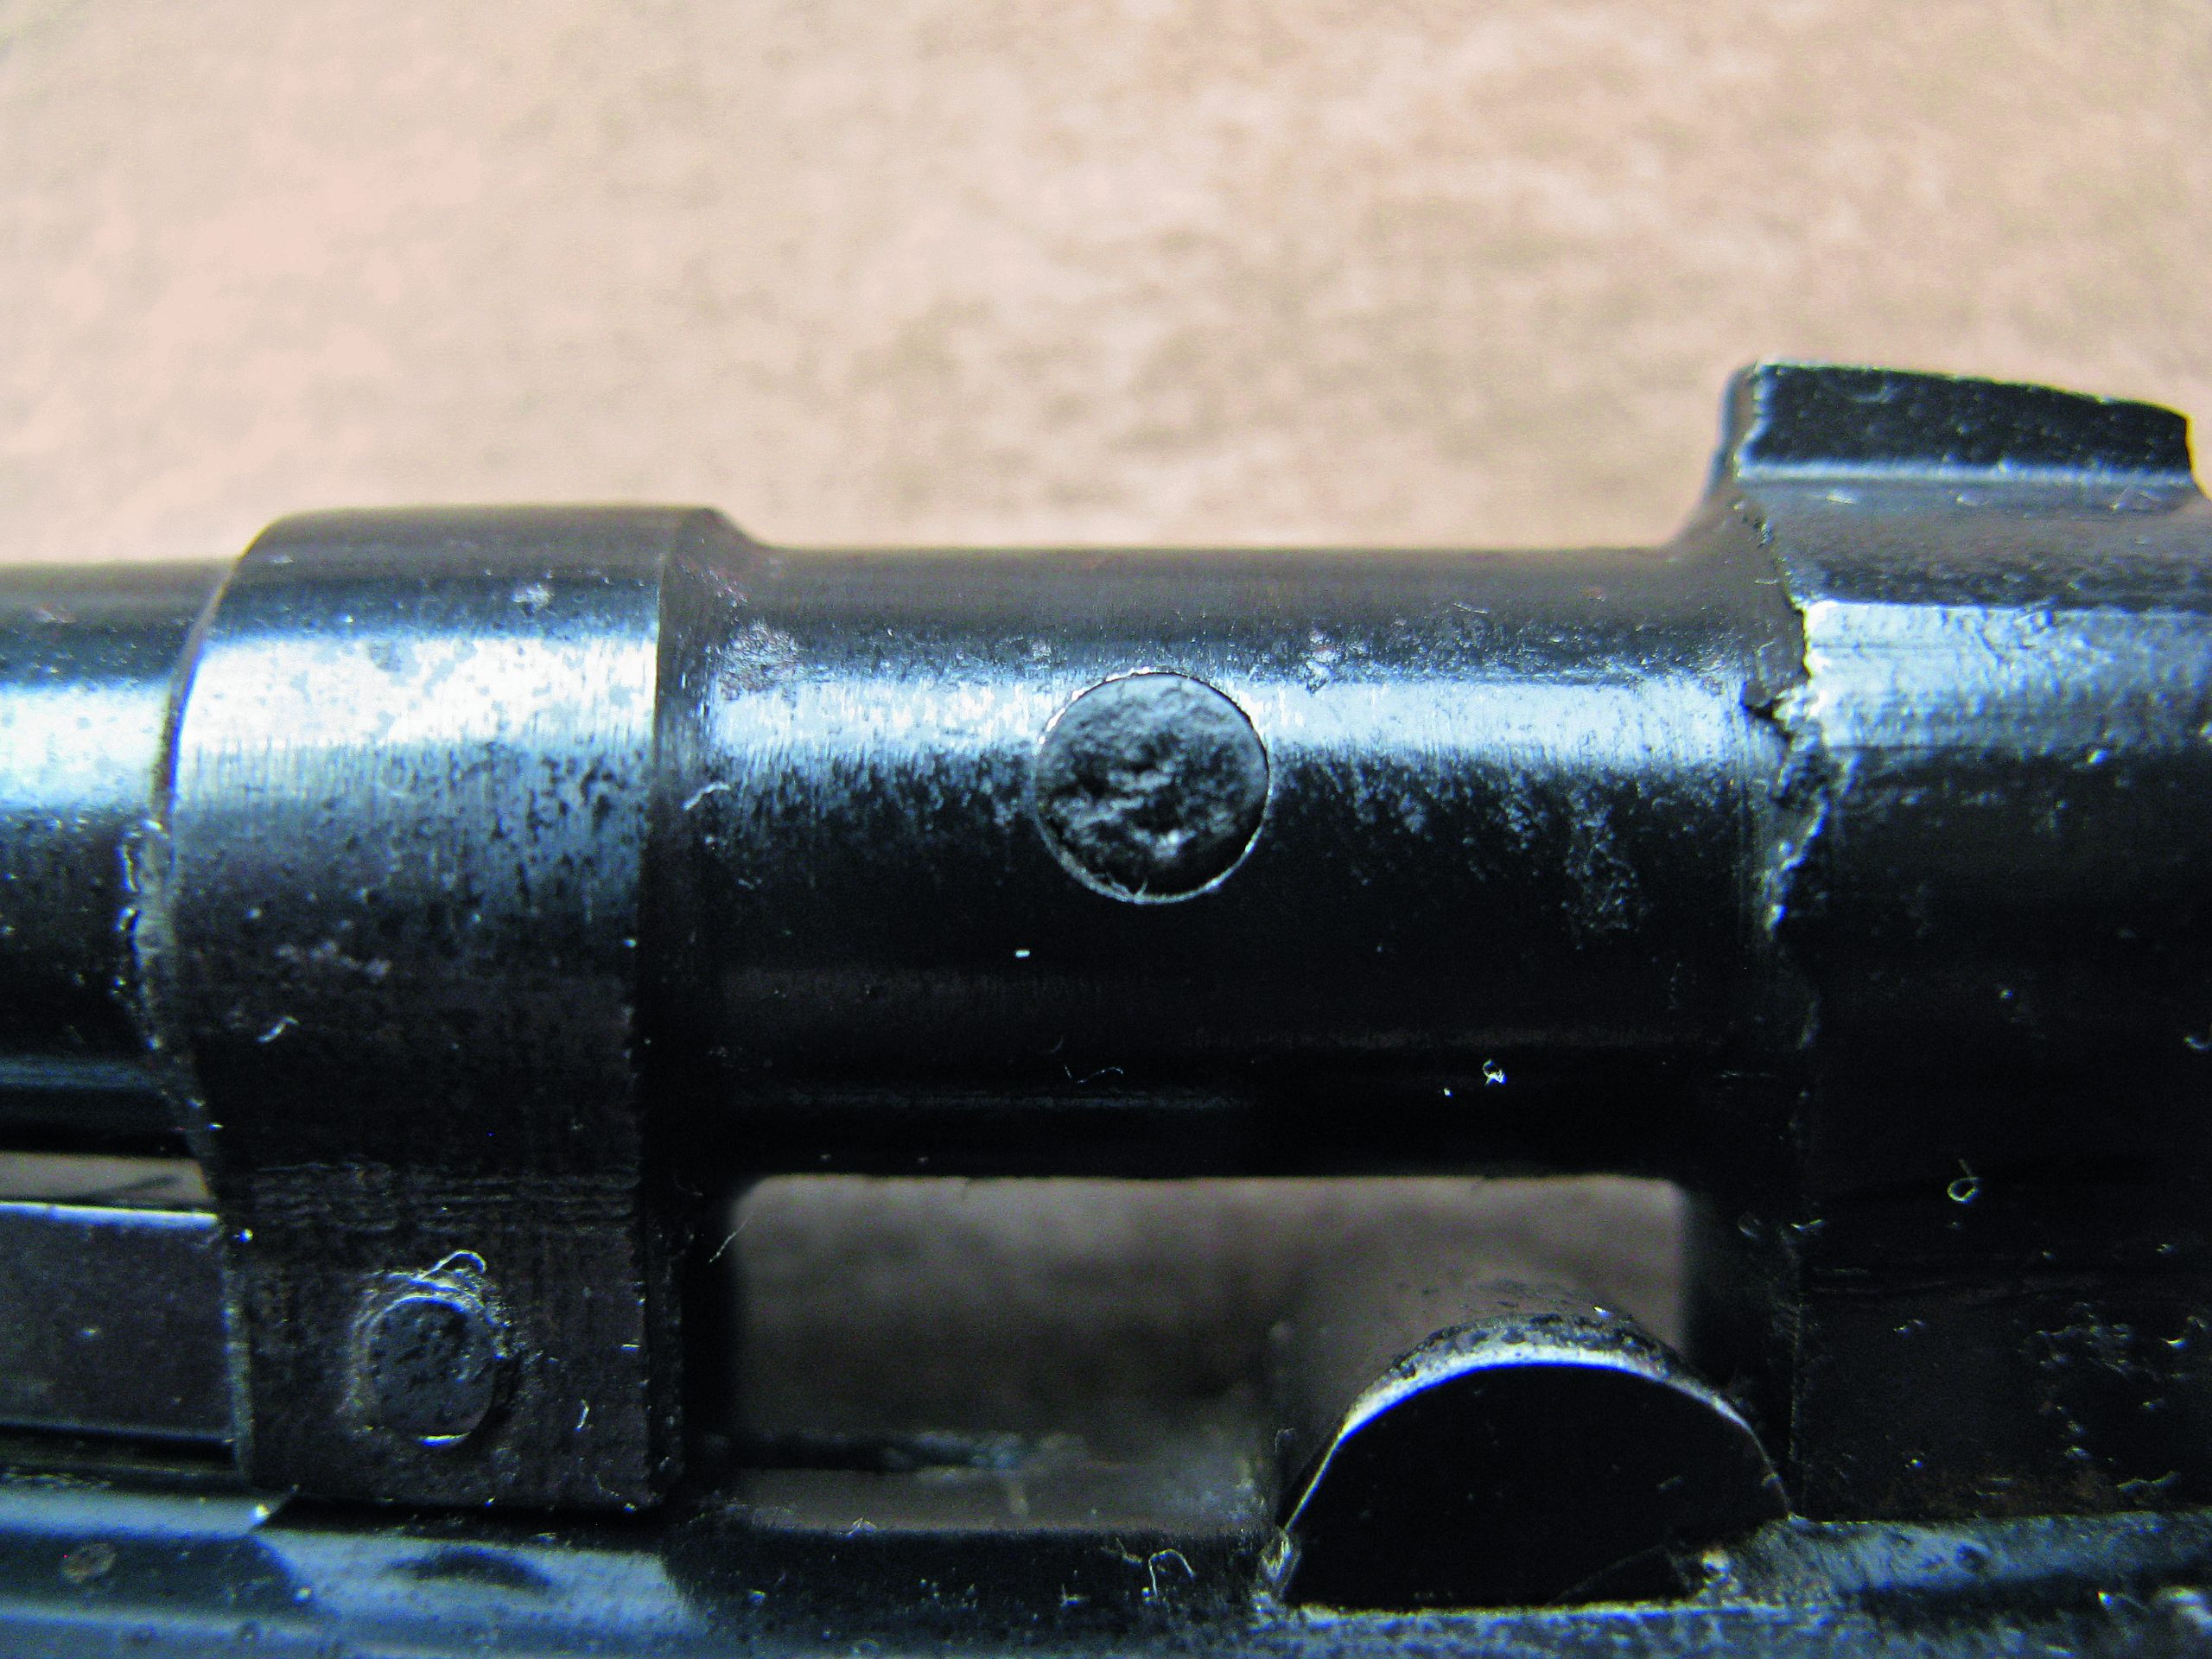
Holes drilled through the airgun barrel wall
A barrel may get blocked if the shooter tries to fire the wrong projectile or if the breech seal fails so power is very low and the user is then not sure what happened to cause the pellet to ‘miss the target’.
He fires another pellet before he realises they are not leaving the barrel. So he now fires another down the barrel to shift the first two, except it doesn’t. He needs to push the stuck pellets out of the barrel so he uses a steel knitting needle and a hammer, which simply expands the blockage and jams it even more tightly in the barrel. So, what now? How about drilling in from the side to break up the blockage?!
The first time that I encountered this issue was on the smoothbore barrel of a BSA Cadet. Looking down the barrel, the bore was OK except for some tiny burrs where the holes had broken through. I gauged the size of the holes and then turned up a mild steel dowel, just a couple of thou larger, with a slight taper to one end.
I measured the thickness of the barrel wall and cut the dowel about 15 thou shorter. I then tapped it into the first hole using a toffee hammer. It proved to be a good, tight fit. I stopped when the exposed end was just a few thou proud of the barrel surface.
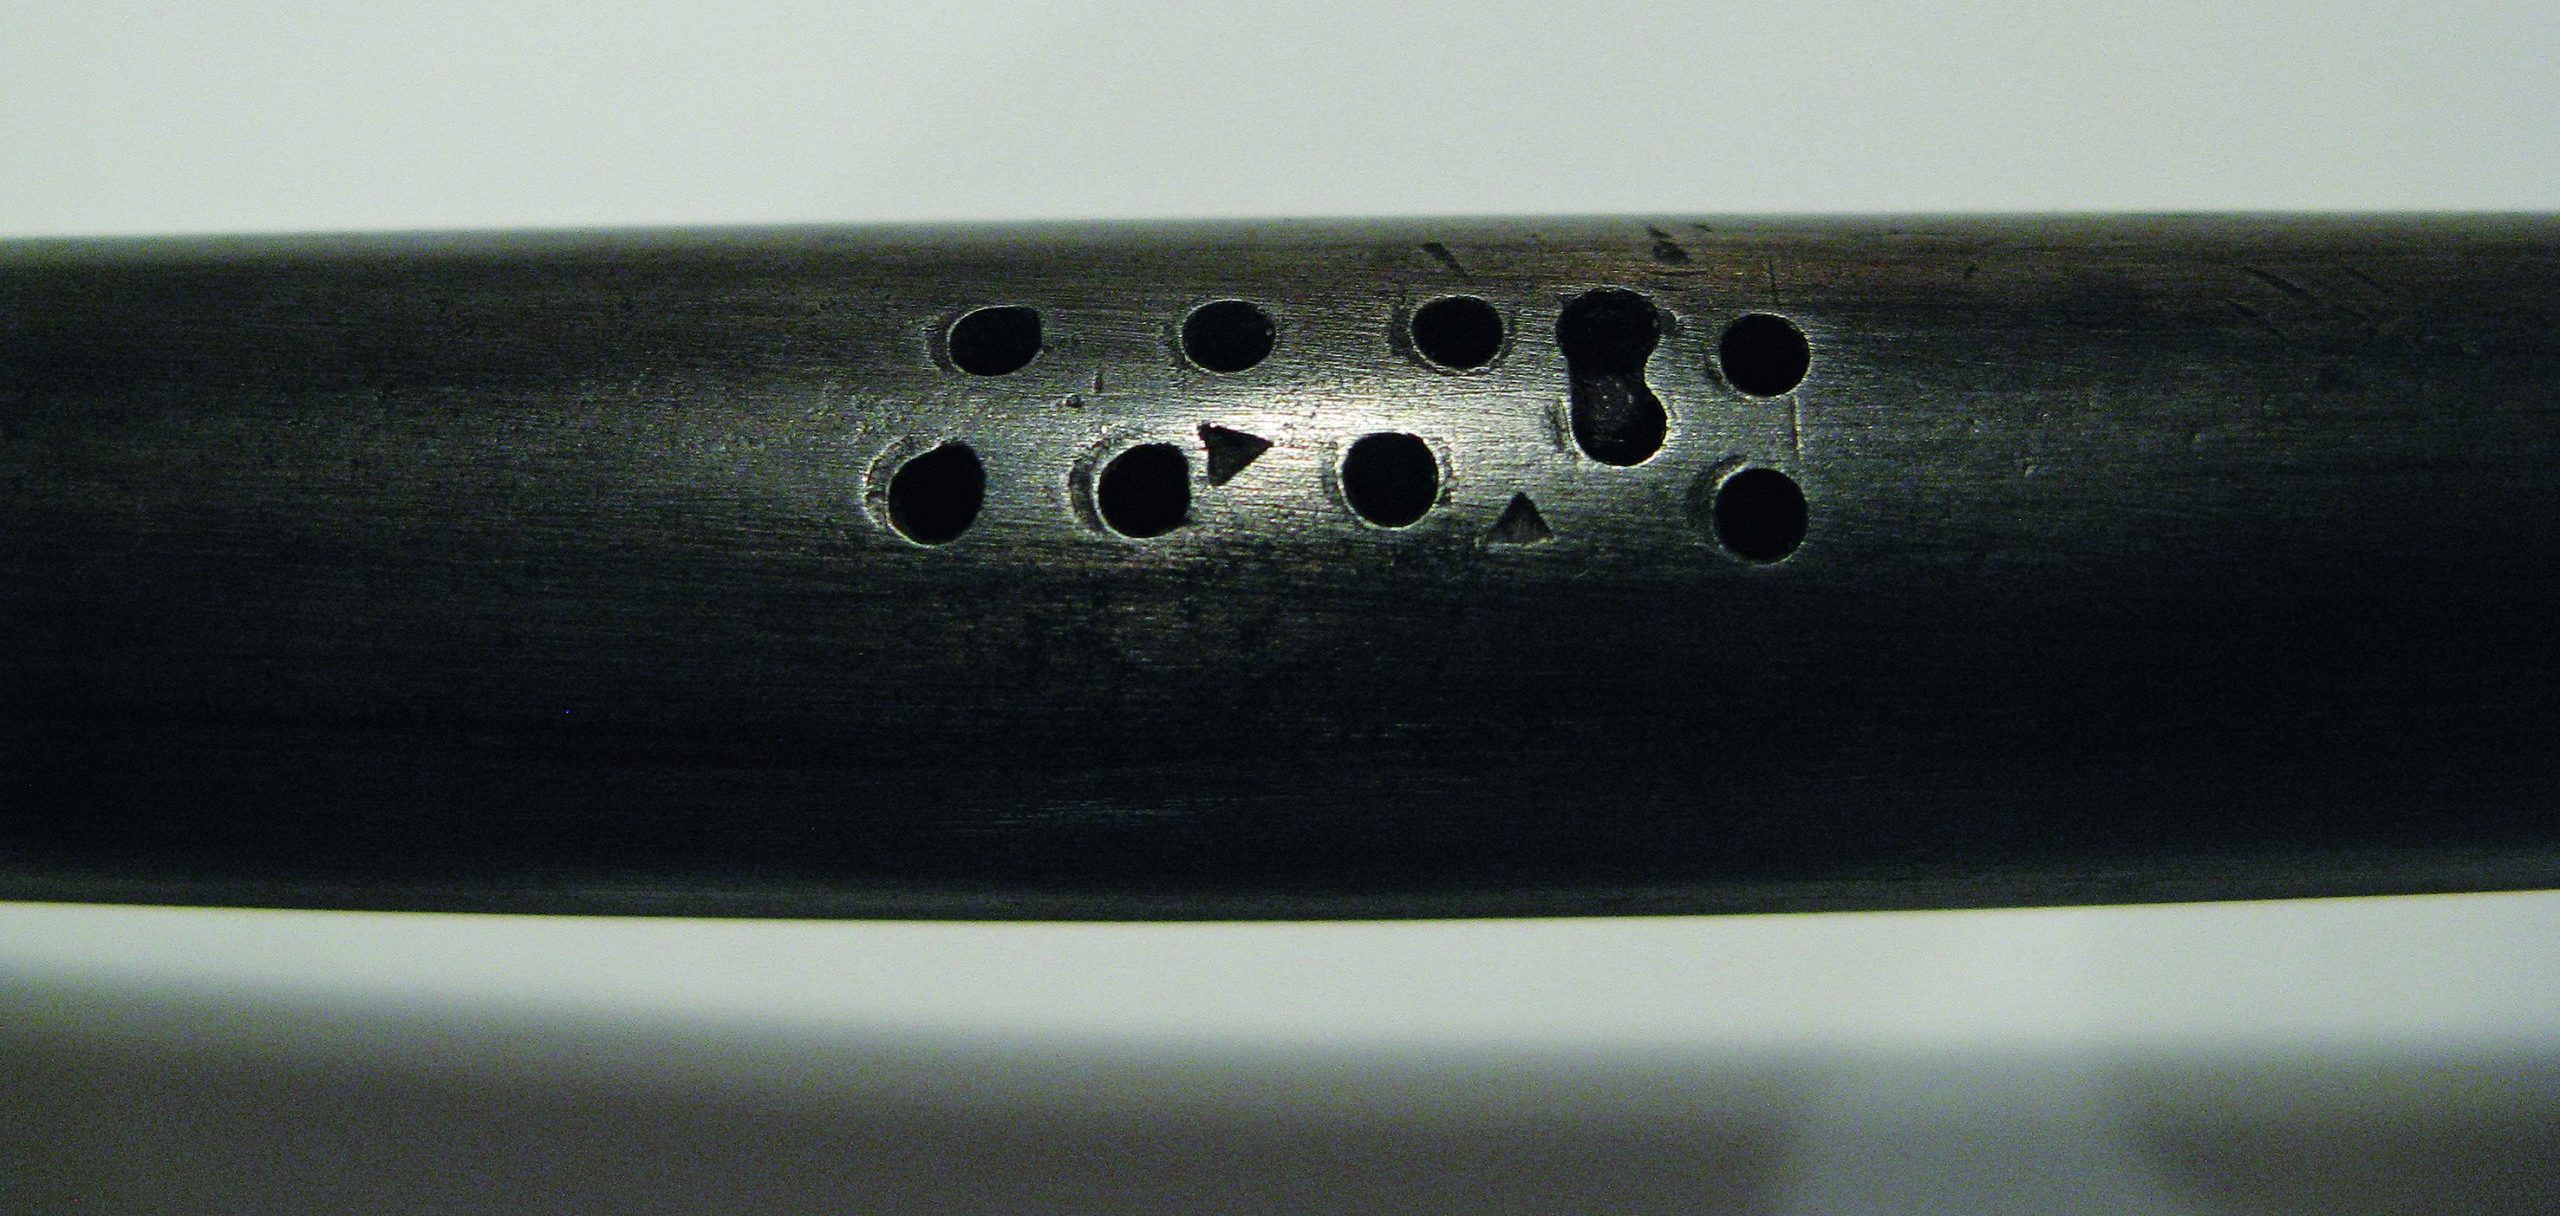
An astonishing amount of damage was inflicted on this BSA Cadet when the previous owner drilled the barrel to remove stuck pellets
This process was repeated until all of the holes were filled with tight-fitting dowels. A fine-toothed flat file was then used on the protruding ends until they matched the external profile of the barrel.
Progressively finer grit emery cloth was used locally and then on the whole barrel as I was later to re-blue it. There was then virtually no trace of the damage with just one tiny crescent being visible when the barrel was viewed under a strong light.
Next, it was time to see to the bore. Unfortunately, the damage was several inches from the muzzle-end or a suitable reamer, carefully applied, may have been the best approach.
In the event, I used a close-fitting cleaning rod to tap a 0.175in ball bearing down the barrel carefully from each end, a little at a time, until the burrs collapsed into the holes, the dowel ends being recessed enough to allow for this.
After this slow process I then cleaned the bore and inserted a pellet into the breech. By slowly pushing this down the barrel, I confirmed my visual impression that it was now completely clear with almost no perceptible extra resistance in the region of the repair.
My second such encounter was on a 1960s Webley Senior. It had a .177 rifled barrel and the hole was a short distance from the muzzle. I applied the same technique, but only needed one dowel, which I pressed in using a vice. The external finishing process was the same and the result was an almost invisible repair. There was some burring in the bore, mostly to the lands rather than the grooves. Very careful application of a new 4.5mm HSS twist drill, rotated between my fingers, removed these burrs without damaging the bore.
I planned to remove the burrs in the grooves with the tip of a Swiss file, but in the event they were so slight that I left well alone. A pellet passed through the airgun barrel with only the very slightest resistance at the point where it had been drilled. Accuracy testing later proved it to be fine.
Buyer beware! The seller of this gun put a plug of plastic in a hole that had been drilled in the barrel to try to disguise the damage

After undertaking restorative work and rebluing, Phil’s repair is almost invisible and the bore damage has now been corrected as well
Breech end of barrel reshaped
This time it was a Webley Junior pistol that had been attacked. Like the BSA Cadet, this is another youngsters’ airgun. It appeared likely that a replacement breech seal had been fitted and it stood proud so the barrel wouldn’t return fully home. What should have been done was to carefully prise out the seal, trim a few thou from it, replace it and see if that did the trick, repeating as necessary. But what someone had done was to mount a grind wheel on an electric drill and grind some metal off the breech end of the barrel.
Viewed from above, the breech end should be square to the bore, while this one was at 4⁰ or so. Viewed from the side, the barrel is designed to have a 6⁰ chamfer to seat it onto the breech seal – this one was ground to be perpendicular to the bore, both errors leading to a very leaky joint.
Webley barrels are of quite soft steel, so I was able to reshape it with a fine-toothed file. I made a card template to help achieve the 6⁰ angle and used a try square to gauge the squareness in the other plane.
The challenge was to remove enough material to correct the problem, as going too far would mean that the top catch would not retain the airgun barrel. Fortunately, on reassembly, the overlap remained sufficient. I smoothed the filed surface with emery and removed the sharp edge from the breech end of the bore by hand using a small, fine, conical grind stone. A new breech seal, with a card shim behind it, ensured a good seal and the pistol was once again fully serviceable.
I wonder which of my airgun collecting buddies will be the next one to ‘roll out the barrel’ for repair?
Related articles

News
Duke's Challenge raises record-breaking £685,000 for GWCT
The shooting community has backed wildlife conservation in spectacular fashion, raising a record-breaking £685,000 for wildlife conservation
By Time Well Spent

News
‘So what exactly do you lot do, then?’
You’d be surprised how many projects staff and volunteers deliver, as well as BASC’s vital work helping members, says Conor O’Gorman