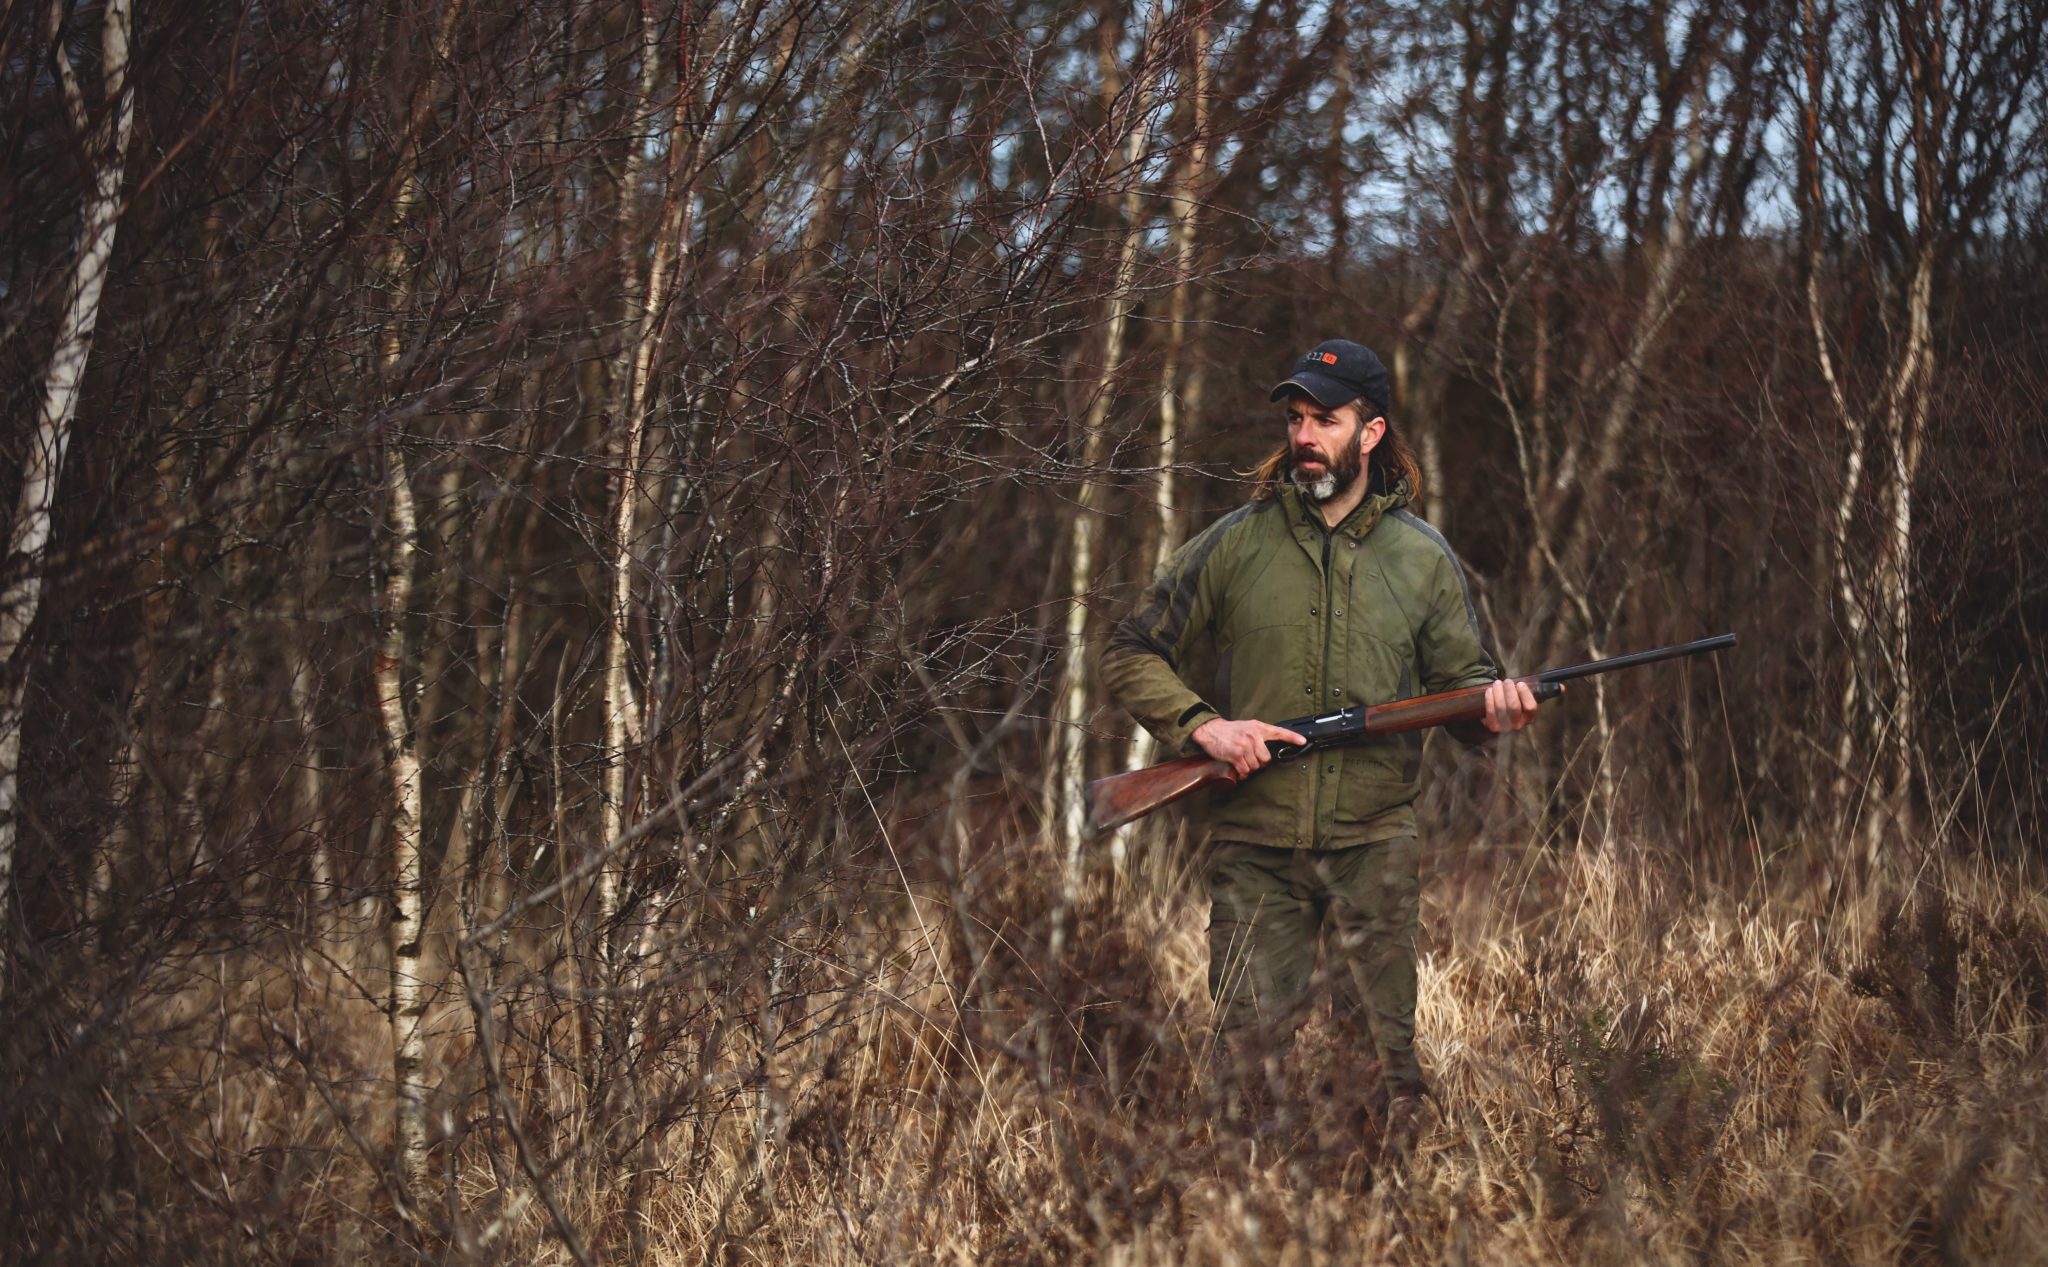
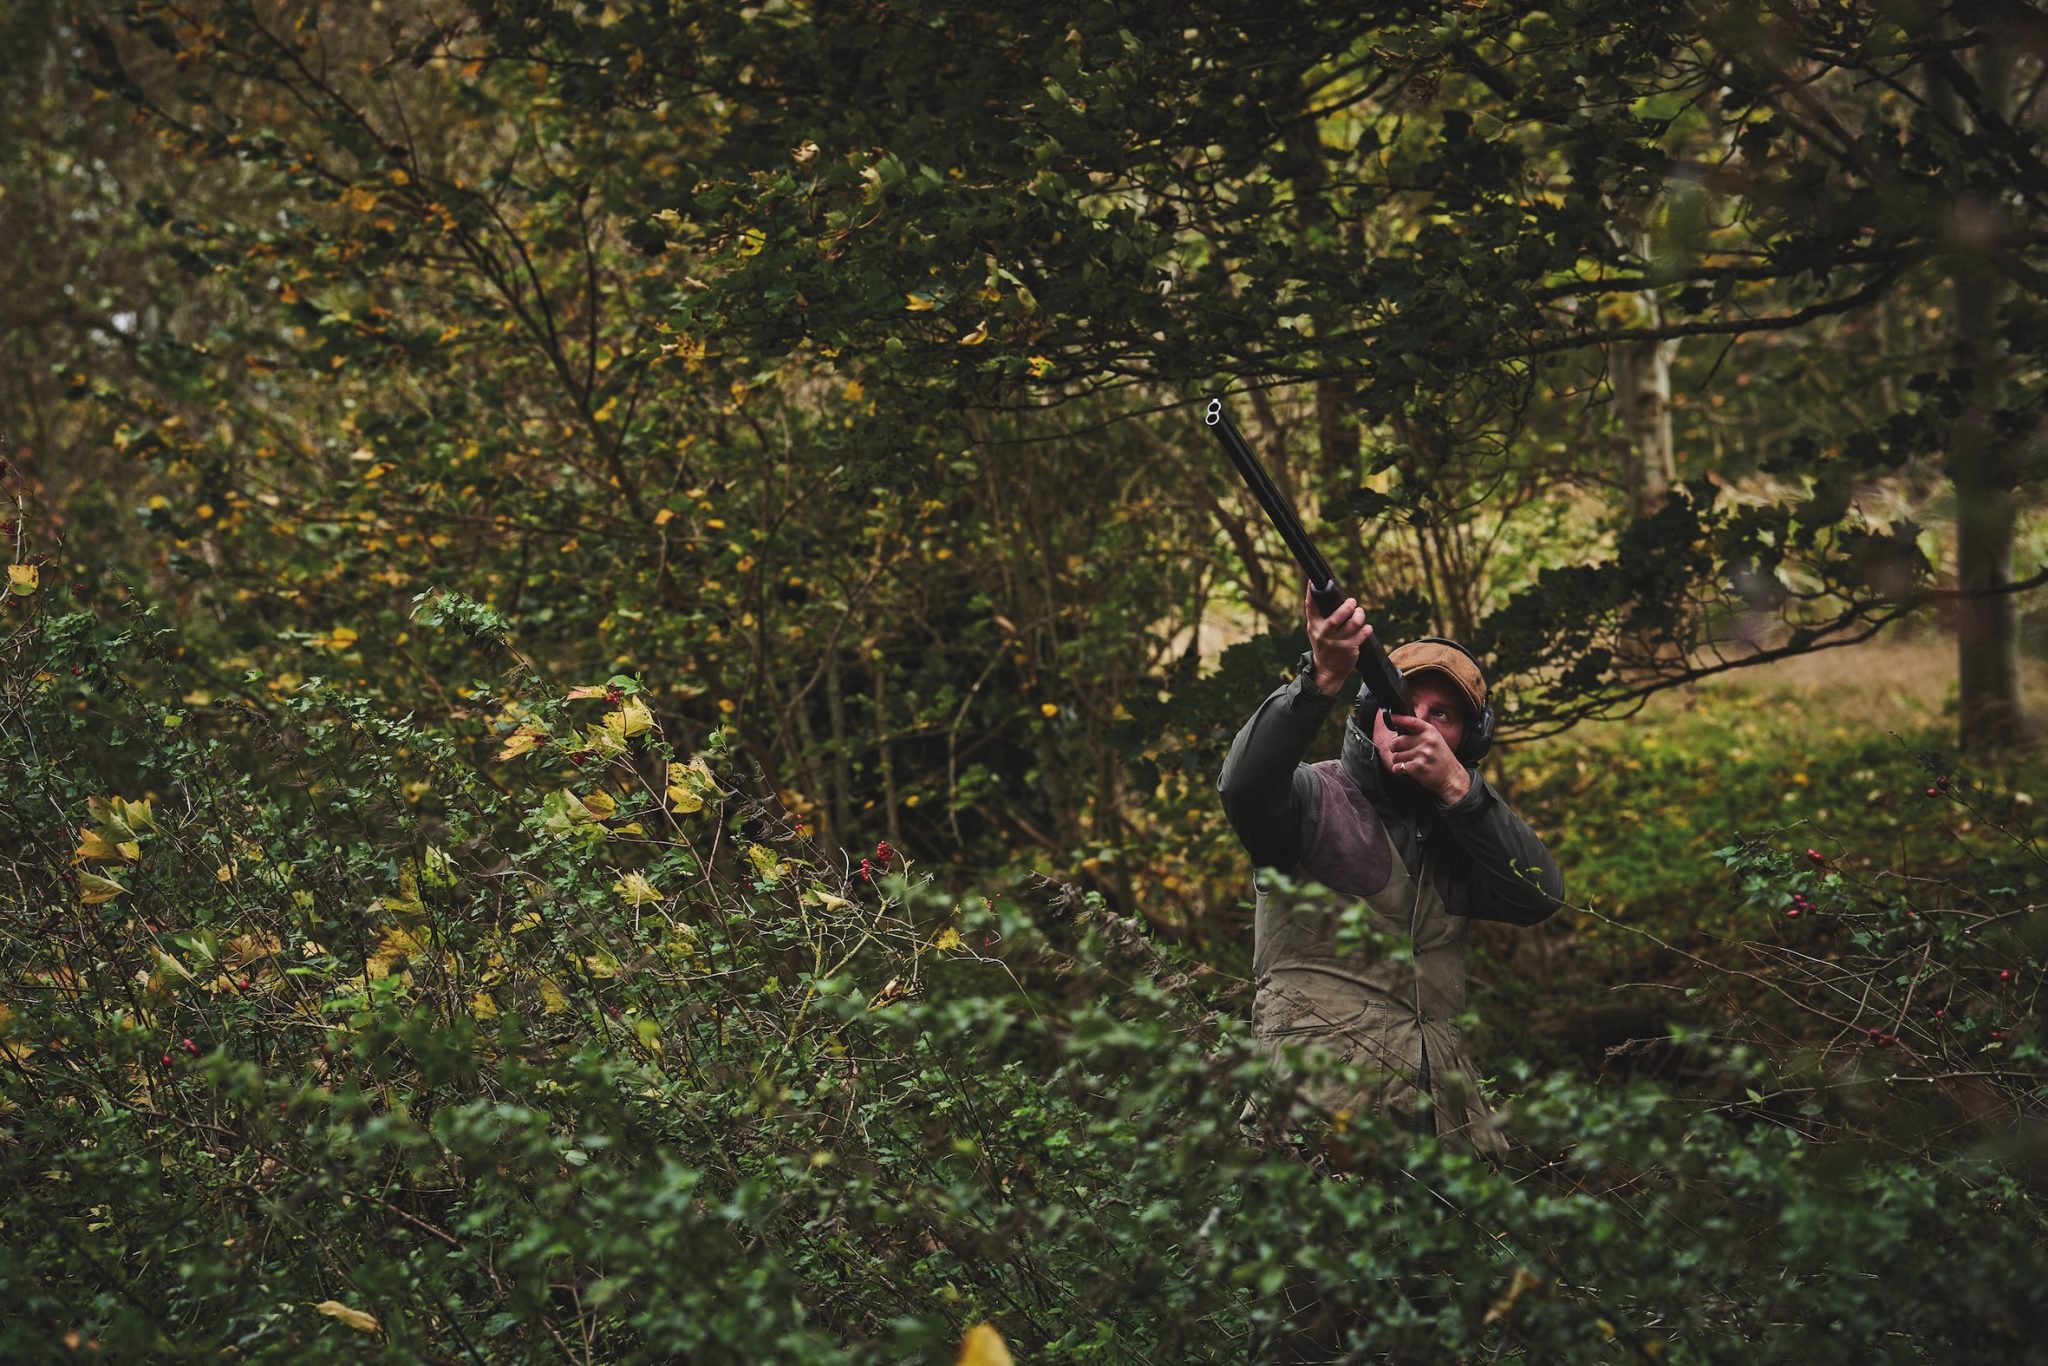
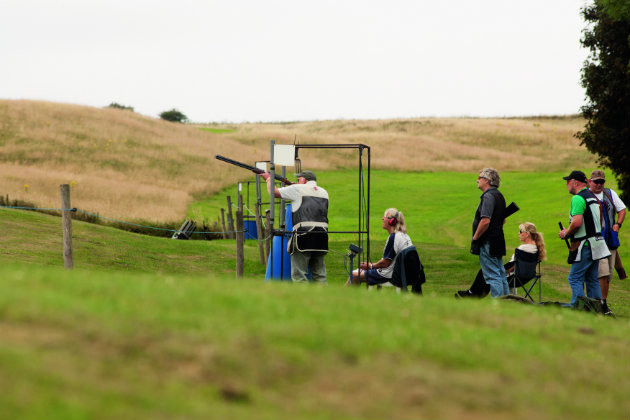
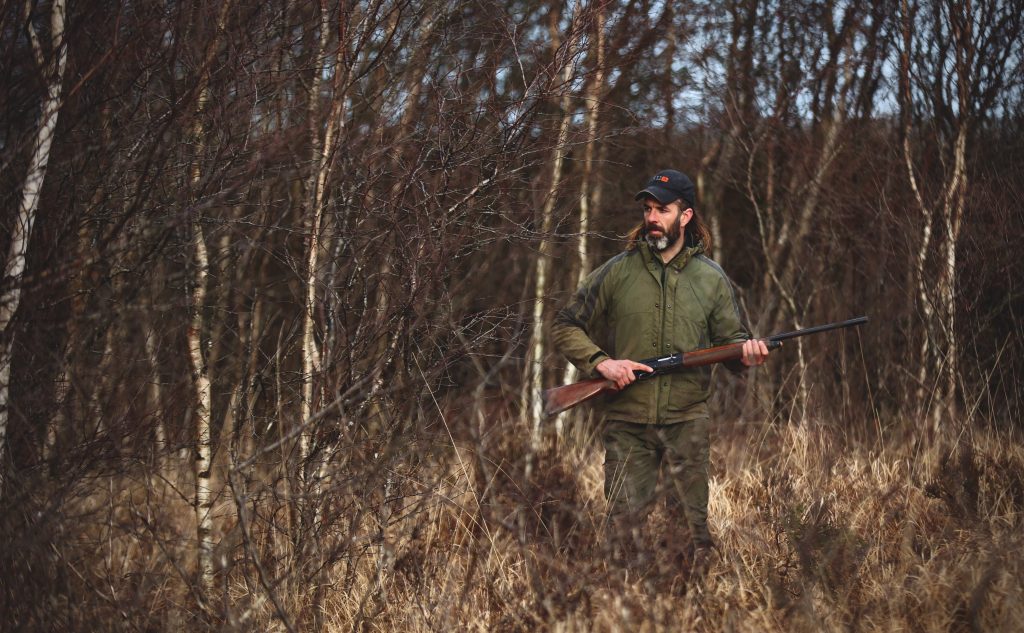
Clay shooting: Are clay shooting lessons good practice for the game shooting season, when driven quarry accelerates towards the gun,…
A couple of months ago I floated the suggestion that even a small bit of preparation for the game and wildfowling season might result in a more successful first day out on partridges, pheasants or the flightpond.
Doubtless pressure of time has again stymied your best intentions to shoot some clays and to practise those high-incomers and longer crossers in readiness for the big day. So what can be done at this late stage?
For some of you it could be nearly nine months since your last outing with a gun and that is a considerable gap in terms of practice for a challenging sport involving hand and eye co-ordination.
However, all is not lost. Draw the curtains in the living room or hallway and re-awaken your muscle memory with the gun by doing a daily stint of dry-mounting practice. Why draw the curtains? Well, you wouldn’t want the armed-response team round from the constabulary do we!
Oh, and to be absolutely clear here, there are no cartridges involved in this simulated practice.
What we are trying to do by dry-mounting the gun in the comfort of our own home falls into three basic activities:
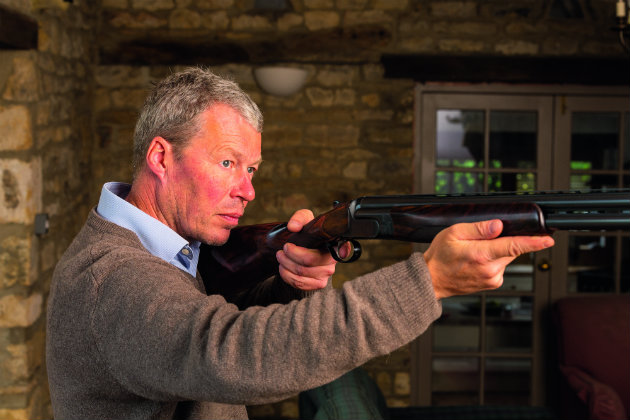
The eye controlling the gun should be over the centre of the rib of the gun
No matter what type of shooting you do, it’s essential that the gun you use should point where you are looking. This means that a correctly mounted gun will be positioned in your cheek so that your line of sight is just grazing the top of the rib of the gun. In this position you will see all the foresight of the gun and you may just perceive the length of the top rib stretching away as a black footpath. Any hint of looking down on the top of the rib indicates that your eye is too high.
A coach can help if you find a dominant eye is affecting the direction of the gun
If you con’t consider cheek/eye placement that important, think again. For every 1/8in that your eye is too high, the placement of the shot pattern at 40 yards will move approximately one foot too high as a result.
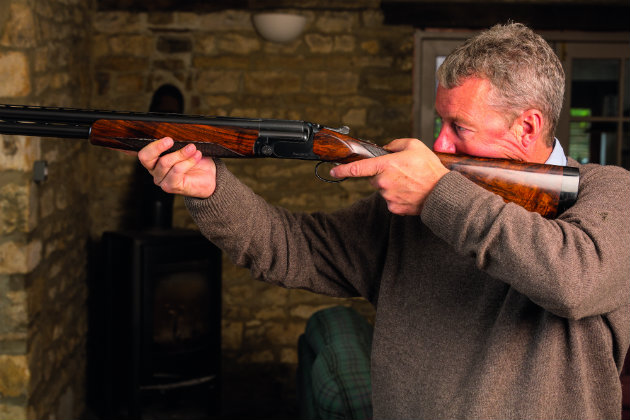
If you hit the right cheek position, demount and repeat. Continue the repetition until you no longer have to think about the activity at all; you must get to the state where you know the gun is correct at your cheek. Only then can you turn your brain 100 per cent to target concentration.
If, for some reason, you cannot achieve a reliable and consistent cheek position by mounting the gun in this way, there may be something wrong with your gun fit and it would be a good idea to see a coach.
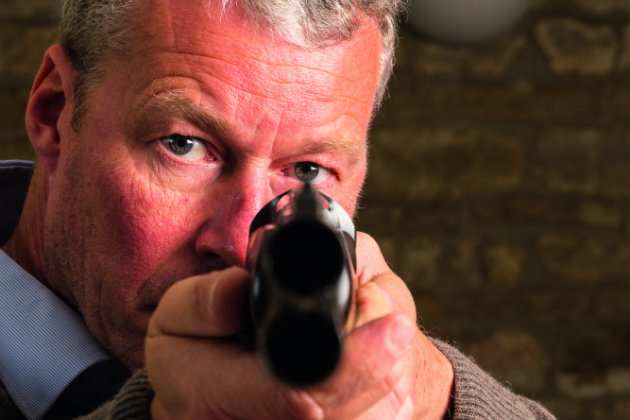
I have discussed eye dominance previously, but while on the topic of indoor practice it may be worth mentioning a useful basic dry-mounting test that can be done facing a mirror.
With both eyes open, mount the gun facing the mirror, so that you are attempting to place the shot on your eye over the rib of the gun. For example, for the right-hander/right shoulder shooter, place the shot at your right eye.
If there is any directional contribution from a strongly or partially dominant left eye, the gun will not be pointing absolutely full on to the right eye; it might be pointing to the left eye or may be at your nose.
If you see these symptoms, I would strongly suggest seeing a coach who will investigate the phenomenon with both dry-mounting and live firing sessions.
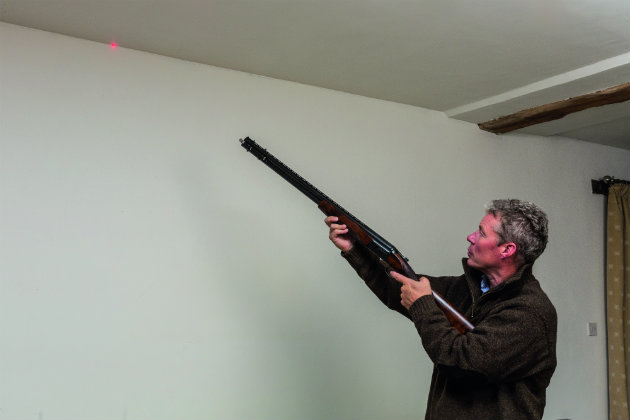
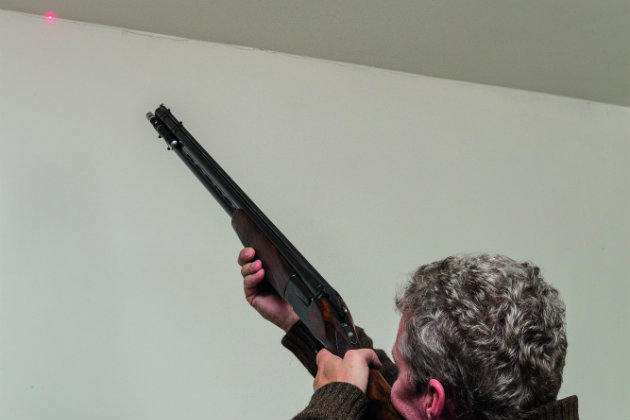
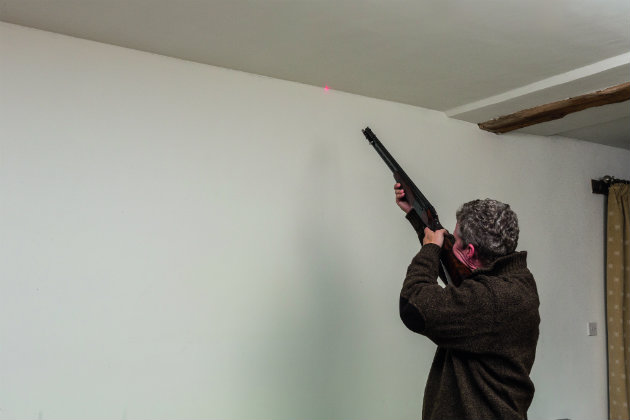
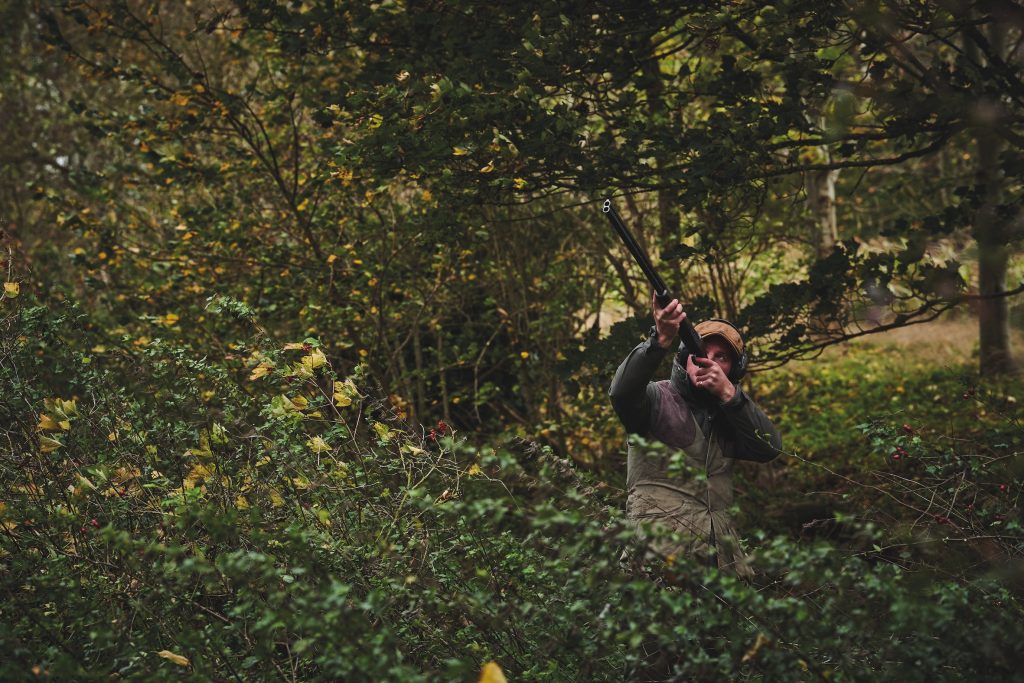
Imagine that where the ceiling and wall meet is the line of a crossing target. Keep the gun moving along the imaginary flight line of the target.
Both the leading hand and trigger hand should move in unison to bring the gun to your cheek and then swing the gun to add forward allowance
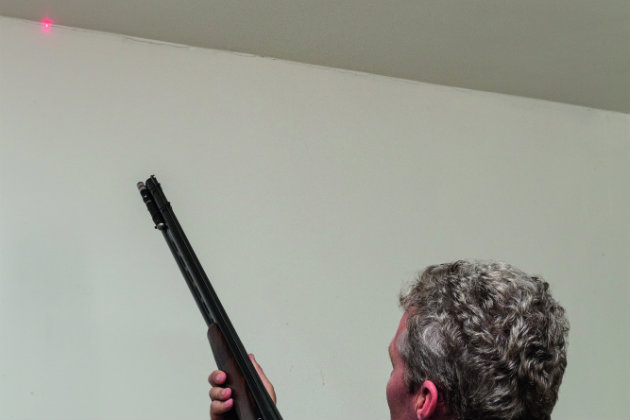
Parallel gun mount is about keeping the gun on target whether for crossers or driven targets
Mount the gun in one smooth movement. Do this in slow motion to build up muscle memory.
You can do this exercise with an imaginary laser, or a real one. The exercise with a real one is actually quite revealing and you can buy one for very little expense. Some fit in the muzzle of your barrel, in the chamber of the gun like a cartridge, or simply attach to the side of the barrel with an elastic belt.
Before lasers were invented, coaches used to suggest the analogy of a high-pressure water jet coming out of the gun muzzles. Admittedly, this was rather messy in practice if you did it in the house, but nowadays this presents no problem when using a laser.
The optimum gun movement is actually the minimum gun movement; the laser stays close to the target during the whole process of getting the gun to your cheek.
It is all one unified, steady movement of the gun with both arms keeping the laser on the target, while the gun moves to your cheek. Coaches call this the parallel gun mount because both hands are travelling vertically together to get the stock to the touch-point on your cheek, while keeping the laser pointing out the target at the same time.
Dry mounting can never replace the benefits of shooting some sporting clays before a day on live game, but what it does do, at least, is give you a very useful pre-season warm up.
And the neighbours won’t have heard a thing…
Dr Malcolm Plant is Chairman of the Institute of Clay Pigeon Shooting Instructors and a Clay Pigeon Shooting Association senior coach.
Clay shooting: Are clay shooting lessons good practice for the game shooting season, when driven quarry accelerates towards the gun,…
Sean Ponting of Widdington Shoot has pretty much been there and got the T-shirt as far as Sporting and FITASC clayshooting goes. He has had 20 years…
BASC and the Ulster Farmers' Union have hit back at proposals to increase Northern Ireland's firearms licensing fees by 153%.
The countryside has been hit with another consultation in the form of a government-led review of our quarry species, says James Green
Get the latest news delivered direct to your door
Discover the ultimate companion for fieldsports enthusiasts with Shooting Times & Country Magazine, the UK’s leading weekly publication that has been at the forefront of shooting culture since 1882. Subscribers gain access to expert tips, comprehensive gear reviews, seasonal advice and a vibrant community of like-minded shooters.
Save on shop price when you subscribe with weekly issues featuring in-depth articles on gundog training, exclusive member offers and access to the digital back issue library. A Shooting Times & Country subscription is more than a magazine, don’t just read about the countryside; immerse yourself in its most authoritative and engaging publication.

