★ Win a pair of Brandecosse Capriolo boots worth £219! Click here to enter ★


Shooting an air rifle in the back garden: here’s what you need to know
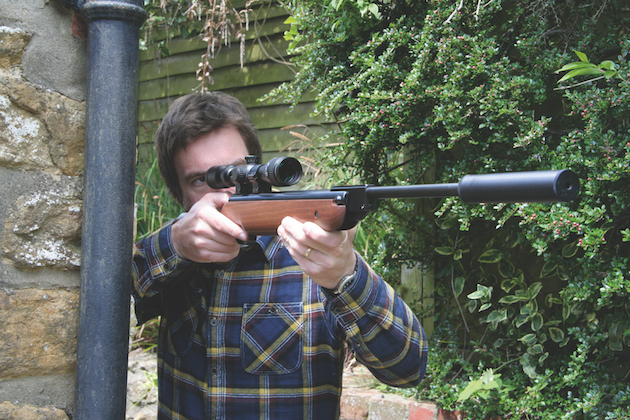 With practice and good technique, a spring-powered air rifle is well up to the task of garden pest control
Shooting an air rifle in the back garden
Airguns provide a terrific introduction to the world of shooting, not only because of their affordability but also because of their versatility. Being relatively low powered, legal-limit air rifles can safely be used in a modestly sized garden, and plinking an air rifle in the back garden is an enjoyable pastime. (Read our guide to the best air rifle pellets.)
Setting up a range
With a little forethought and preparation, you can set up a garden range that will provide hours of entertainment and useful practice. (Read the best air rifles for garden plinking.)
Having a garden range is incredibly handy, not only for recreational shooting but also for setting up and testing equipment. Being able to experiment with different ammunition and check zero in the backyard is so much more convenient than driving to the local club range. I often shoot a few pellets at targets in the garden simply to ensure that everything is working as it should be before I head out to address live quarry. (Want to know how to zero your rifle?)
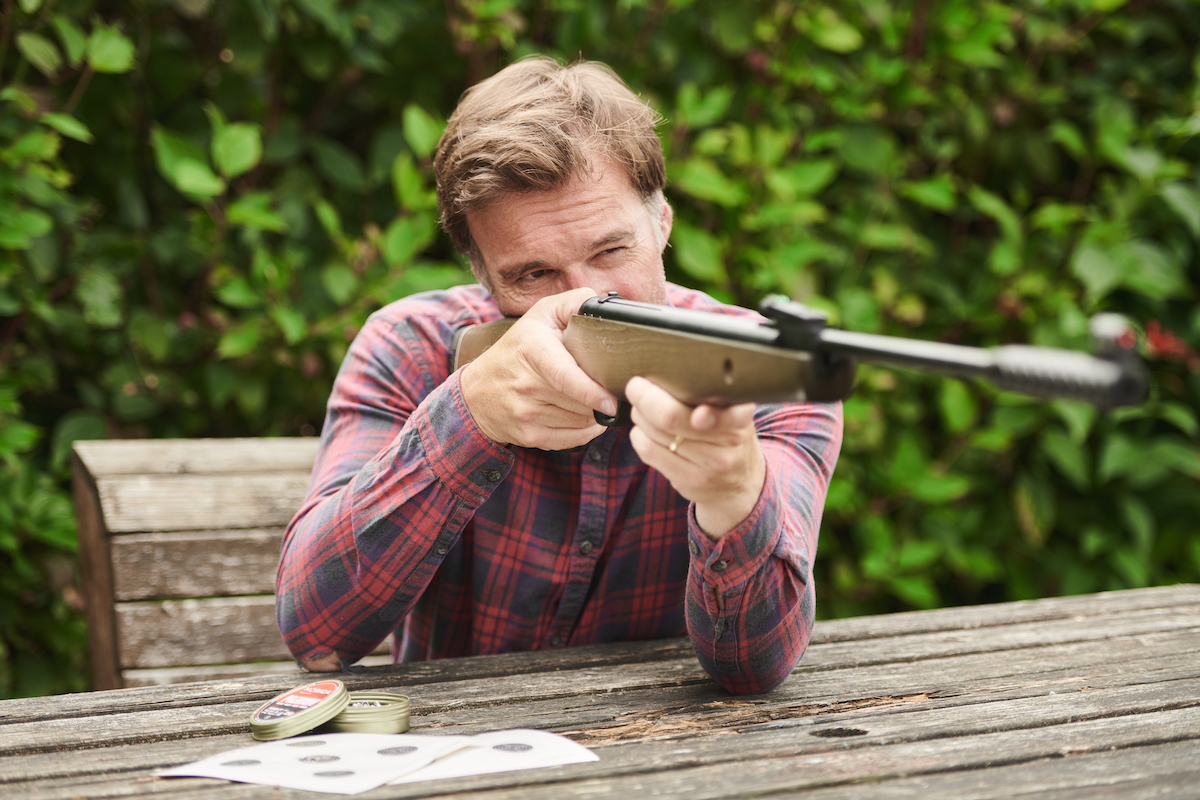
If you only have a fairly small garden and want to make your shooting more challenging, try using open sights instead of telescopic ones
Of course, shooting an air rifle in the back garden can also be great fun. I spent hours toppling tins on the garden range with my son and daughter when they were young and, though they are now well into their teens, they still like to join me for the occasional plinking session, which inevitably ends up becoming very competitive.
There is no better time to set up a garden range than in the summer months, when the days are long and the weather is, hopefully, dry and warm. It needn’t be expensive or complicated, though it is essential that your shooting is safe and within the law.
It is imperative that no pellets travel beyond your boundary, because you will be breaking the law the moment one does. Thankfully, there are plenty of ways to ensure that no projectiles stray out of bounds. (Read more on air rifle law here.)
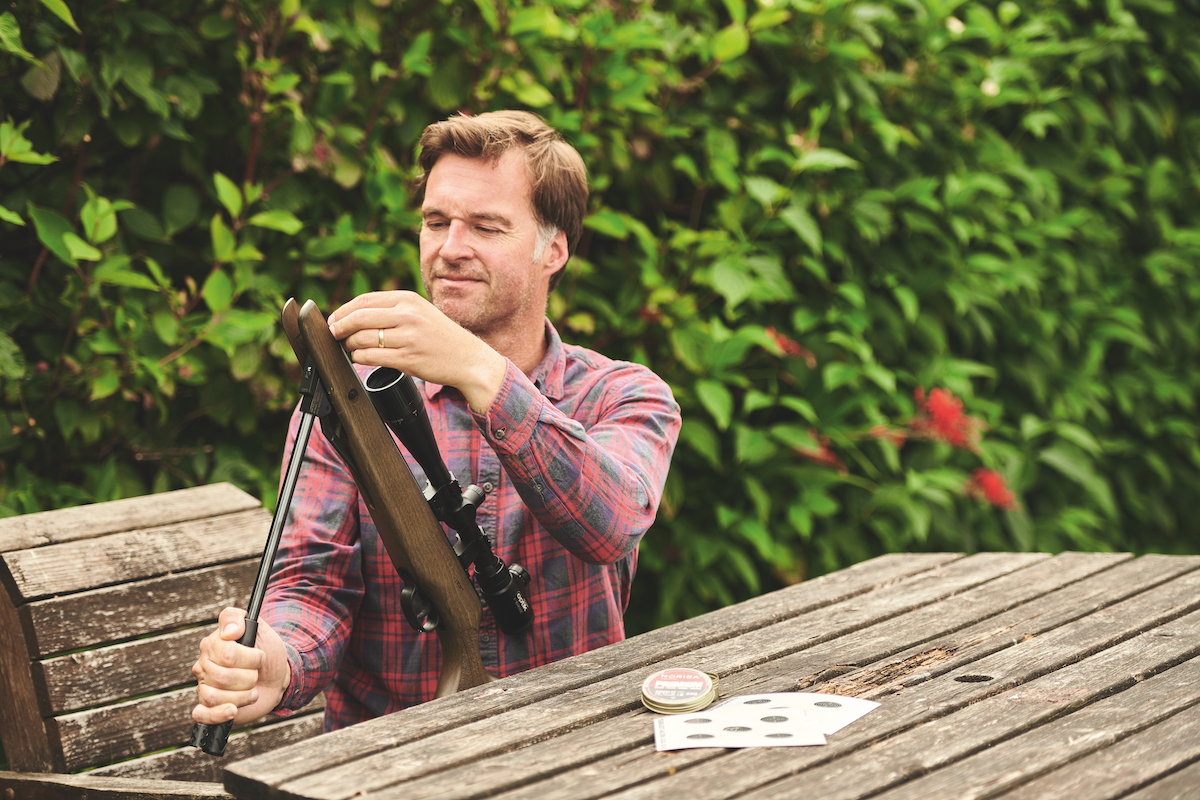
A simple break-barrel airgun can provide hours of fun on a garden shooting range
Added insurance
Not so long ago, my first-choice pellet catchers were made from two or three telephone directories — remember them? — taped together. I then simply used parcel tape or paperclips to attach paper targets before placing the bundle in front of an upright patio slab. The paper did an excellent job of quietly catching pellets and the slab provided added insurance for when they eventually began to rip through.
This arrangement worked well when I was plinking with an air rifle in the back garden, save for the fact that the lawn would end up littered with confetti after hundreds of pellets had torn their way through the pages of the telephone directory backstops.
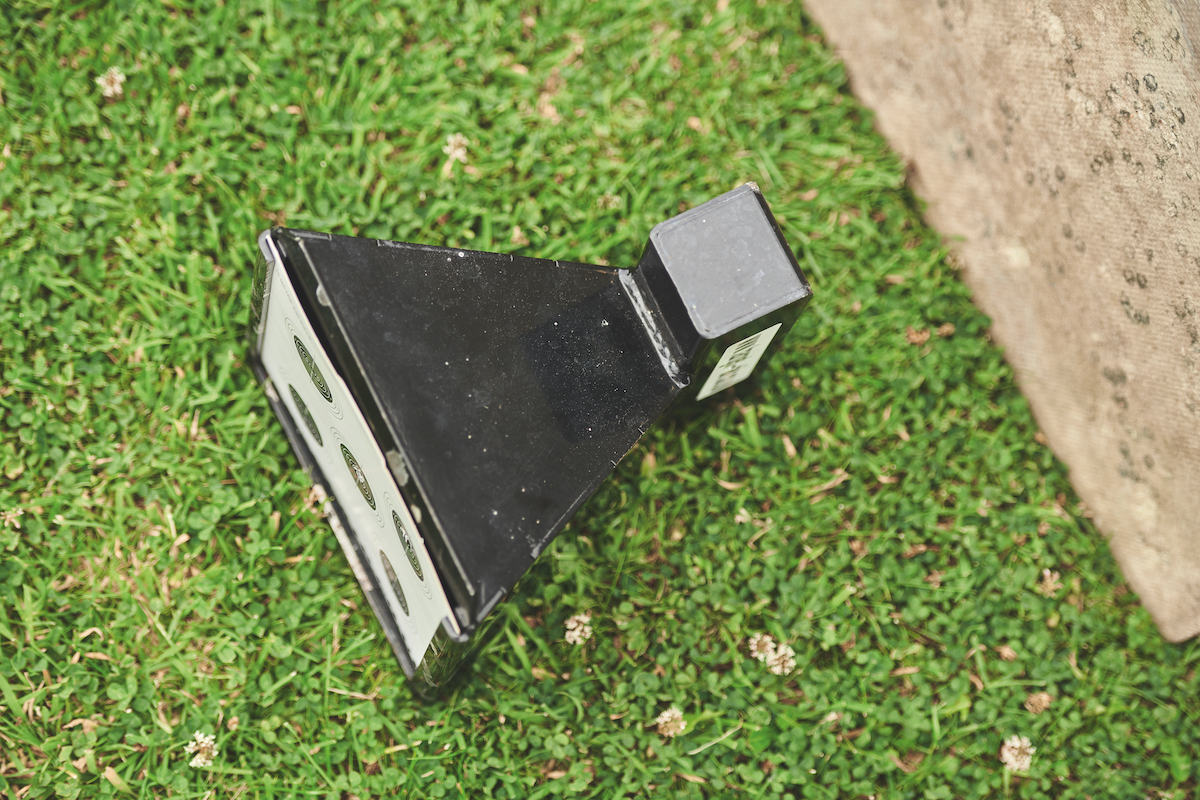
A pellet catcher traps spent ammo, ready to be tipped out at the end of the session
Nowadays, I tend to use purpose-made pellet catchers, which work remarkably well. Constructed from 3mm or 5mm steel, these devices comprise a front frame that holds a paper or card target and a funnel-shaped body that guides pellets into the rear of the unit where they are caught. Spent ammo ends up in the bottom of the pellet catcher and can be tipped out at the end of the session.
The only downside with pellet catchers is that even relatively soft lead ammo makes quite a loud smack when it strikes the rear plate. One way to deaden the noise is to stuff a few rags into the funnel section of the catcher. Pellets still end up safely contained but make a lot less noise on impact after their progress is slowed down by the rags.
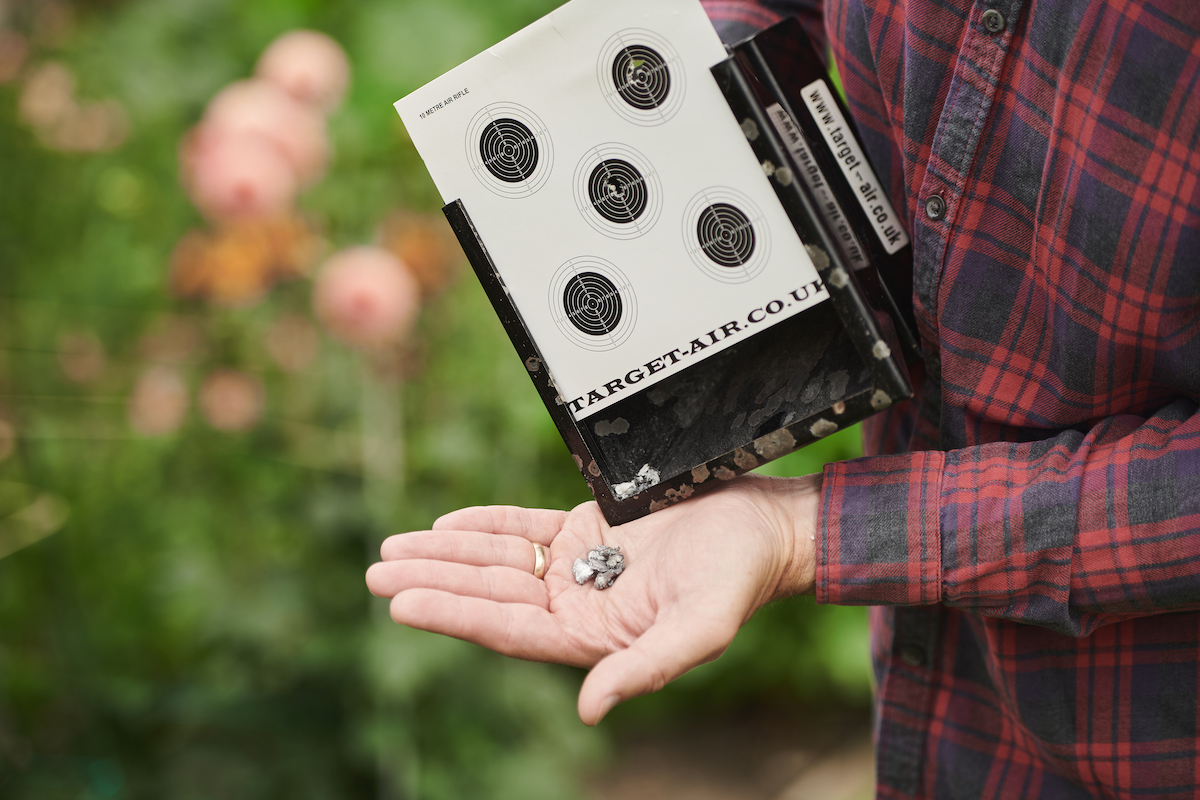
Pellet catchers can do a very efficient job of catching airgun pellets and are usually designed to hold a standard-sized target card
Ricochet
Because pellet catchers tend to be quite small — typically the size of a 14cm or 17cm target card — it pays to have something behind them. Though shots are unlikely to stray wide of the mark, it is important to make provision for this happening in order to stay on the right side of the law. A wall of brick or concrete will stop a pellet in its tracks, or you can opt for the faithful patio slab. Do make sure that you are shooting straight at it because the risk of ricochet increases as shots become angled.
Be cautious of wooden backstops. The obvious problem is that, after repeatedly striking the area behind the bullseye of your target, pellets will eventually rip their way through wood. Less obvious, but equally dangerous, is that the fibrous nature of wood can cause serious ricochets — very often straight back in the direction of the shooter.
I experienced this the first and last time that I tried to use an old wooden door as a pellet stopper. I was fortunate to escape with a smack in the chest, but the memory still serves as a clear reminder of the importance of choosing the right backstop.
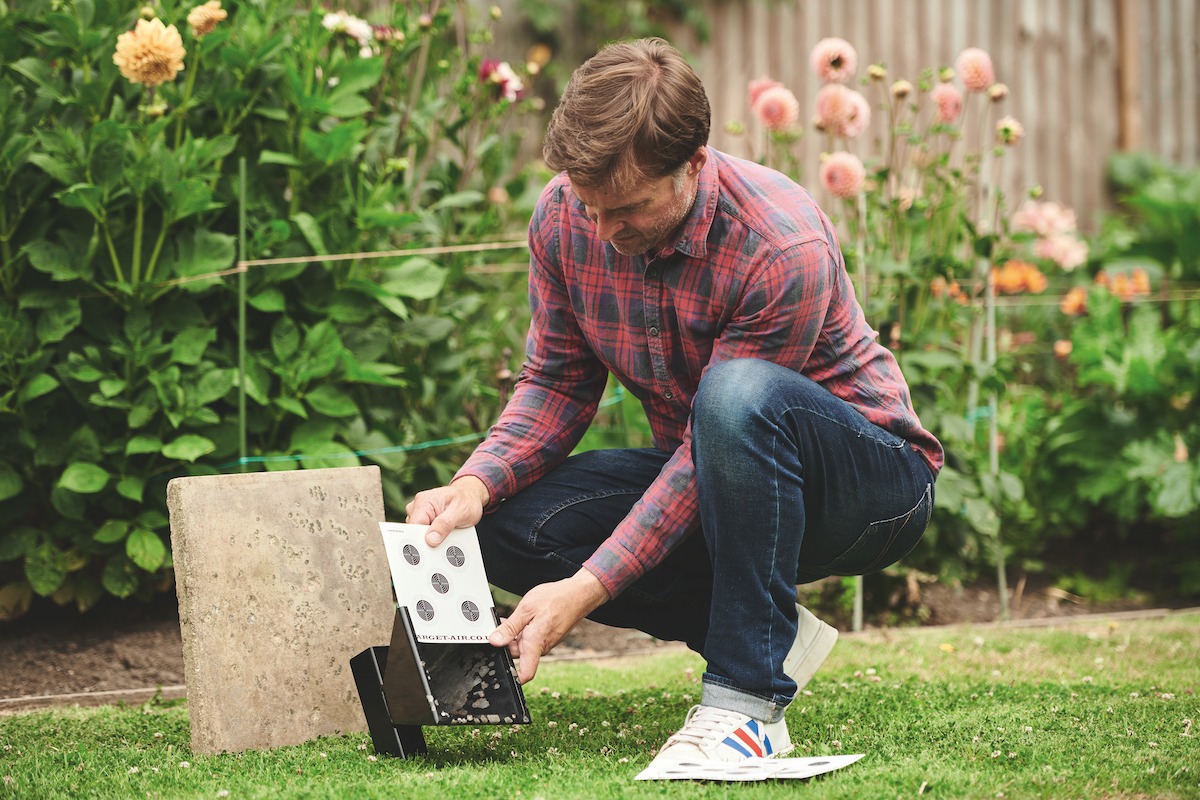
A concrete patio slab serves as a safe and portable backstop which will stop any pellets that travel wide of the mark, though do be aware of the chance of ricochet if shots become more angled
Shut pets away
Sticking with the safety theme, it is essential to follow a few rules when shooting an air rifle in the back garden. The first one is to ensure that the rest of your family are out of the garden, or behind the bench you are shooting from if they are joining you for a session on the targets. Pets should be shut indoors.
Try to set out your range in a way that avoids shooting past any access points that lead into your garden. If this is unavoidable, it may be worth hanging a sign on your gate to ensure that nobody inadvertently wanders into the line of fire.
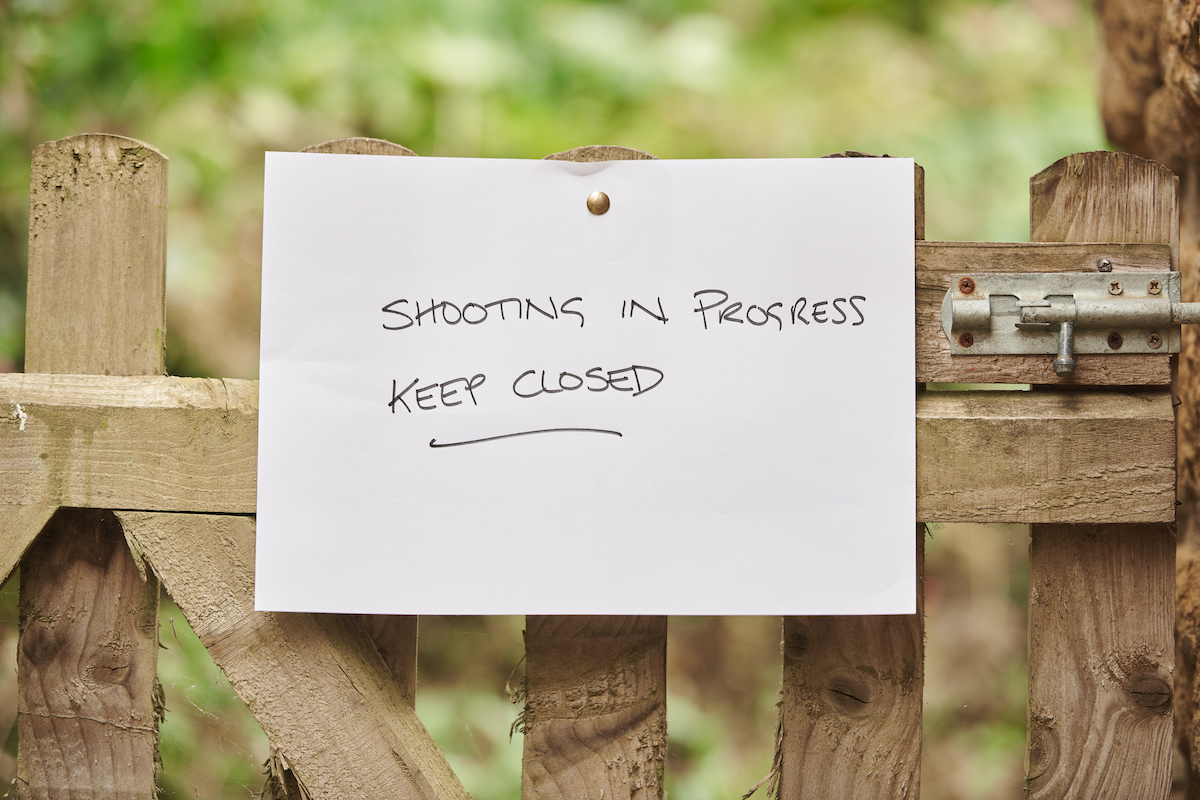
A sign on the gate should stop anyone wandering on to your range.
As for range protocol, acceptable conduct should boil down to common sense. Make sure that everyone stays behind the firing point unless going downrange to check or reset targets, in which case everyone should be made aware of their intention and the gun should be unloaded and pointed in a safe direction. Never leave your airgun unattended in the garden and always ensure that it is unloaded when not in use.
Neighbours
You don’t have to tell your neighbours that you will be shooting in your garden, but it can be worthwhile to prevent them from becoming suspicious when they start to hear the ping of pellets hitting the backstop. If you use a moderated airgun and stuff your pellet catcher with rags to mute the noise of impacting ammo, your neighbours may not even notice that shooting is taking place. The decision on whether or not you decide to tell them is down to you and is likely to hinge of the kind of relationship you have.
My neighbours all know that I shoot airguns in my garden and some of them have even come over to try it for themselves.
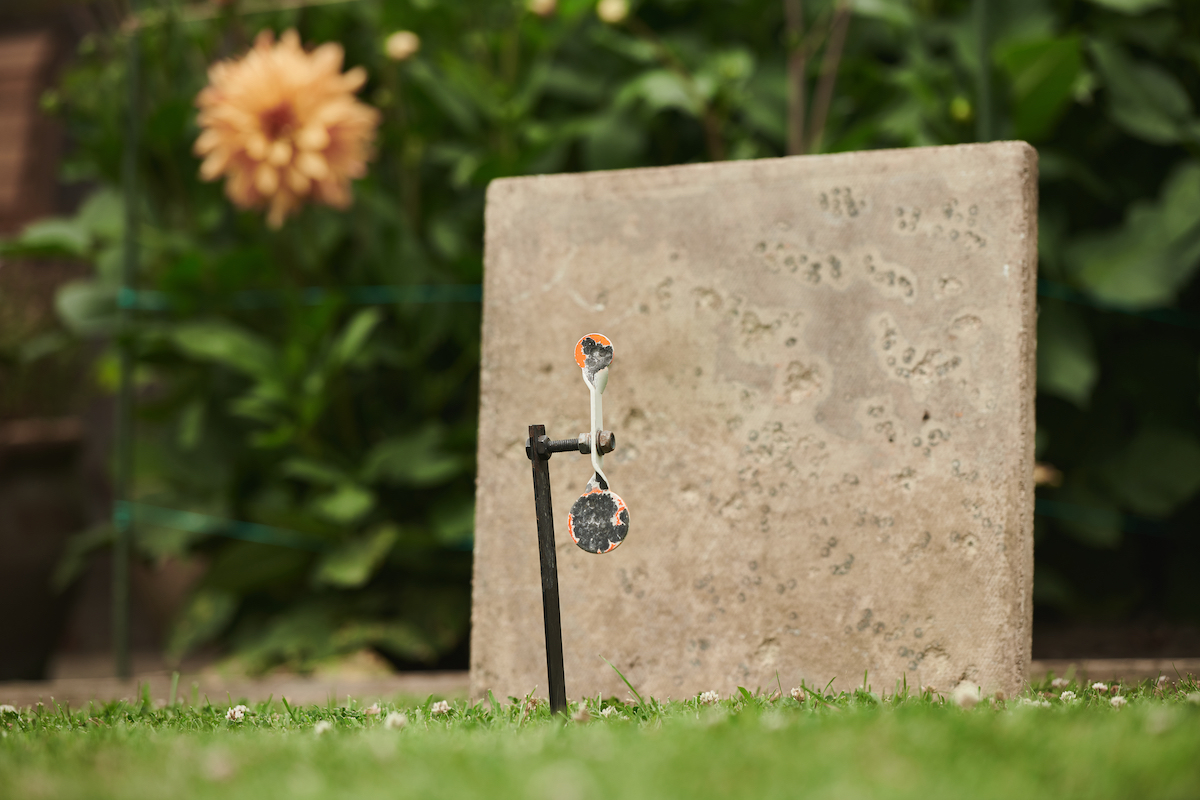
Spinning targets that reset by gravity are a good way to bring variety to your plinking
When it comes to choosing targets for your garden range, paper and card are by far the best for setting up an airgun and testing pellets. The fact that they reveal exactly where each pellet strikes can be incredibly useful, but there is no getting away from the fact that paper punching can get a bit dull and repetitive, and isn’t the best way to enthuse youngsters and newcomers.
Airgun targets
Thankfully, there is a huge choice of different airgun targets. Some you can quickly and cheaply make for yourself and others can be bought online or from your local gunshop. For novices who need the encouragement of seeing large targets topple, you can’t beat a stack of empty tin cans — set out in front of a safe backstop, of course. If you want something more gratifying, there are all sorts of different designs of reactive targets. (Read our list of best air rifle targets.)
Some fall over and are reset with a string, some spin and reset themselves by gravity and some come with reducer rings to make the kill zone smaller as you become more proficient at hitting it.
There are some fantastic explosive targets on the market too that go off with a bang and a cloud of smoke when hit. They can be pretty noisy, so perhaps not the ideal choice if you live in a built-up area.
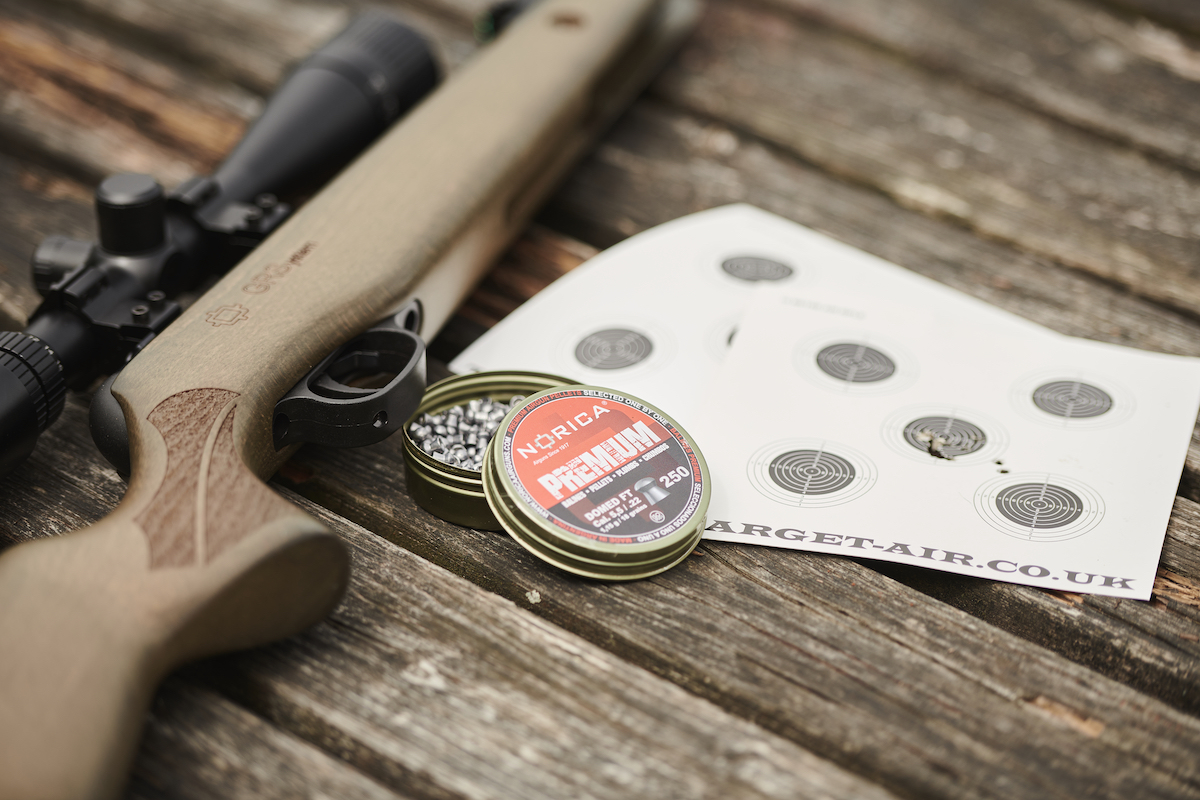
Paper targets are great for showing exactly where your pelletes strike , but shooting them can become monotonous. Luckily, there are plenty of ways you can make your garden plinking more interesting
Thrilling
Another way to add more excitement to your backyard plinking is to opt for a simpler airgun. Printing tiny groups with a recoilless pre- charged airgun is all well and good, but it does get monotonous. Achieving the same result with a spring or gas-ram airgun is far more challenging, and a lot more thrilling when you hit the mark.
My children quickly became bored with the ease of toppling targets with my pre-charged airguns but we’ve been having great fun shooting a break-barrel Norica Hawk GRS over the past couple of weeks. (Read the full review of the Hawk GRS here.) The youngsters find its recoiling firing cycle far more exciting than that of a recoilless PCP, and we have even taken off the telescopic sight and reverted to using the supplied fibre-optic open sights to make things more interesting.
If you have an airgun and are thinking about setting up a garden range, do give it a try. It only takes a few simple steps to create a safe layout, and there certainly is a lot of fun to be had with an air rifle in the back garden — especially through the summer months.
Takeaways from this
- If you have access to a garden, and that also includes a smaller one, then you can take part in shooting an air rifle in the back garden.
- Unlike a regular shooting range, a garden is always open for business provided you follow the rules on garden airgun shooting.
- With a few legal and safety points adhered to, the garden is an excellent place to shoot our airguns, allowing us to plink to our heart’s content and practise our shooting skills
- In the garden you can set up and test a new rifle and scope combo.
- If you don’t own a garden of your own, try persuading a friend or relative to let you shoot in theirs. And who knows? You may end up converting somebody else to the sport into the bargain.
- While we have the legal right to shoot airguns on our own land, we must make sure that any pellets do not go over the boundary of our property. It is an offence to fire a pellet beyond the land where we have permission to shoot, unless the occupier of the neighbouring land has also given us permission.
- Where someone under 14 is shooting and a pellet goes beyond the boundary, both the young person and the adult supervising them can be prosecuted. Allowing our shot to go into or over another person’s property constitutes the tort of Trespass. (Read airgun laws you should know.)
- A young person who is aged 14 to 17 can borrow an airgun, and its ammunition, and use it without supervision on private premises where they have permission
- Someone aged under 14 years can still use an airgun, but they must be under supervision on private premises with permission from the occupier, which will normally be the owner or tenant. The person who supervises a shooter aged under 14 must be at least 21 years old themselves.
- It’s also against the law to shoot an airgun within 50 feet of the centre of a highway, which consists of or comprises a carriageway, if as a result someone using that highway is ‘injured, interrupted or endangered’. These offences could be committed, for example, when someone is shooting in their garden close to a public highway and a pellet ricochets onto it, injuring someone.
- You might also like to read 20 rules for garden airgunning.
This article was previously published in 2022 and has been updated.
Related Articles
Shooting
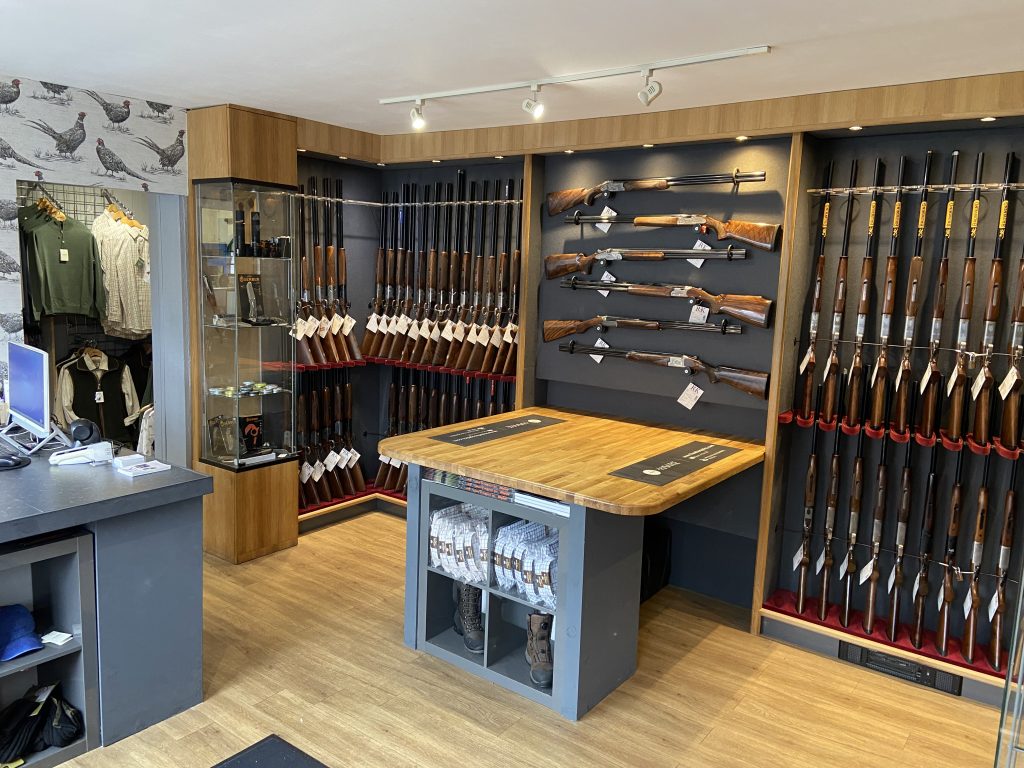
The Gun Shop Directory
A pick of some of the best gun shops for fieldsports enthusiasts
By Shooting Times
Get the latest news delivered direct to your door
Subscribe to Shooting Times & Country
Discover the ultimate companion for fieldsports enthusiasts with Shooting Times & Country Magazine, the UK’s leading weekly publication that has been at the forefront of shooting culture since 1882. Subscribers gain access to expert tips, comprehensive gear reviews, seasonal advice and a vibrant community of like-minded shooters.
Save on shop price when you subscribe with weekly issues featuring in-depth articles on gundog training, exclusive member offers and access to the digital back issue library. A Shooting Times & Country subscription is more than a magazine, don’t just read about the countryside; immerse yourself in its most authoritative and engaging publication.

