★ Win a pair of Brandecosse Capriolo boots worth £219! Click here to enter ★

How to shoot clay pigeons: Key clay pigeon shooting tips
Understand the jargon heard on the clay shooting ground with Mark Russell's tips for shooting beginners
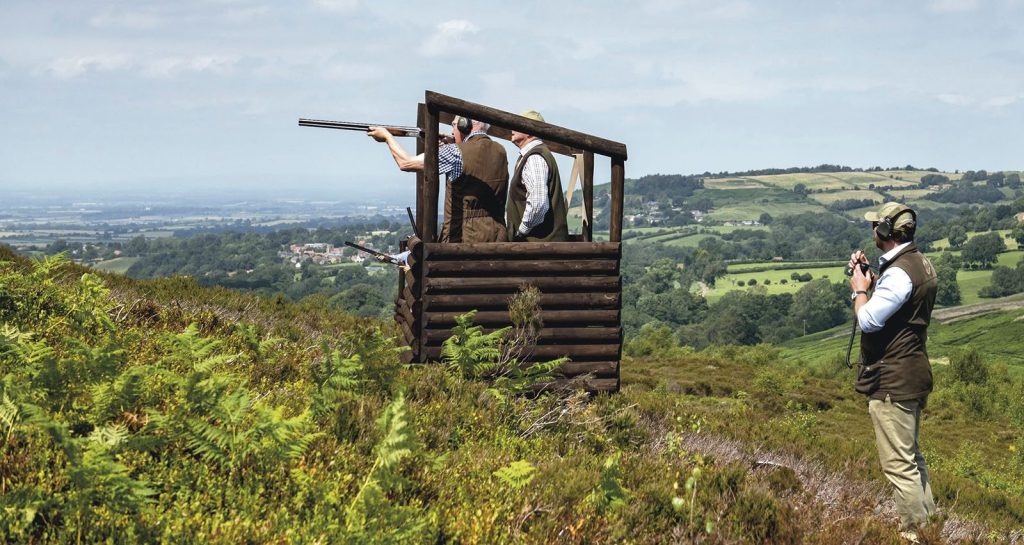
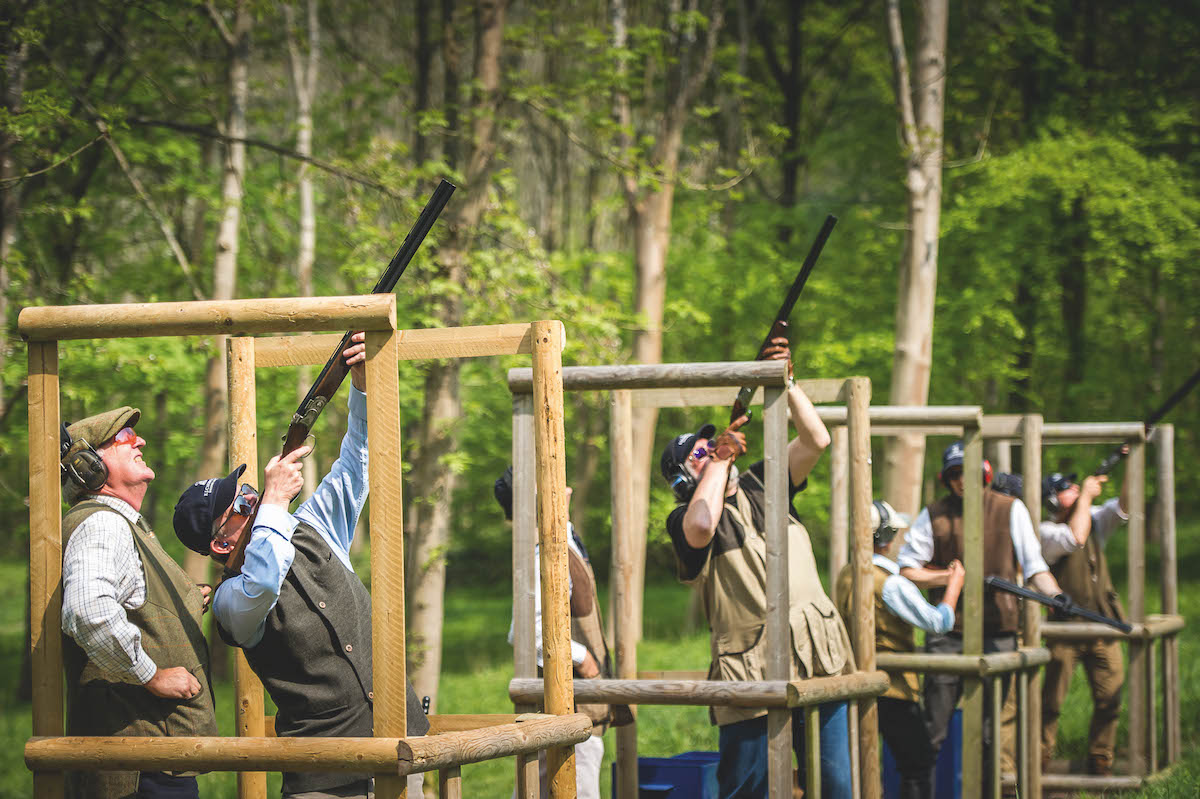 Charity clay shoot, shooting as a team on a flush
Clayshooting is growing increasingly popular, whether as a charity event, team building exercise or a way of starting shooting. However, learning to hit clays consistently is something that takes practise and patience. (Read how to ace charity clay days.)
So if you’re going out onto the clay ground here’s a list of useful clay pigeon shooting tips that are relevant for all levels of experience. There is always something you can do to improve your technique. (Read our guide on what to wear clayshooting.)
(You might like to read how to start clayshooting.)
Key clay pigeon shooting tips
- Start by having lessons with a qualified instructor. A friend may offer to teach you, but an instructor will prevent you picking up any bad habits early on.
- The Clay Pigeon Shooting Association will be able to advise you on instructors near you. It also runs useful courses so you can meet fellow new clayshooters.
- At most clay grounds you will be able to borrow a gun so won’t need your own or a shotgun licence. Ring beforehand to check. (Read more on borrowing a gun.)
- Your instructor will assess your build to select a gun to suit you. This is called gun fit. (Read more on gun fit here.) You will be shown how to mount the gun (how to hold it) and you’ll be briefed on gun safety.
- Enjoy your lessons and try and relax. Listen carefully and don’t be discouraged if you don’t hit clays straightaway. It will happen.
- ‘Read the clay’ before you are ready to shoot. Try following the bird’s flight through the air with your finger – work out in your mind if it’s dropping or rising. Is it veering to the left or the right? How fast is it going, and how quickly is it beginning to slow down? Where is the best place to try and kill it? How should I stand? Ask your instructor. Being able to read the clay is one of the top clay pigeon shooting tips.
- Watch the bird before you shoot – if you do this you will start hitting the targets.
- Take things slowly and listen to your instinct. Only practice will help you to shoot consistently well.
- If and when you decide to buy a gun, your instructor will be able to advise you on the best shotgun for clay pigeon shooting for you. (Read this article on first clay guns.)
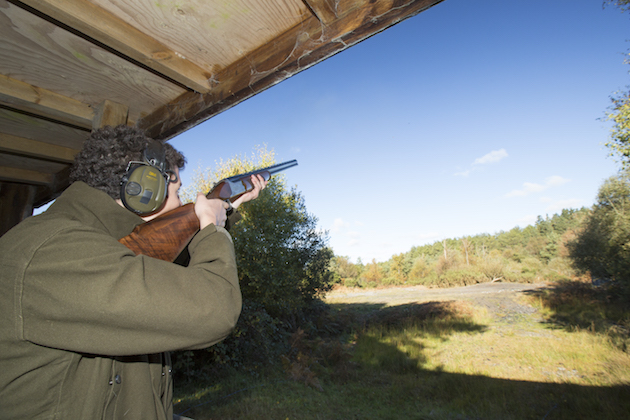
My very first clay lesson and why I was hooked
More clay pigeon shooting tips and terminology explained
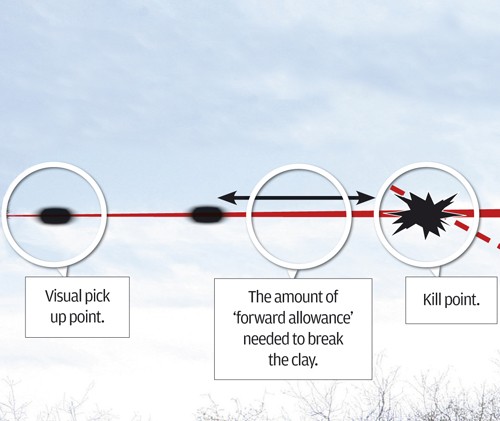
Kill zone and pick up points
The kill zone is the area in which you try and smash the target.
The kill zone and pick up points are decided by several factors: how the bird is presented, how fast it is travelling and how quickly you can ‘visually’ pick up the bird in flight.
The ‘visual’ pick up point is different from the kill point. It is where you catch your first sight of the target.
There will be a short delay before your eyes inform the brain that they’re locked onto the target. Your brain then communicates this message to the rest of your body so that you can mount the gun and start the swing.
The stance and ready position
Stance is the ideal position to take as you call for the bird. (Read the perfect stance for clayshooting.)
Right handed? Then your weight should be on the front, left foot, with your toes pointing towards the intended kill zone. If you’re a left hander it’s the opposite way around and the right foot takes the lead.
It’s worth taking the time to get this position right because it affects your technique. If you don’t master it you will not be able to twist your body sufficiently to complete the swing when aiming for certain targets. Which means you’re likely to miss.
Placing the stock butt
- To ensure a quick gun mount this should usually be just out of the pocket of the shoulder if the discipline allows. However when shooting FITASC it has to be considerably lower. (Read this guide to FITASC shooting.)
- Don’t be tempted to hold the gun down by your waist.
- The muzzles should be on the line of the bird, on or slightly behind the visual pick up point.
- Make sure your weight is on the front foot. Lean into the target but be ready to alter your weight distribution if you need a second shot.
Here’s a five minute guide to the different clay disciplines.
Shooting gun ‘up’ or gun ‘down’
Gun up is when the shotgun is pre-mounted in the shoulder, the face is hard on the stock and you’re ready to pull the trigger as you call for the bird.
It is used for speedy sporting targets where there is little or no time to mount the gun, or trap and skeet disciplines, for example.
Gun down is a more traditional way of shooting. It imitates walked up gameshooting. The gun is held out of the shoulder and only mounted when the bird is presented.
Forward allowance
You will probably hear a lot about forward allowance. It is when you fire a shotgun at a moving clay and need to allow for the time the shot takes to get to the target.
To break a target the trigger must be pulled when the muzzles are pointing ahead of the target to ensure that the clay runs into the stream of lead shot.
You might hear the phrase ‘arranging collisions’. So how will you know how much forward allowance is needed? That’s something which comes with skill and experience. Without forward allowance you would be simply aiming at a target, as in rifle shooting.
If you want a rough calculation, a crossing clay travelling at 40mph, 30 yards out from the stand, will have travelled about six feet in the time between you pulling the trigger and the tip of the shot stream reaching the flight line of the bird.
Knowing this you can appreciate that unless the muzzles are ahead of the target when the trigger is pulled you’ll miss – because the shot string is going behind the bird.
Swing through, pull away and maintained lead
These are the three generally accepted styles of shooting and all have their plus points.
Maintained lead is something not always easy for the novice to master.
If you are unsure how to proceed the easier option is to use the pull away method when breaking clays. This is the style normally taught to beginners.
Swing through
The gun is mounted and the swing commences with the muzzles pointing behind the target… the muzzles of the gun catch up with the target… the muzzles swing through the bird and the trigger is pulled.
Pull away
The muzzles are pointing at the clay as the swing commences… still with the muzzles pointing at the bird the gun is mounted at the shoulder… then the muzzles are swung ahead of the bird and the shell is fired.
Maintained lead
The muzzles of the gun are pointing ahead of the clay as the swing commences… the muzzles stay ahead as the gun is brought up into the shoulder… when the gun is firmly mounted the trigger is pulled.
This article was originally published in 2014 and has been updated.
Related Articles

Stalking diary: the boundary-crossing buck that made the morning hard work
Waking at 3am is only half the battle when a boundary-crossing young buck decides to make Charlie Blance's morning roe stalk as difficult as possible
By Charlie Blance
Simulated game shooting: like game shooting minus the feathers
Once dismissed as mere off-season practice in tweed, the simulated game day has become a sport in its own right; Selena Barr asks four leading operators what separates a standout day from a chaotic on...
By Selena Barr
Get the latest news delivered direct to your door
Subscribe to Shooting Times & Country
Discover the ultimate companion for fieldsports enthusiasts with Shooting Times & Country Magazine, the UK’s leading weekly publication that has been at the forefront of shooting culture since 1882. Subscribers gain access to expert tips, comprehensive gear reviews, seasonal advice and a vibrant community of like-minded shooters.
Save on shop price when you subscribe with weekly issues featuring in-depth articles on gundog training, exclusive member offers and access to the digital back issue library. A Shooting Times & Country subscription is more than a magazine, don’t just read about the countryside; immerse yourself in its most authoritative and engaging publication.

