How to address pheasants at different heights
Adam Calvert gives some valuable advice on timing
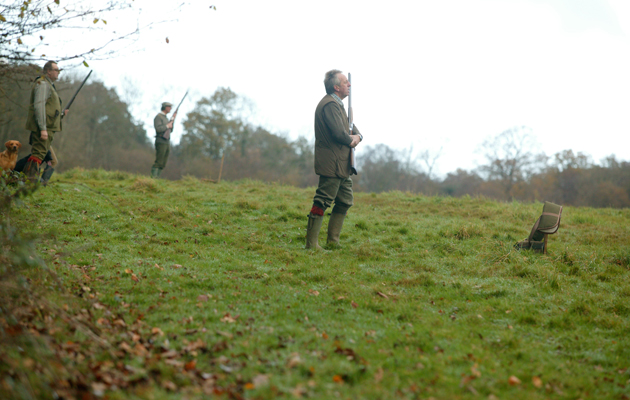
Driven shooting
Q: Can you give me any tips about how to avoid addressing straight driven pheasants too early? Whenever I saw a bird flying towards my peg last season, I mounted too early, took forever to get beyond the bird and then missed behind.
A: The timing of shooting driven pheasants is probably one of the most difficult things I teach. It is all too easy to end up shooting too early, too late or, worse still, a combination of both mounting early and shooting late.
Every bird has a vulnerable point during its flight where it is best shot. I will try to summarise and give a rough indication of the best time to shoot a driven bird depending on its height.
Shooting driven pheasants
Lower pheasants
These birds are best shot earlier than you would normally shoot, probably at 35 to 45 degrees and well out in front. This ensures that all their vital organs are on display, resulting in a clean kill.
Intermediate to high pheasants
These should be shot slightly later than the above, at 50 to 60 degrees. This will still allow for a clean kill as again all the bird’s vital organs are on show.
Very high or extreme pheasants
These need to be shot much later, making sure they are as close as possible – probably at 80 to 90 degrees. Care should be taken here not to shoot once the bird has gone well past this point as you cannot then get a clear shot at its vital organs. I have a personal rule that I won’t shoot at a very high bird unless I can see its head.
Timing technique for shooting driven pheasants
Make sure your technique allows the shot to happen at the vulnerable point. Most of the driven birds I shoot are shot with a very similar technique. This starts with the gun speed matching the bird’s speed as you mount the gun, which feeds valuable information back to you regarding exactly the right speed and the line of the bird. The gun should be fully mounted slightly behind the bird and the bird properly collected; this involves running with the bird for a split second.
The gun should then move straight through the bird to the kill point. Make sure not to check your swing — keep the gun moving, squeezing the trigger as you go.
This should result in the perfect shot at the perfect time providing you have started the process at the right time.
All of the above can be practised on a good shooting ground tower, especially one that you can walk backwards away from or walk towards. This will then force you to adjust your timing as you alter your shooting position.