How to prepare and dress a woodpigeon
Dressing pigeons you've shot yourself is satisfying and the results are delicious. Here's a step by step guide.
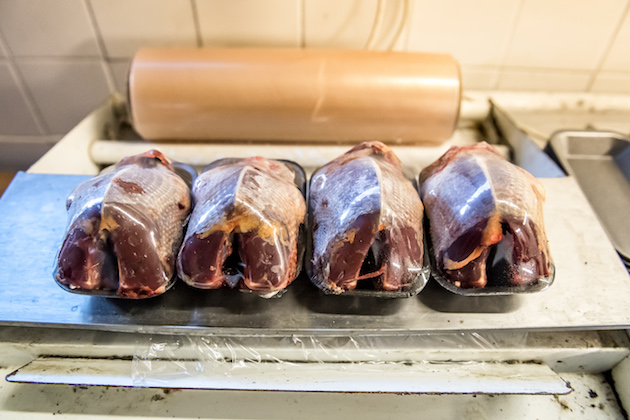
Dressed for dinner
Woodpigeon shooting provides fantastic, healthy meat and is a sustainable food source.
The pigeon is an agricultural pest but it is only ethical that the shot birds are put to good use. Many people are put off by the thought of dressing birds, but instead of just giving the game dealer a call, why not have a go at prepping your own? (You’ll find pigeon recipes here.)
Dress and prepare a woodpigeon
- Dressing the whole bird is time consuming but it does leave you with the full product at the end.
- Fortunately, woodpigeons are the easiest bird to pluck.
- Pluck into a bin liner or pluck in the field after shooting. This will also help the birds cool down quicker.
- When plucking, you should pluck upwards towards the head, but it is rare to rip the skin when plucking a pigeon, so direction is not so important.
- You can remove large amounts of feathers at once, gripping them between your thumb and forefinger.
- Once the bird is plucked, remove the wings, head and feet using a sharp pair of kitchen scissors or pliers.
- The term “drawing the bird” refers to removing the innards.
- Make a small incision below the breastbone and towards the bird’s vent to give enough space to fit your fingers into the bird’s cavity and pull out the insides.
- Running the bird under a cold tap from the neck down will quickly rinse out the cavity.
- The bird is now dressed. Placing the dressed birds into individual small freezer bags will keep them in good condition while stored in the freezer.
Plucking and breasting
- Plucking the breast of the bird is one of the options for removing the main meat with the skin on. Some chefs and restaurants prefer to have the skin on the breast as it reduces the risk of the meat drying out during the cooking process. It can also add extra flavour and can be stuffed.
- Remove the feathers from the breast area. Make sure you remove enough feathers so the entire breast is clear, then use a knife to remove all the breast meat and skin in one clean motion.
- It’s important that you use a knife that is fit for the job. A boning or a sharp kitchen knife is suitable for cutting the breasts, with skin on, cleanly away from the breastbone.
- Place the bird on its back with the breast facing upwards, holding the bird firmly. If you’re right-handed start with the right breast and vice versa for a left-hander.
- Work the knife down to the breastbone in a slicing motion — not a sawing motion — making sure you follow the breastbone with the knife. This should ensure that you remove the full breast.
- When you’ve removed the first breast, make a single cut on the second breast, turn the bird around and take it off this way. This method saves time and the mess of plucking.
- It will take practice to make sure that you skin the bird properly to expose the full breast meat so that you can cut it out cleanly.

Removing the breast fillet
Skinning the breast
- To skin the breast, turn the bird on to its back.
- You need to place your thumbs through the feathers just below the breastbone. Here, you will feel the loose skin that you pinch together with your thumb and forefinger.
- Carefully tear the skin and gently work it back away from the meat. Your thumbs will be able to get under the skin as you push and pull the skin away from the breast.
- Once you have pushed the skin back you will be able, using both hands, to pull the skin left and right all the way around the bird, exposing the breast.
- When you have skinned the breast you should be able to cleanly cut the breasts clear of the breastbone. Using a sharp knife, follow the breastbone, making sure you remove all the meat.

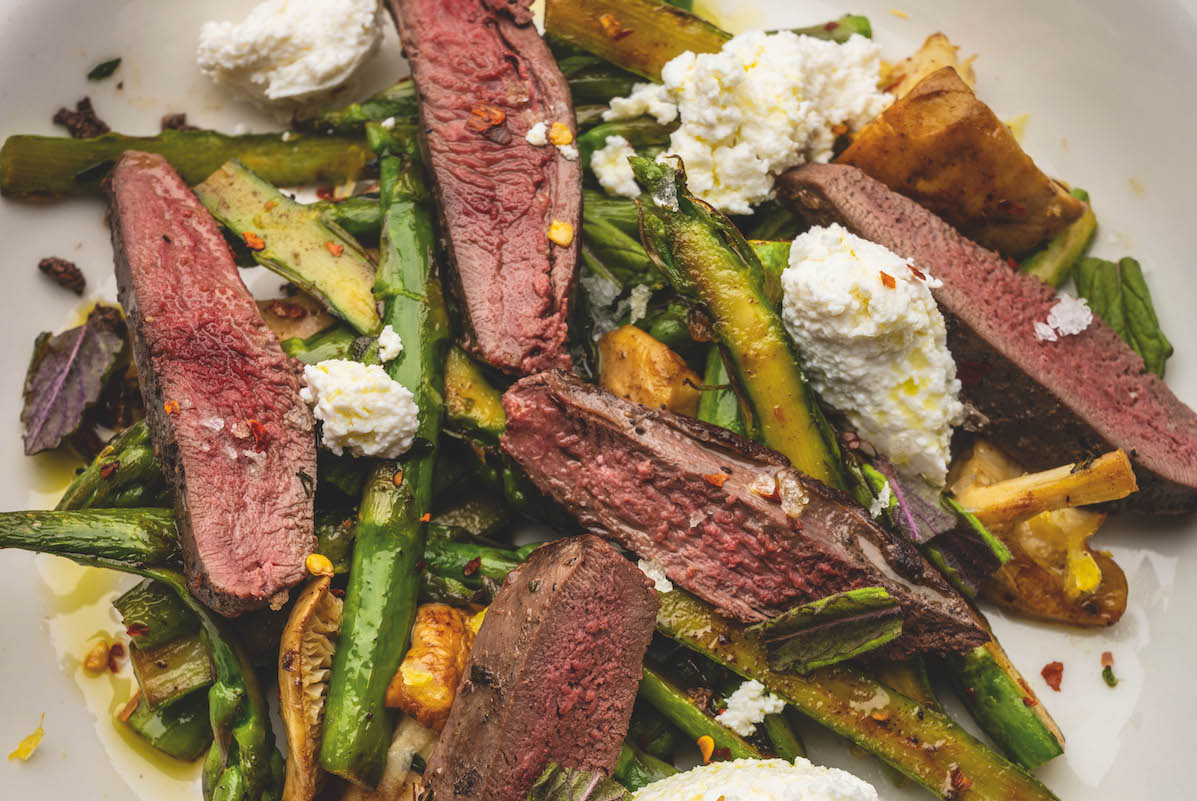
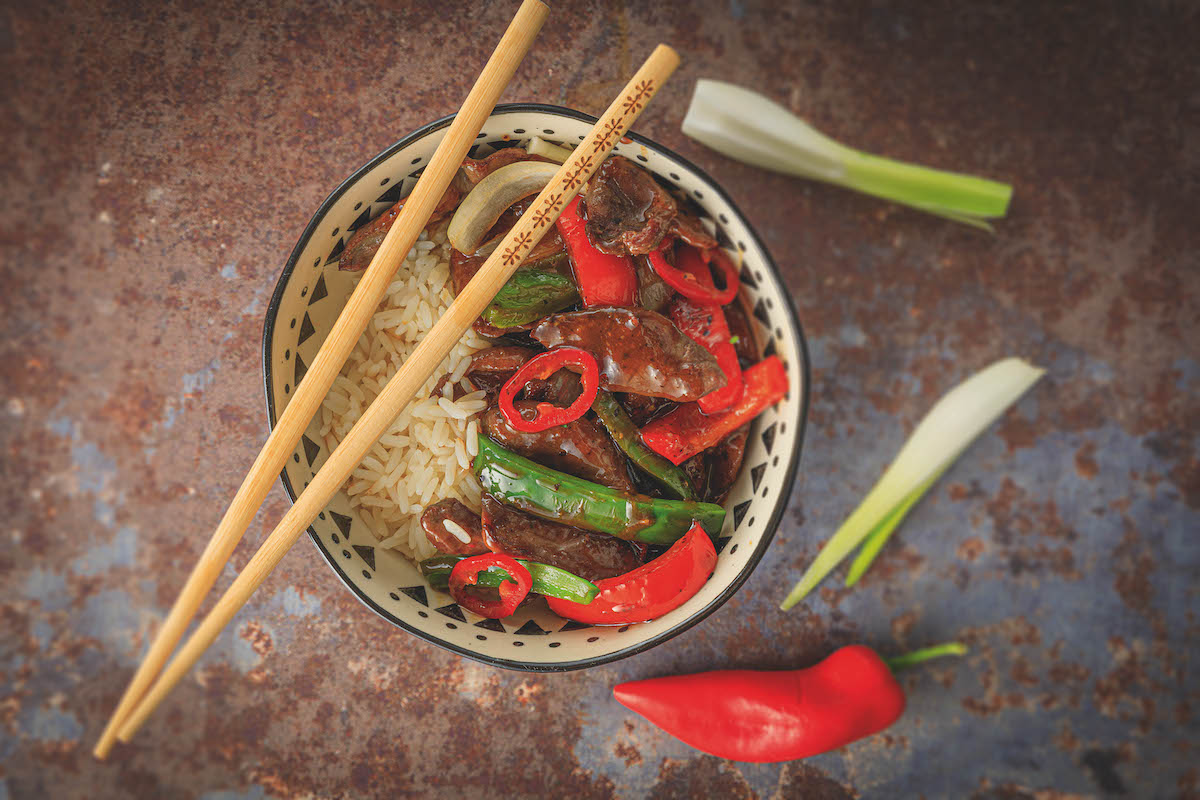
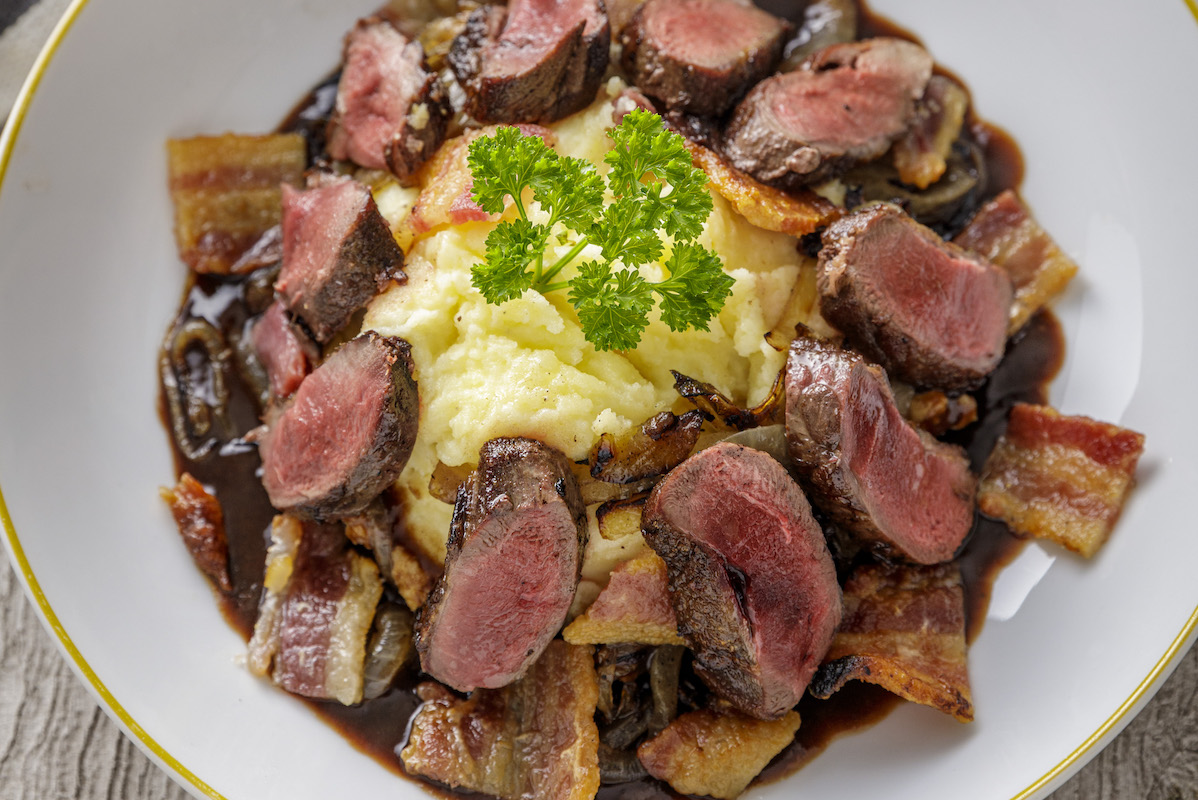
Five quick pigeon recipes to make in under 20 minutes
1. Pigeon and wild mushrooms Just add garlic, kale, bacon and wild mushrooms for a delicious supper. Kale is having a…

Where to sell your woodpigeon
A gamedealer Gamedealers will be more than happy to buy woodpigeon and, depending on the time of year and numbers…
Crowning a bird
This is my favourite. It is the quickest and cleanest way, especially when you are dealing with big numbers. Many restaurants are more than happy to take crowns and it’s very easy to breast the crown of the bird if you need to. I also believe that birds store and freeze much better on the bone and the meat doesn’t dry out or get freezer burned if the birds are stored correctly for a long period.
With practice you should be able to crown a bird in less than 30 seconds.
- Taking a firm grip of the bird, place your other hand around the base of the wing. Hold the bird tight and twist the wing until you can pull it away from the main body. Do the same to the other wing. It is impossible to crown the bird cleanly unless you remove the wings.
- Once you have removed both wings, make a small incision under the breastbone. Place your thumb into the incision and, with your other hand, take a firm grip on the back of the bird. With a strong movement, you part the crown of the bird from the rest of the body and carefully work the skin back. You should find that the crown of the bird and the main body of the bird have been completely parted.
- Take a grip of the crown and a full grip of the main body of the bird at the top of the breast/crown and pull away. This will leave you picking off a few feathers from the breasts.
As pigeon shooters we should always know how to dress our birds and make sure they get used. They are a wonderful, sustainable food source and it is irresponsible and unethical to shoot woodpigeons if the meat is not put to good use.