How to get the most out of your trail cameras
Tom Sykes runs through some more tips and tricks to make the most out of your trail cameras
I wrote a piece about trail cameras in the March issue of Sporting Gun and went through some of the benefits of using them. Judging from the questions I received following the article’s publication, there was much interest in the subject. This being so, I thought there were more points to cover and the best way to do this would be a rapid-fire-style article with tips on how to get started and make the most out of this equipment.
Recap
In the March article I covered swapping standard webbing strap for paracord as an improved and less visible method to secure trail cameras to trees. I also covered the benefits of utilising small, flexible tripods to gain different vantage points, concealing the cameras and different styles of capturing images, including whether to bait or set the trail camera up to trigger when things pass by on tracks and paths.
Picking the right camera
Picking the right trail cam for you ultimately comes down to your budget and what you want from your camera. Most cameras will do a good job, but there are different specifications to consider before buying one. For example, glow or no glow. Although more expensive trail cameras may perform better with higher-quality images, I prefer to buy several cheaper cameras for the same price and cover a larger area. There is also less financial loss should the camera be stolen or damaged.

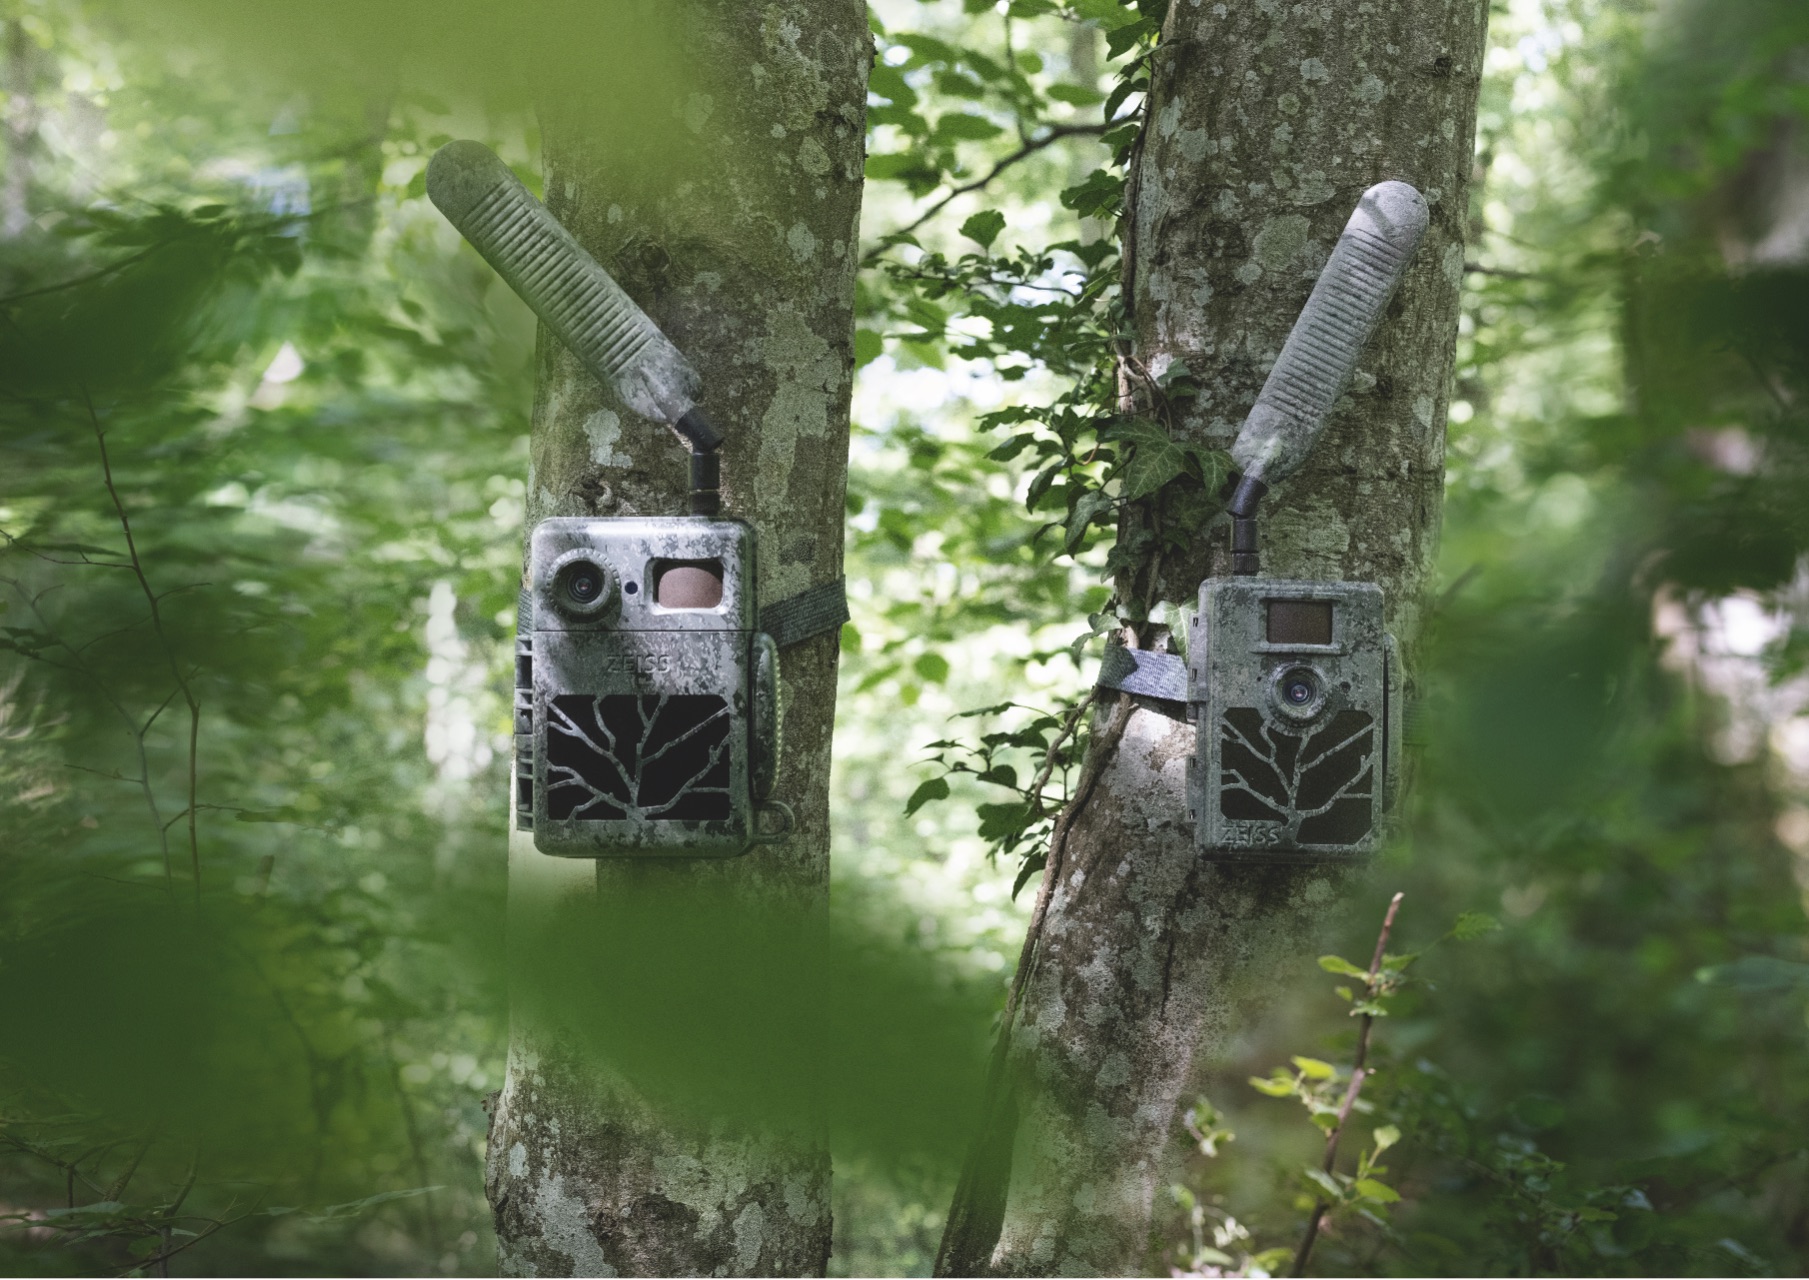
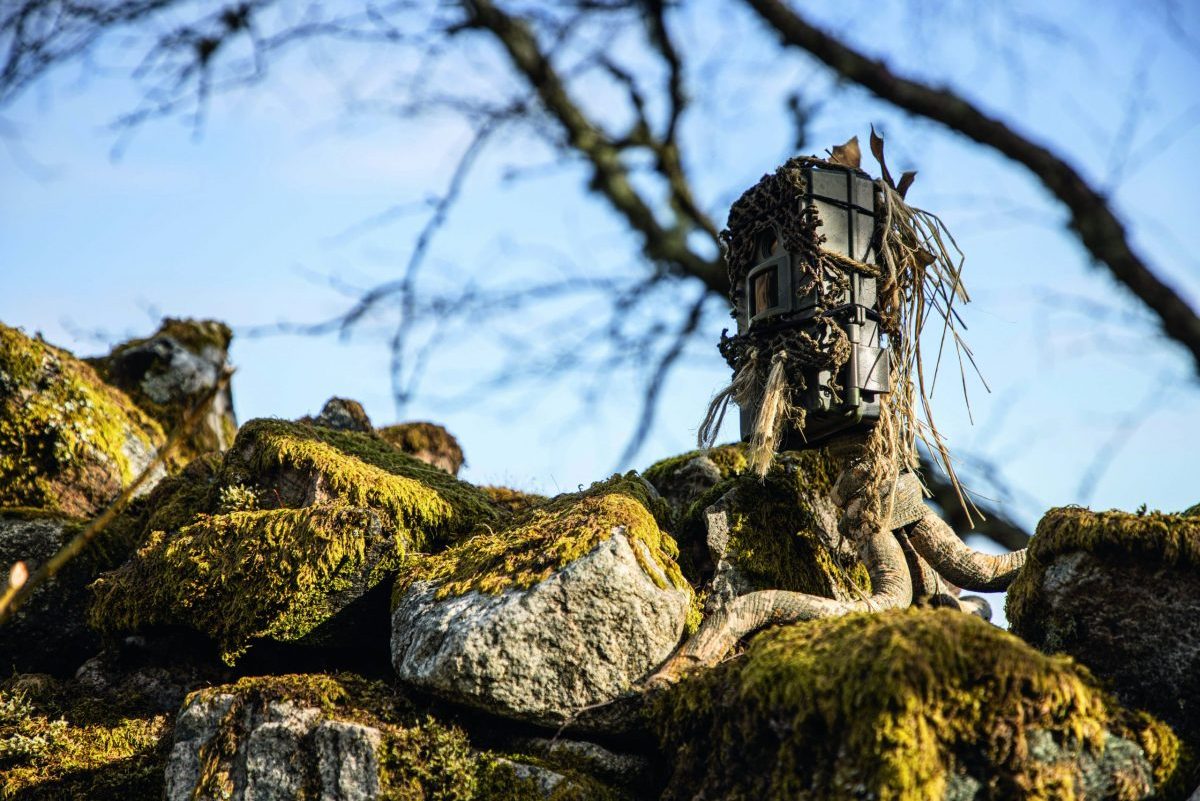
Whether you choose a glow or no-glow camera location is all-important
Glow
Most trail cameras, if not all, capture footage at night. Some cameras have a faint glow when shooting in the dark, which can be seen by the naked eye when directly looking at the camera, potentially exposing its position to people and increasing the risk of sabotage or theft. However, wildlife does not seem to care about this flash, and I have never encountered an issue. The camera’s position is something to consider to reduce the risk of compromising its location.
Setting the camera out of the direct line of sight is a sensible idea. The significant advantage to the glow or low-glow cameras is that they often produce better-quality images at night as they have a better flash for the camera sensor.

Glow cameras often produce better images at night than no-glows

Using camouflage can help conceal the cam from prying eyes
No glow
The upgraded version of the glow flash is the no-glow. These still have a flash to enable the camera to capture images in the dark but it is not visible to the naked eye. These systems are found on higher-spec cameras and are reflected in the price tag. I like using my no-glow for areas with more human footfall, as it makes it much easier to keep the camera concealed. However, I have found that the duller flash can sometimes lead to blurry images and often makes it harder to identify distant objects.
SD cards
All the cameras I use store the content on standard SD cards. I typically use the SanDisk Extreme or Extreme Pro cards, which have never let me down or become corrupted. Do ensure that you read the camera’s instructions before buying the card as cameras are often limited to a maximum storage capacity. Mine, for example, will take a card with a capacity of up to 32GB.

A phone SD card reader lets you see images with the camera still in position
Card reader
A must-have for me is a phone SD card reader. I found an SD card for the Apple Lightning plug adapter last year and can recommend them. They retail for around £35 but are worth the outlay for ease of use in the field. I can now inspect what content has been captured on the card in the field with the camera still in position. All you need to do is remove the card from the camera, plug it into the reader attached to your phone and then access the content through the photo gallery. The images can be viewed, downloaded and deleted from the card using your phone.
The reader is an efficient way to check the cameras when you are passing and a good way to edit images frequently. The other advantage is you can set the camera up, test the field of view by triggering the sensor and review the image to ensure everything is in the optimal position for an area. I am sure there will be an Android adapter equivalent for non-iPhone users.
Batteries
Every trail cam I have used has been powered by AA batteries. Depending on the device, typically four to eight are required. I have always preferred using rechargeable batteries, utilising a couple of chargers and additional batteries, because they enable me to swap them in the field. I found when I used single-use batteries I would leave them in the camera until they died, often rendering the camera non-operational for days until I changed them. The rechargeable batteries make it easier to swap them when running low and replace them with a fresh set so the camera can remain functional.

Most trail cams use AA batteries – typically four to eight are required
Time and date stamp
The time and date stamp on the camera is a must for gathering information. It helps determine precisely when the camera was triggered, helping to establish patterns and the general comings and goings of what activated the camera. The time and date can reset occasionally, so I highly recommend checking this regularly.

Check the time and date stamp regularly
Vegetation and livestock
Avoid setting the camera in areas with lots of vegetation or livestock as this can trigger the sensor. I once left a camera for a week to discover I had thousands of images of grass moving in the wind. Another mistake was setting a camera near a pheasant release pen; the poults continuously triggered the camera and filled the card.

Set your camera in areas free from vegetation and livestock to avoid accidental triggers
Photo vs video
Choosing between photo mode and video depends on preference and what content you wish to capture. I often leave my cameras in photo mode as they will gather most of the relevant information with a fraction of the card space. Pictures are also quicker to look through and assess what triggered the sensor. Occasionally videos are more useful for gathering detailed information and better for studying content. Photo trigger time (the time it takes for the sensor to operate the shutter) is often faster than the video mode in a real-world scenario, which is something to test.
Photo and video settings
I typically set the camera to take three images in quick succession. This way there is a fast recovery time between when the sensor is live, creating a higher chance of capturing a clear picture of what is passing by. Video mode settings are 10-second clips with the fastest recovery rate. I will also set the image quality to the highest available for both photo and video modes.
I hope these tips are helpful for getting the most out of a trail camera. Of course, each section could be covered in greater detail, but it will hopefully be enough to get the ball rolling for most people. Everyone should have a cheap trail cam for a bit of fun. I have learnt a lot from these devices over the years and couldn’t recommend them more.