How to choose a practical choke
Holland & Holland instructor Steve Rawsthorne explains why your shooting success, whether driven, flighted, decoyed or walked-up, depends on the choke you use
There has been much written over the years about which choke/cartridge combination is best for clayshooting, gameshooting and general roughshooting, with diagrams, pellet counts, discussion of shot strings and so on. But what really works in practice? What puts food on the table?
For most of us doing a bit of mixed roughshooting, ferreted rabbits, pigeon in hides and flighting, walked-up pheasant or wild duck, we need an effective killing pattern out to 40 yards. There is always the tale of someone killing a pigeon at 70 yards, or a long pheasant at 60, but what we need is kit that will do the job at normal shooting ranges.
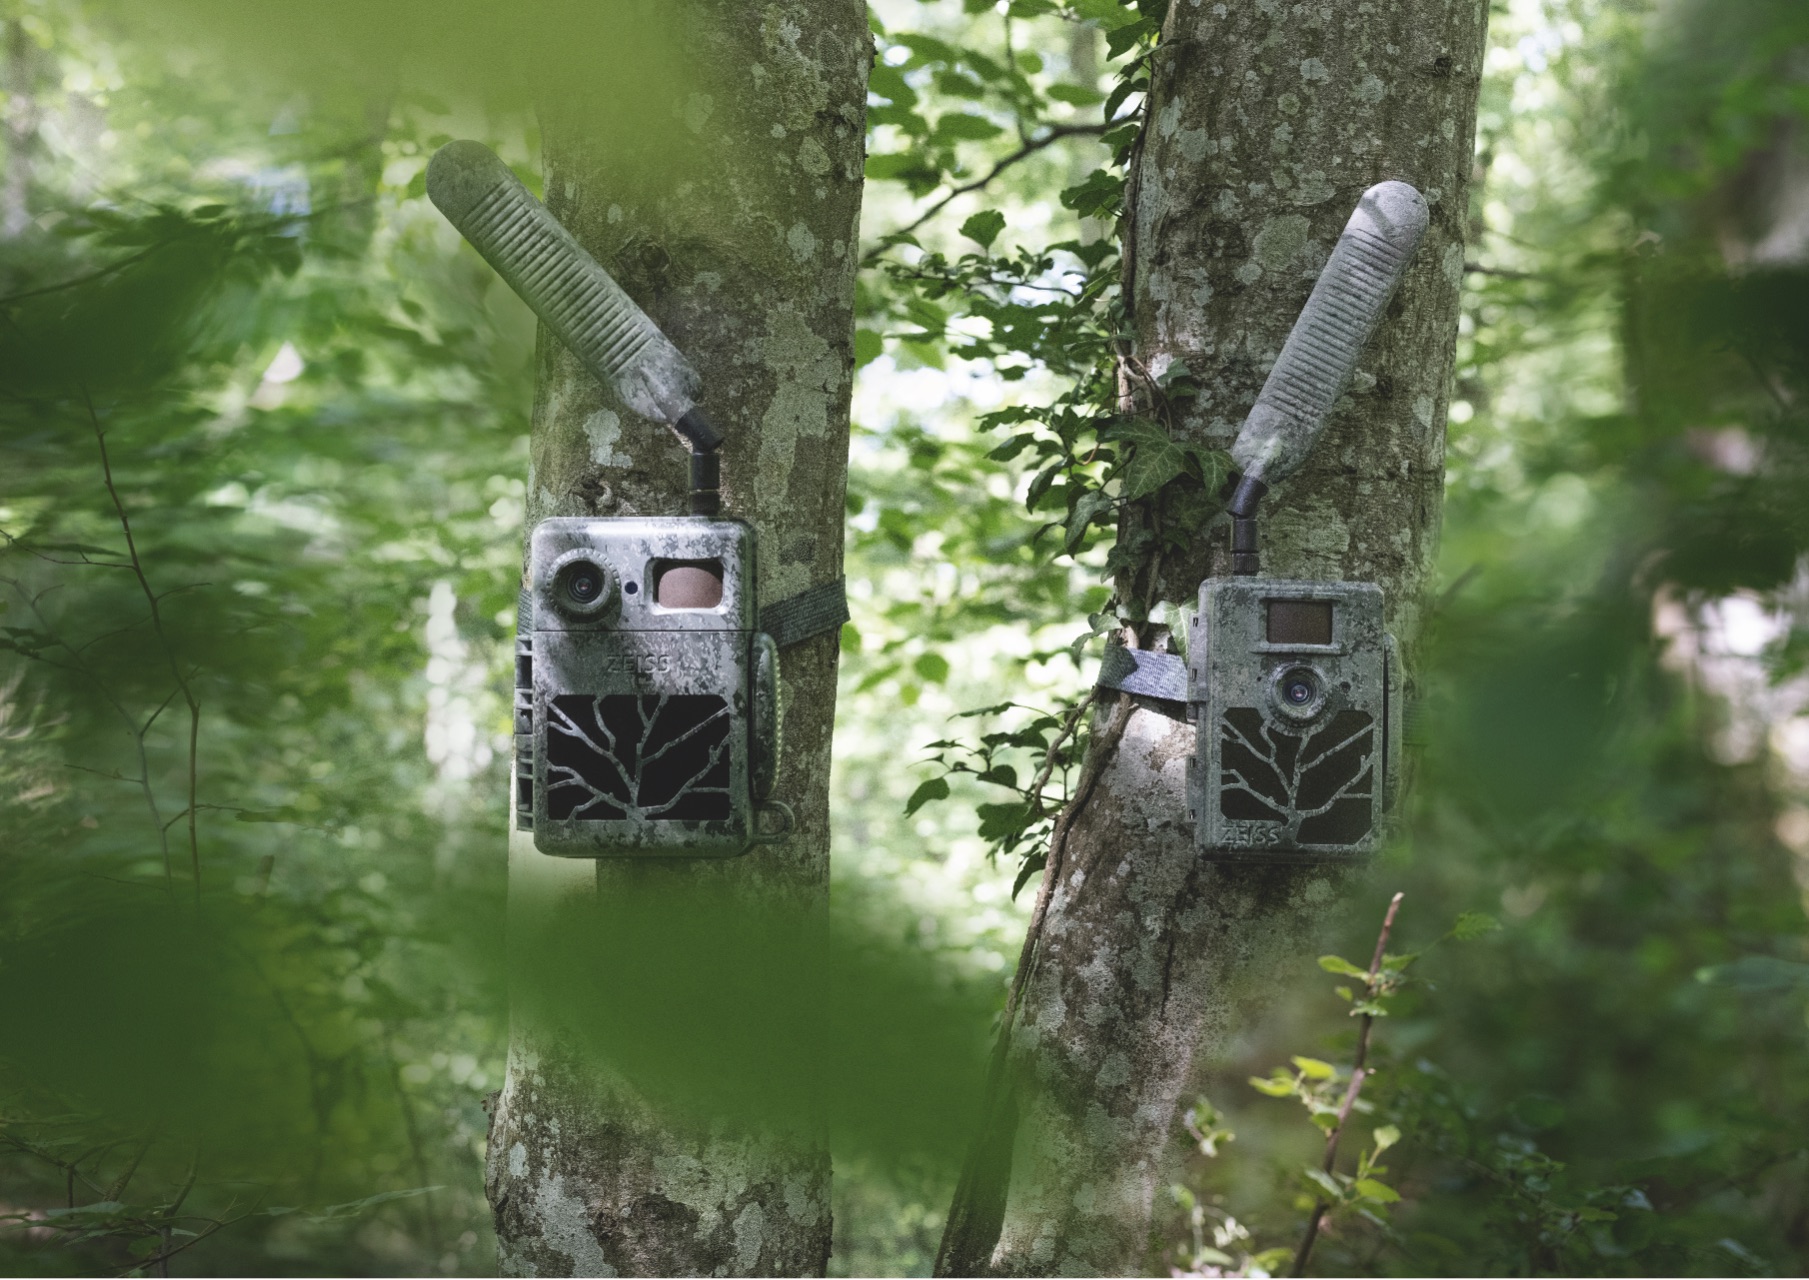
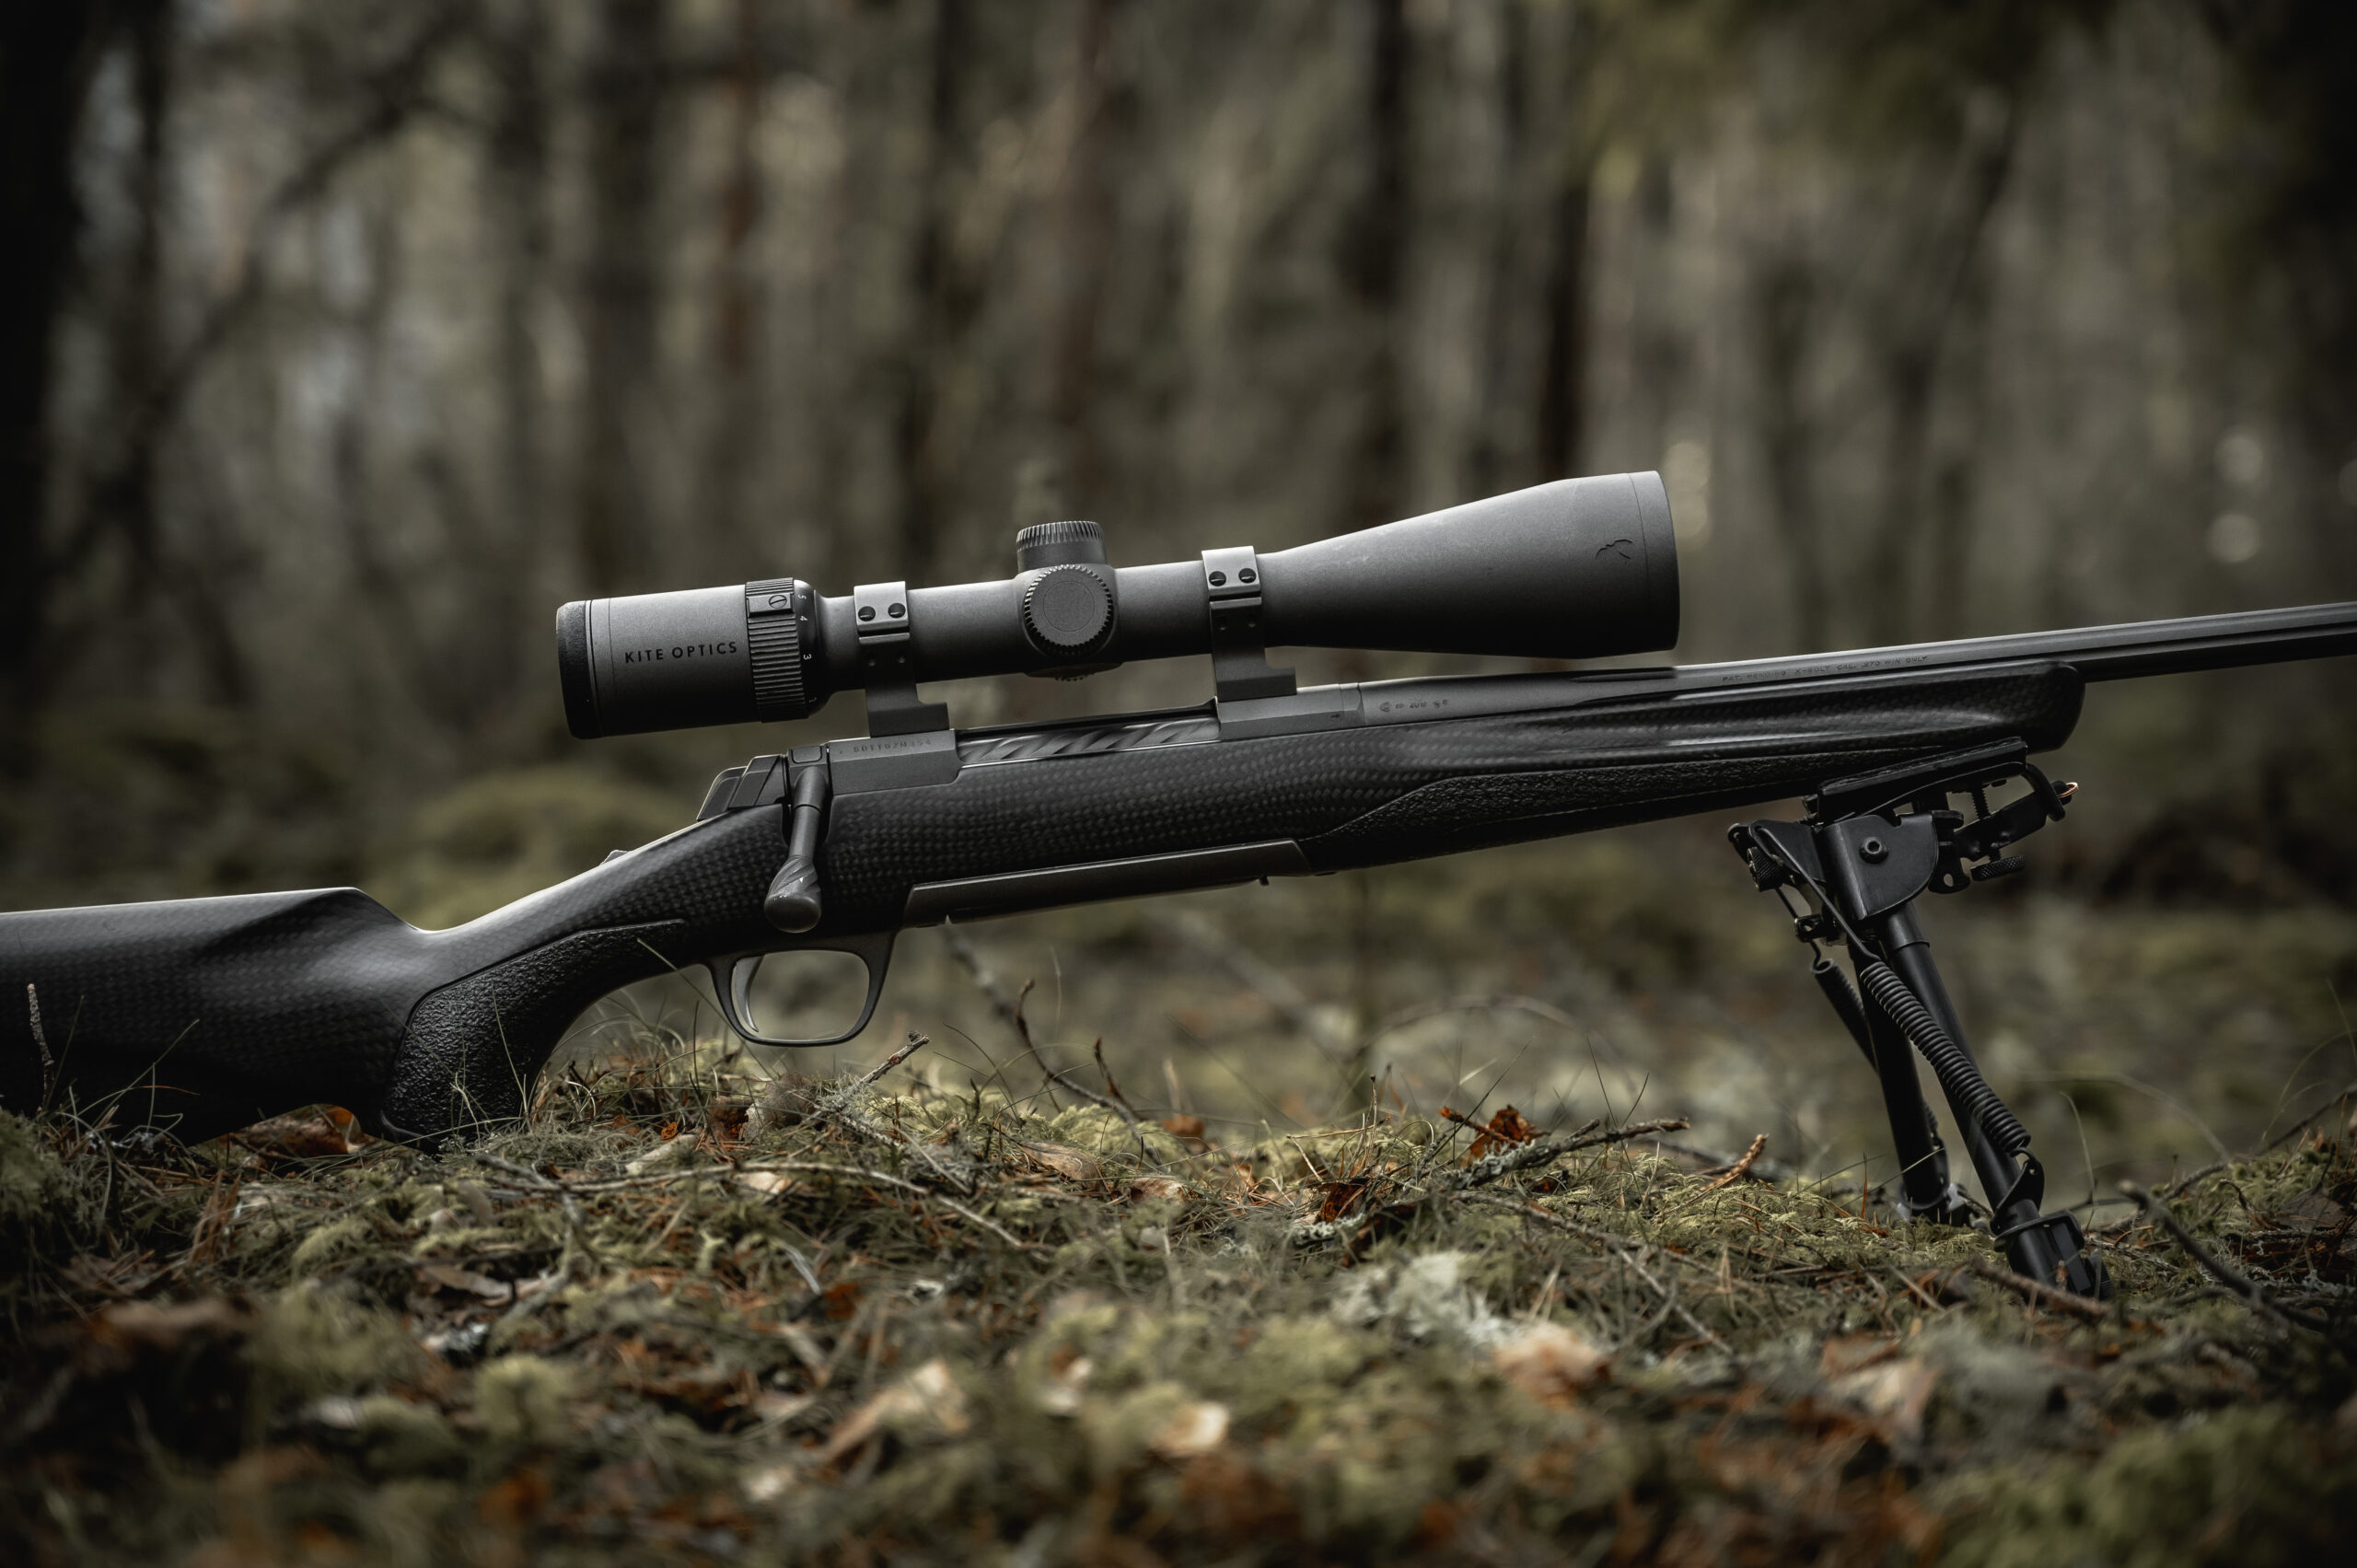
I stalk around 250 deer a year — most are taken at under 200 yards, a few at 300. I also have a tactical sniping rifle for targets up to 1,200 yards, but it is not a practical stalking tool. For my stalking I need simple high-quality kit that is quick to operate. Equally, you cannot suddenly change your multi-chokes every time you see a different bird; you need to gear up for the norm, not over-choke for that 60-yard bird and then miss or mash the 20-yard usual fare.
To kill our quarry cleanly, we need to put a minimum of three pellets into it to deliver sufficient energy to achieve our objective. For larger quarry, such as a hare or goose, five or six pellets, No. 5 or, even better, No. 4 is needed. A larger shot size gives better penetration and delivers more kinetic energy, so will be more effective.
Factors to consider when choosing a choke
There are three variables we can use and need to understand: choke itself, shot size and weight of shot.
The smaller the shot size, the more pellets there are to the ounce: No. 4 shot is 135 to the ounce, No.5 is 170, No.6 is 225 and No. 7.5 is 350. It follows, therefore, that if you reduce the number of pellets in a cartridge, the pattern density will also be reduced and there will be more “holes” in it. The only way to increase pattern density is to tighten up the choke, which is not good for the average 20-yard shot, or increase the weight of shot in a cartridge, which generates more felt (perceived) recoil.
Choke is a constriction of a few thousandths of an inch in the last two or three inches of a barrel. On a 12-bore, full choke is a constriction of 40 thousandths of an inch, half-choke 20 thousandths of an inch, quarter-choke 10 thousandths of an inch and improved choke around five thousandths of an inch. The effect of choke is to squeeze the shot column as it is leaving the barrel and control the rate of spread.
Which wad should you choose for your choke?
Using a fibre or plastic wad will also affect the pattern density. Generally, a plastic wad will give a tighter pattern than a fibre wad. As conscientious, environmentally-concerned shooters, we will not be using plastic wads in the countryside, though.
Having very tight chokes, particularly full or extra full, and squeezing heavy loads of large shot through them will often result in deformed pellets that do not fly true. These so-called “flyers”, or “golden pellets”, are the lucky ones that find that impossible pigeon at 80 yards and drop it stone dead, to the adulation of your friends, and re-told often afterwards. Unfortunately, this is not consistent or repeatable, so despite the potential for anecdotes it is an unwanted and disadvantageous side effect.
Small, light birds, such as woodcock or snipe, do not need as much striking energy as a high cock pheasant to kill them, but being a smaller target, it makes sense to use smaller shot sizes and increase pattern density, giving us the greater chance of a good hit. An ounce of shot or 11/16oz will be plenty, generating modest recoil.
Pheasants, pigeon and duck have a greater body weight and require more penetration and kinetic energy, so shot sizes No. 5 or No. 6 will deliver what is required. To maintain pattern density, we could increase the weight of shot to 11/8oz. The weight of the gun has a bearing here — in a light side-by-side 11/8oz will generate considerable felt recoil; 11⁄4oz will be very uncomfortable. In a heavier over-and-under, delivering the recoil in a straighter line lower into the shoulder, there will be much less perception of recoil. Geese and the highest pheasants will demand heavier, larger pellets to carry sufficient striking energy, penetration and shock to the target. Now we need 11⁄4oz or 36g to maintain pattern quality. You will need a heavy gun to soak up the recoil of these loads, and full-choke is not usually the most appropriate option.
Hit the pattern plate
So back to what will put dinner on the table. I recommend quarter- and half- choke for a normal all-round gun, then choose your cartridge and shot load according to your intended species. This will give you a reasonable chance of success with good pattern quality and an acceptable level of carcase damage.
Find a cartridge you like that patterns well with your chokes — different cartridges behave in a different manner in different barrels, so it is worth spending some time on pattern plates. Here at Holland & Holland our regulator will alter chokes to shoot the desired pattern with the cartridge and shot size/weight the client specifies.
A side-by-side generally has the more open choke in the right barrel/front trigger. This dates back to the days of muzzle-loaders, when game was walked- up over pointers. The first shot at a departing target would be the closer shot. With the advent of breechloaders and driven shooting, this remains unchanged, yet the first shot should be further away and the second directly overhead. The same applies on flighted pigeon or duck and geese overhead. You can select which barrel/choke to use on a shot by judicious use of the triggers on a double-trigger gun or the selector on others.